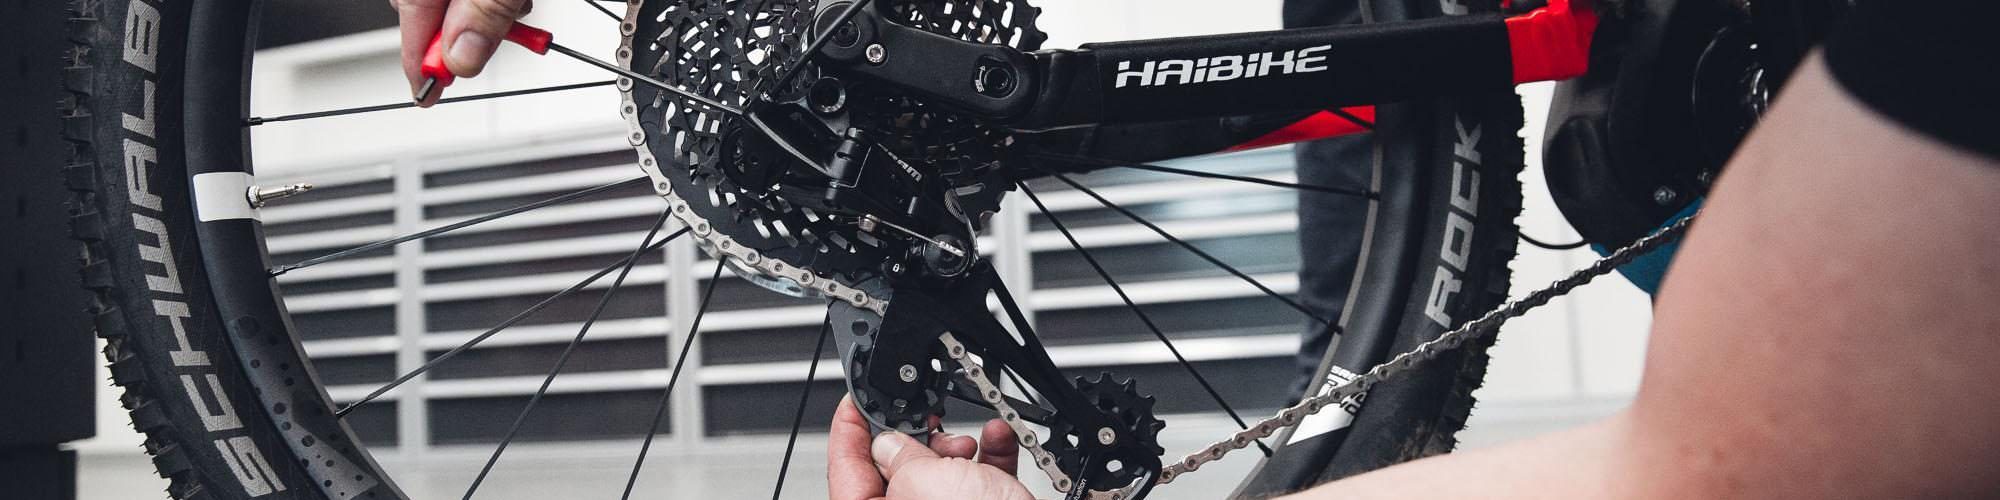
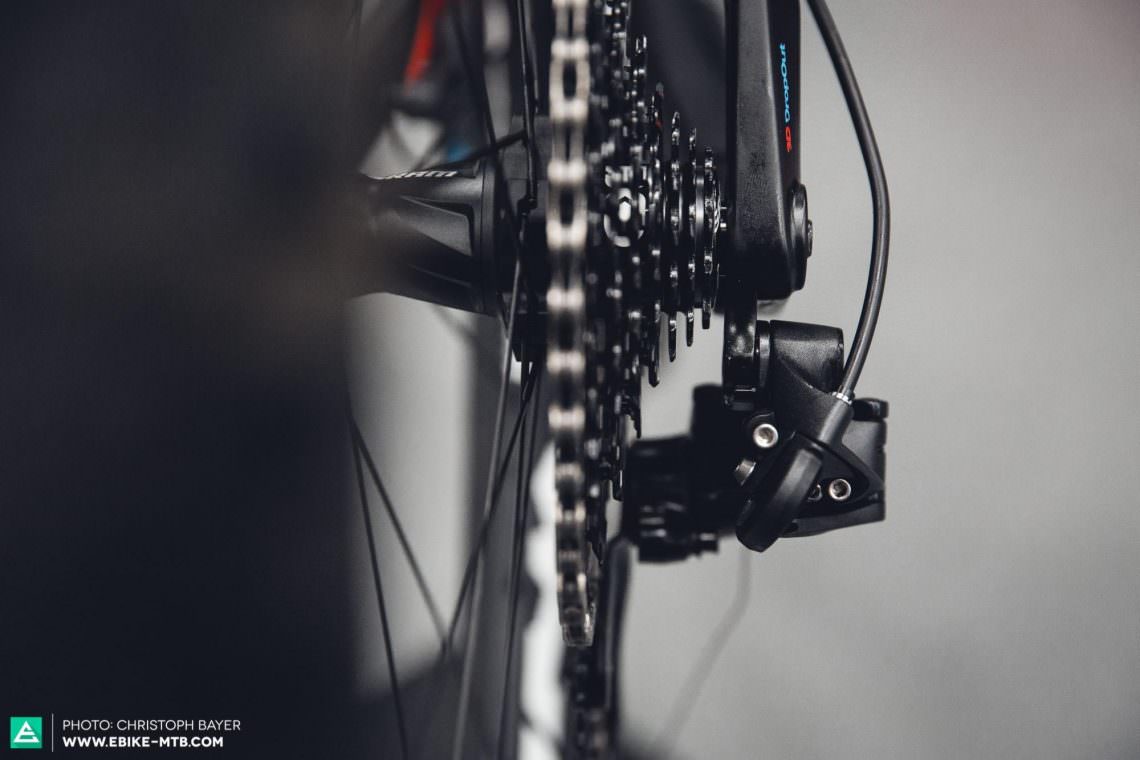
Once the chain throws its toys out the pram, jumping from cog to cog and making a racket as you’re pedalling, then it’s probably time to adjust the mechanism. Here’s our guide on how to put these tantrums to bed.
Difficulty
Medium
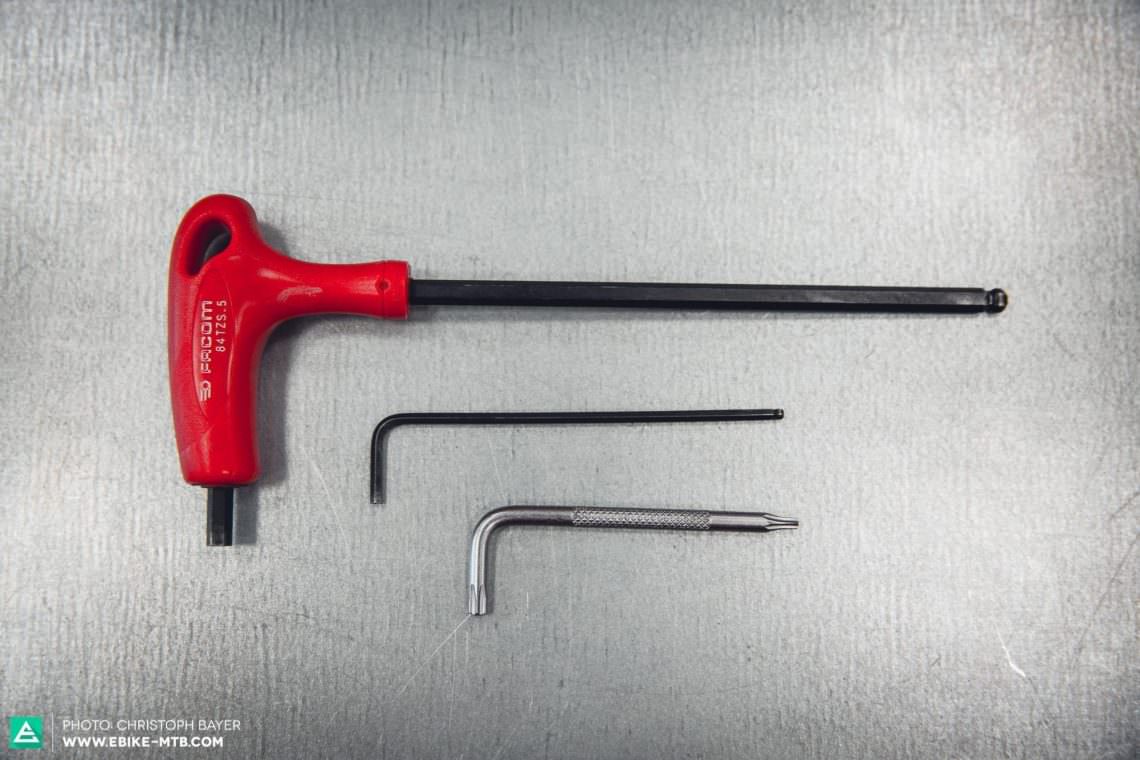
Required tools
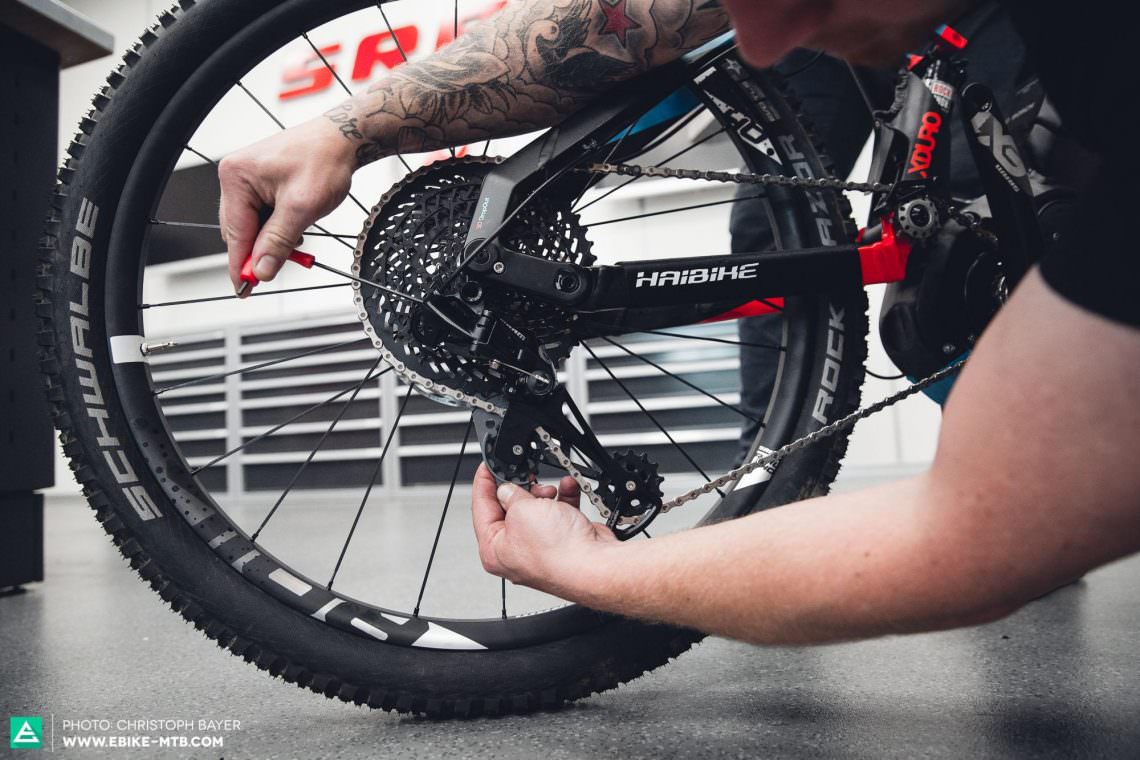
- 2.5 mm allen key
- 5 mm allen key
- possibly a 25 mm Torx drive
How to
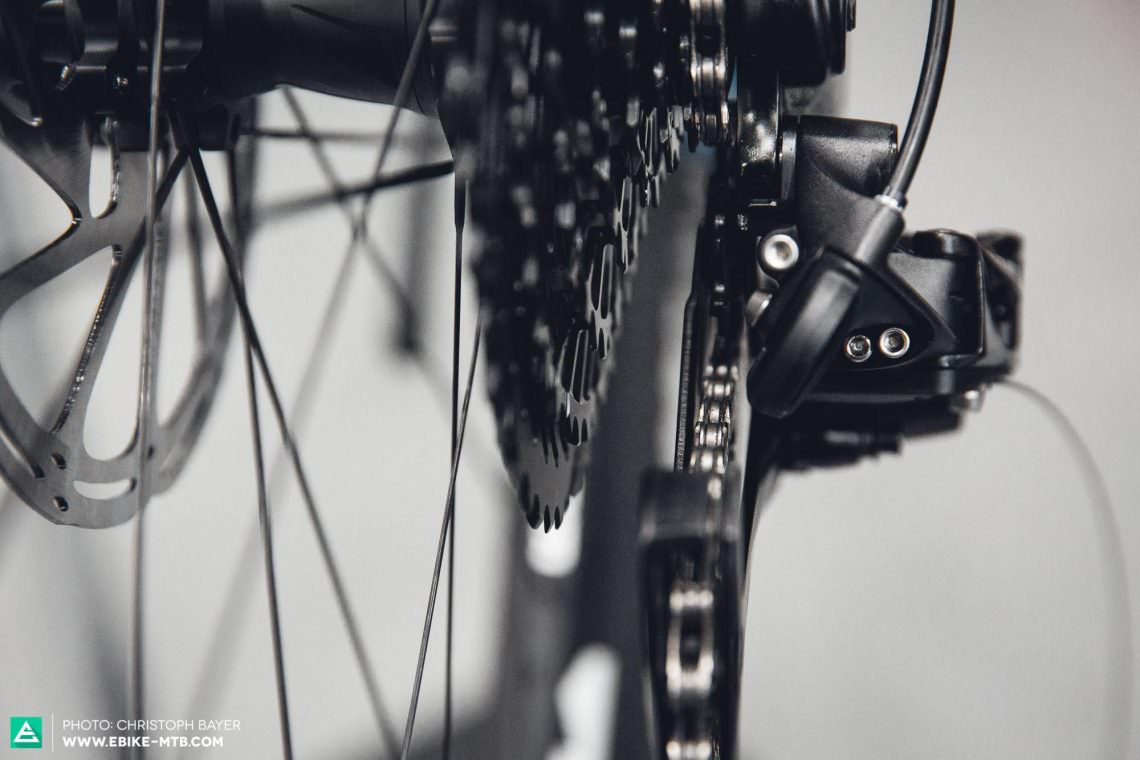
This is a complete how-to on setting up a SRAM EX1 drivetrain in particular, but the same steps will apply to all SRAM 11-speed derailleurs.
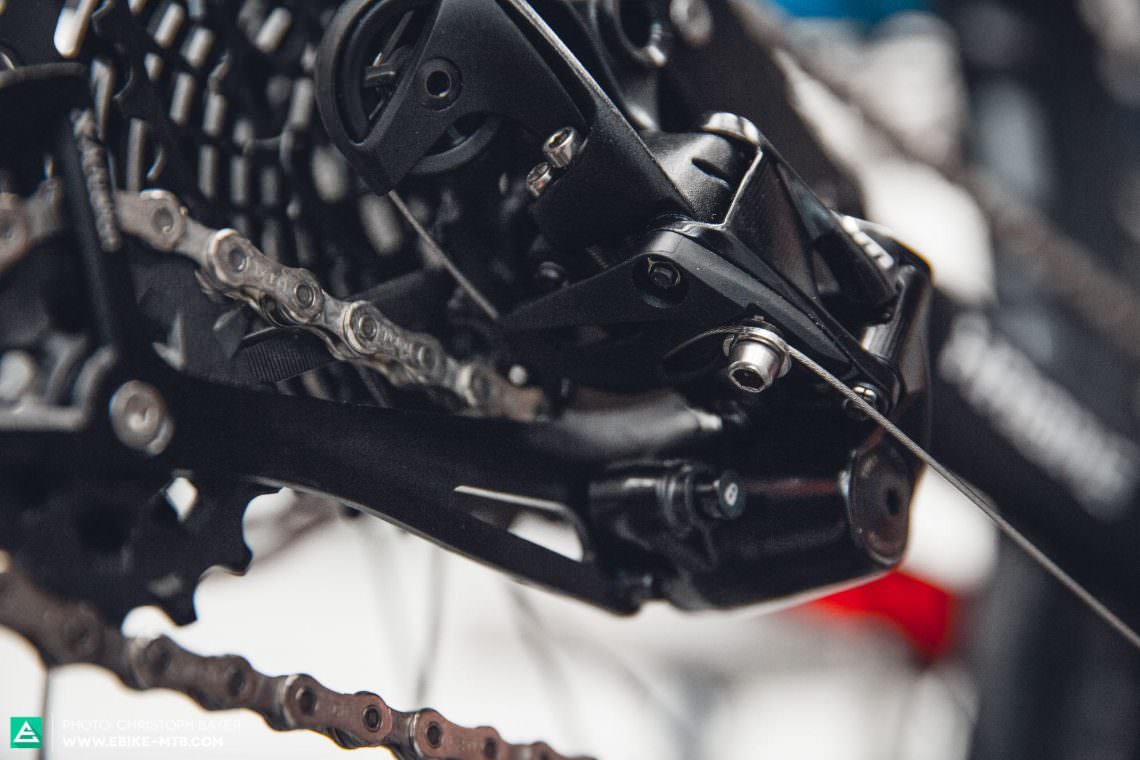
If the derailleur has already been fitted well but still isn’t working properly, it might be the case that it just needs a few tweaks in order to run smoothly. However, it’s wise to follow this guide from start to finish so that you can rule out other issues.
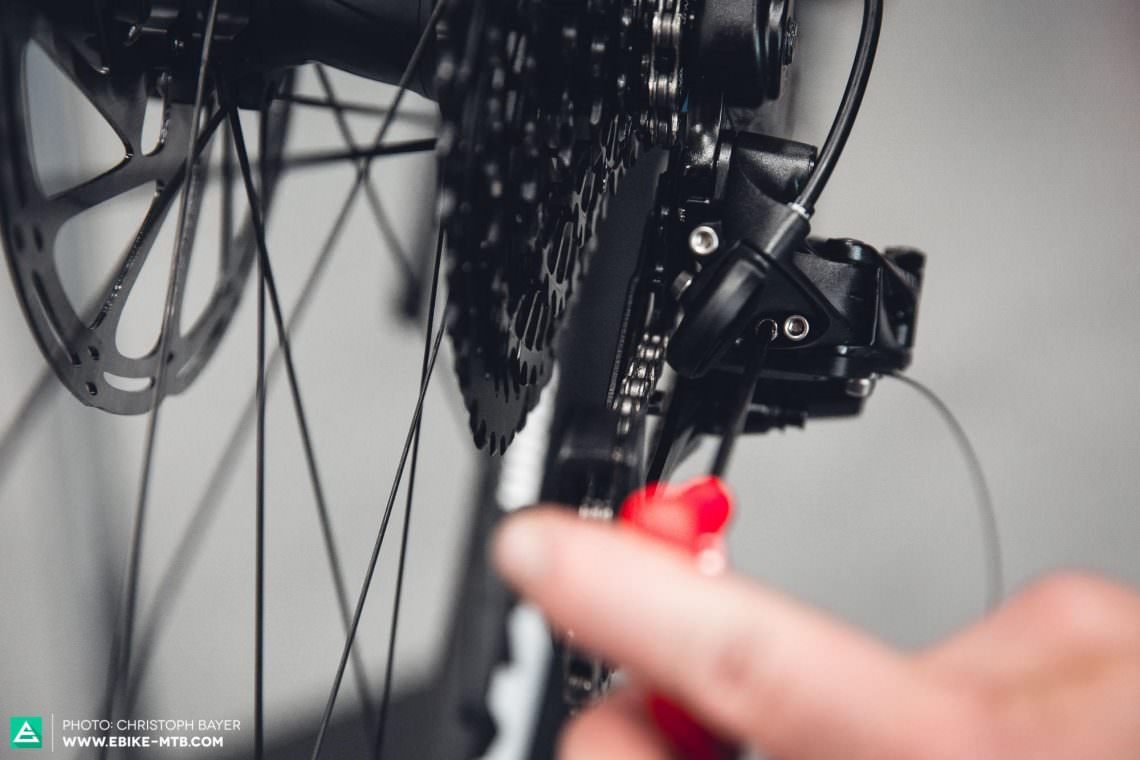
Possible issues
If you’re still having issues after sorting out the shifting, then here are some potential issues and how to tackle them:
– Gear hanger bent: If the gear hanger is bent, then the derailleur won’t be aligned properly with the cassette, which means you’re likely to have problems shifting and a chain that jumps off the cassette. So while you’re out riding, make sure you’ve adjusted the top stop so that the chain can’t jump into the spokes – but really, it’s time to fit a new gear hanger.
– Gear cables (inners and outers) are worn: If the gear hanger is bent, then the derailleur won’t be aligned properly with the cassette, which means you’re likely to have problems shifting and a chain that jumps off the cassette. So while you’re out riding, make sure you’ve adjusted the top stop so that the chain can’t jump into the spokes – but really, it’s time to fit a new gear hanger.
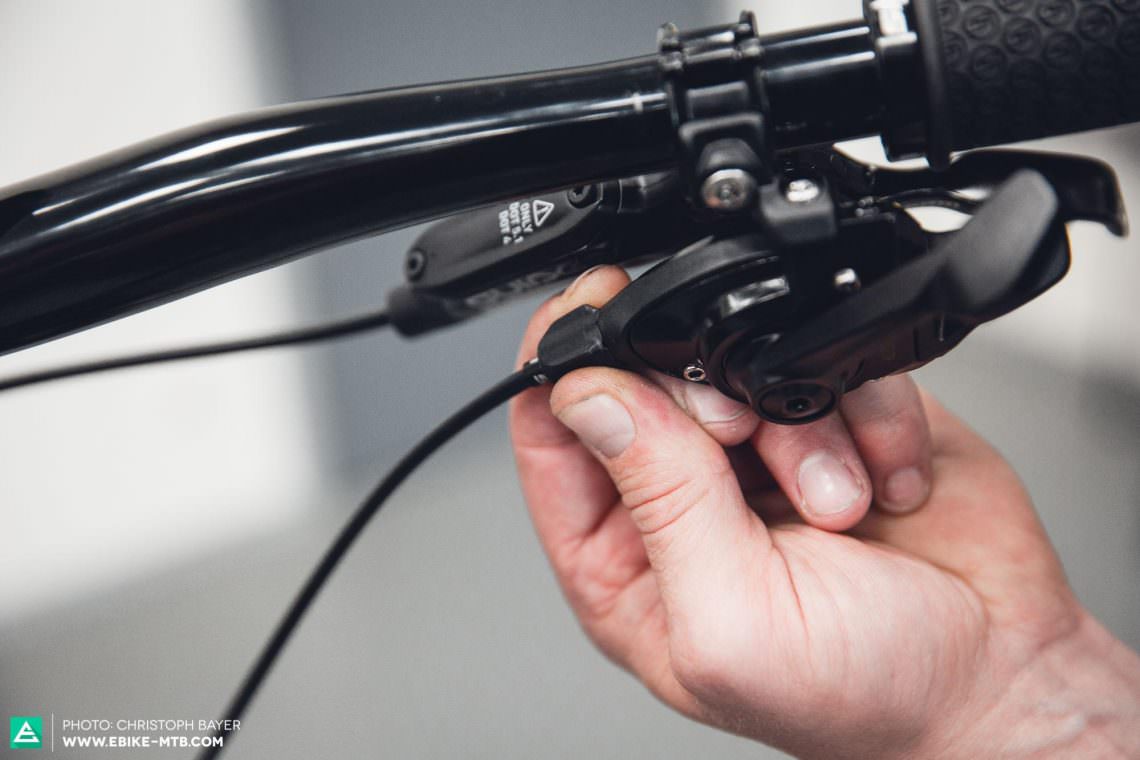
– Gear outer too short: If the cables are aged or corroded, then there’ll be friction and imprecise, awkward shifting or it just might not work at all. We recommend changing your gear cables once a year. (Plus, we’d lubricate them every couple of months, especially if you’re riding in the wet).
– Stiff chain links: If the chain does run smoothly over the cogs and there’s added noise, then it’s perhaps down to overly stiff chainlinks. These could have been bent through contact with a rock or just have rusted through lack of care. Check out this article on how to look after your chain so that you’ll avoid this one in the future.
Did you enjoy this article? If so, we would be stoked if you decide to support us with a monthly contribution. By becoming a supporter of E-MOUNTAINBIKE, you will help secure a sustainable future for high-quality cycling journalism. Click here to learn more.
Words & Photos: