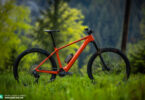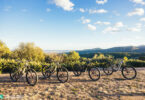
6. The route itself
Once you’ve sorted your destination and type of tour you just have to work out the actual route — of course the easiest way is to follow an existing one. This way you’ll know exactly what to expect and all you have to do is follow a paper or GPS-map. You can find the routes in specific tour-books and on a number of online portals such as outdooractive.com, komoot.com, gps-tour.info, gpsies.com, gaiagps.com or alpenvereinaktiv.com. Most pages will offer their own (sometimes free) app to record your ride, navigate and download maps for offline use.
Books will usually offer more detailed itinerary descriptions and also allow you to link routes. More specific books will feature dedicated eMTB routes. These will normally include a link to a GPS-track which you have to type in by hand if a QR code isn’t available. Internet portals on the other hand offer a considerably bigger choice — the routes are easier to download and can often be adapted or directly modified online. However you should at least have some experience to work out your altitude gain and distances — after all pretty much everyone can upload routes on these kind of portals which means the descriptions are often approximate and not always intended for eMTBs.
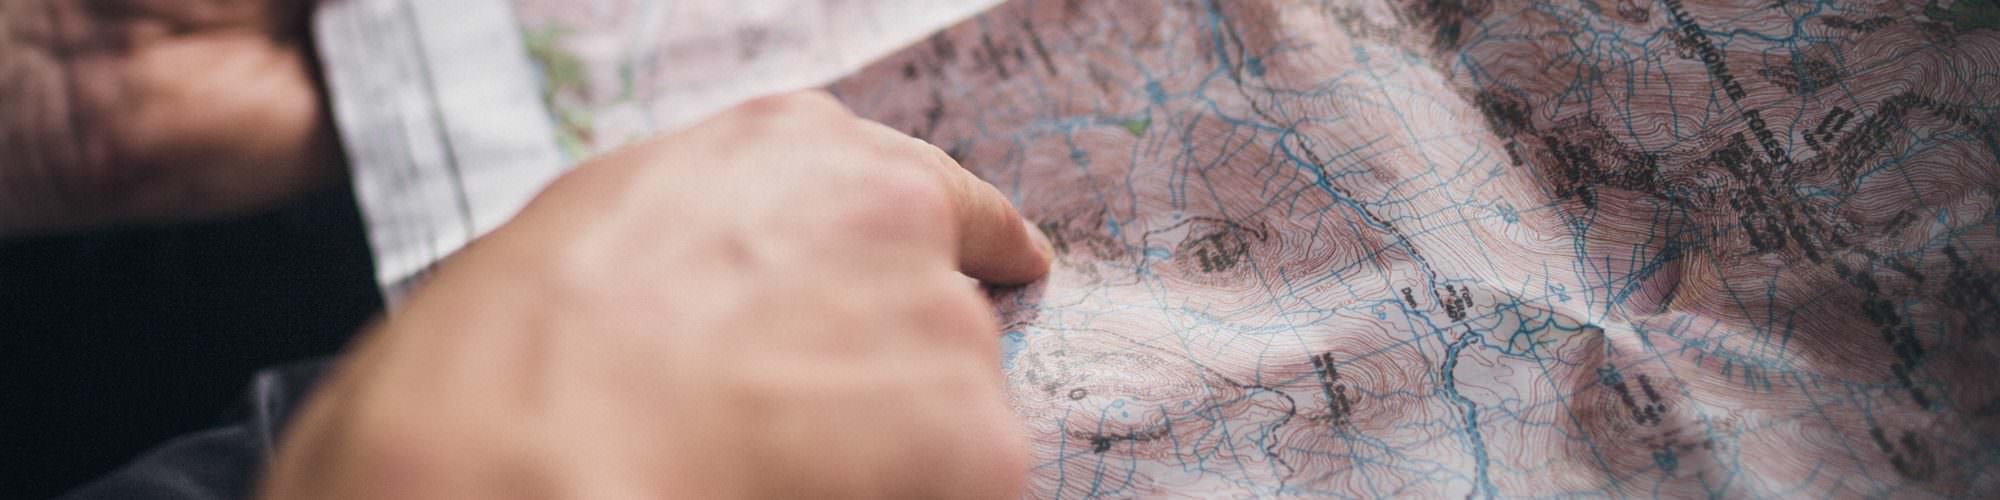
The easiest way is to follow an existing route

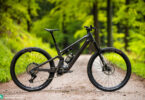
Creating your own route is the ultimate challenge. Of course you can do this using a classic paper-map but one of the many dedicated online portals will make your life a lot easier. First off decide whether you want to ride from A to B or plan a round trip — this will help you decide your departure and arrival locations and set the start and finish points accordingly. Once you’ve sorted this you can use three different methods to create a route. The first option — and also the most time-consuming — is drawing up the complete route step by step by using a route planner. This method gives you maximum control over the route itself and gives the option of activating turn-by-turn instructions — depending on the GPS device you’re using.


With the second method you just need to set your main checkpoints and rely on the autofill-function to create the segments in between. The route planner uses definable parameters to calculate the stretches in between the dots (terrain, bike type, gradient, etc.). Not all websites are currently offering this service but it’s becoming increasingly popular. If you’re after the ultimate adventure you can stick to a third, very exciting option: set your keypoints and decide for yourself how to move in between them while riding. No matter which of the three methods you’ll end up following always work out the vertical metres you’re going to cover. These have a massive impact on your battery life and are a decisive factor when planning your charging stops. Ideally these should coincide with your overnight stay. Not every hotel, hut or campsite will allow you to charge your eMTB – make sure you check this out before booking your accommodation.
7. Luggage and food
No matter how, where or how long you’re planning to ride for — you’ll inevitably need at least some luggage and something to drink. But how much and what exactly? Of course this is a very subjective matter and strongly depends on the specific tour and weather. Still there is basic equipment you should always carry with you and this can differ depending on whether you’re off just for the day or embarking on a multi-day adventure.
You should always have a basic tool/spares-kit with you. The following tools will do for a day trip:
- Minitool with chain tool
- Pump
- Spare inner tube and tire plugs
- Chain links
- Spoke magnet
- Shock pump if applicable (if you ride in a group one pump is enough)

If the tour spreads over several days you should also include:
- Brake pads
- Shifter cable
- Zip ties and duct-tape (just wrap 2 metres around your pump)
- Maybe a second inner tube or repair kit
- An extra chain (with eMTBs the chances of braking a chain are higher)
- Cloth and chain lube
You can store all these items either in a tool-pouch or in your backpack – this might have a dedicated compartment for it. Depending on your bike design you could also use a frame-bag (i.e. ORTLIEB’s Frame-Pack Toptube) — this means less weight on your shoulders. Alternatively there are systems which allow you to integrate your tools directly into the bike (e.g. EDC TOOL SYSTEM from OneUp Components). Some bikes already include such integrated systems (SWAT system on Specialized bikes).
Water supply is crucial. Your motor needs electricity, your body needs water
Water supply is crucial. Your motor needs electricity, your body needs water. As a general rule you should be able to carry at least 1.5 l. If your frame design allows for it nothing beats a classic bottle holder combined with a large bottle and a spare one in your backpack. You can also use adapters to attach it in different spots of the bike — i.e. on the handlebars or fork legs. You might even attach two bottles next to each other — see the Wolf Tooth B-RAD system. If this doesn’t work for you just carry a water bladder in your backpack. But you will also need room for other stuff in your backpack so we recommend carrying most of your water supply on the actual bike. Make sure you work out your refill-stops carefully when planning the route. In remote places without supermarkets or local shops you’ll find springs, fountains, streams and even cemetery water taps. If you’re out of water and really struggle to find some you can ring any door bell and ask the people to refill your bottle(s) – no one will refuse you water. When it comes to fixed meals everyone has to decide for themselves: If you plan your tour wisely you can eat lunch and/or dinner at home and if you’ll get food on the way you won’t need to pack any food except for one or two energy bars or gels. This way you’ll save both weight and battery.

Clothing is also a very subjective matter. Check the weather before leaving and pack accordingly. The general rule is “less is more” and once you have a few tours under your belt you’ll pretty much know what you need and what you don’t. Having said that we want to give you two helpful tips: clothing and underwear made of merino wool feels good, keeps you warm even when you’re wet and excellently absorbs unpleasant odours — unlike synthetic fibres. One more piece of advice: sunglasses, long gloves and a windproof jacket or thin rain jacket come in handy in a number of situations – especially when you’re riding at high altitudes.