Brake tuning is not a crime! Good braking performance is crucial on the trail, allowing you to ride with more confidence. However, the brakes are still amongst the most neglected components on eMTBs. So it’s time to show you how to get the most out of your brakes and tune them without spending money on a professional mechanic.
“The later you brake, the longer you’re going fast” might be one of the most clichéd pieces of advice in mountain biking history. And yet there’s some truth behind it, because efficient and powerful brakes inspire confidence, allowing you to wait a few more seconds before dropping the anchor. Consequently, efficient brakes allow you to ride faster and make you feel safer, while at the same time increasing the fun factor on the trail significantly. Moreover, good braking performance helps minimise arm pump on long descents, because you don’t have to pull as hard on your brake levers. It goes without saying that improving braking performance might be one of the best upgrades you can perform on your bike.
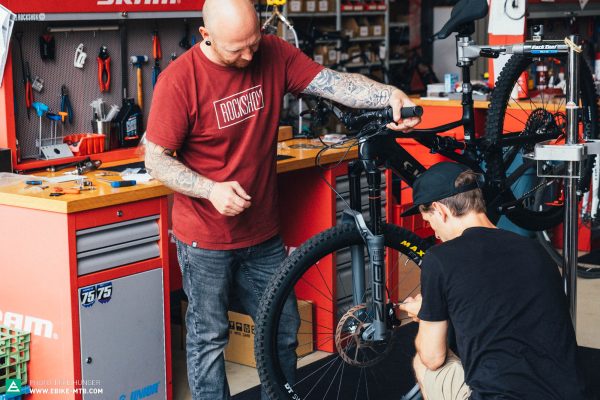
Modern eMTBs come standard with hydraulic disc brakes. These are complex systems with many variables and can have a huge impact on your riding performance. However, in this story we’re not going to delve further into the science and theory of braking. Instead, we’ll give you some practical advice on how to improve braking performance and show you how to tune your brakes with a few simple and cost-effective upgrades, like new brake pads and rotors. We also had a chat with one of SRAM’s in-house mechanics Carsten, who’s going to share a few pro tricks with us! And the best part? Most upgrades don’t require a huge toolbox and can be performed using a conventional multi tool.

Brake pads: the silent heroes of braking
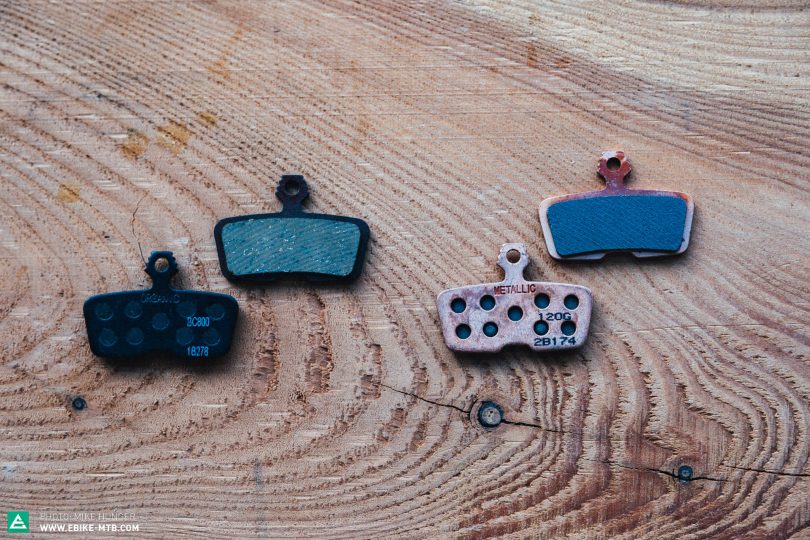
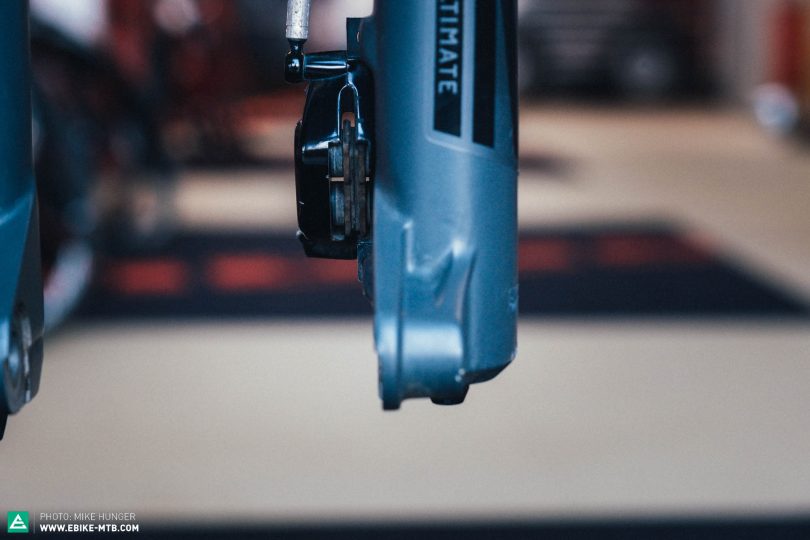
Brake pads tend to be the most neglected variable in the big braking equation. For most riders, they’re just a wearing part that should last as long as possible – right? Absolutely not, because the pad compound plays a crucial role in determining the friction coefficient, which in turn has a huge influence on braking performance. Simply put, brake pads can be divided into two categories: metallic and organic. Metallic pads, AKA sintered, have a higher temperature fade resistance and offer the longest service life. On the other hand, they take longer to reach their optimum operating temperature and only develop their full power when warm. Organic pads AKA resin pads, bite harder at lower temperatures and are generally quieter – but also tend to fade sooner at high temperatures.
Manufacturers use either of the pad compounds depending on the intended use of the brake. Of course, you can also mix pads with different compounds, for example combining organic pads at the front and metallic ones at the rear, thus taking advantage of the benefits of both types. While we tend to use the front brake less than the rear, when we do, e.g. when dropping the anchor before a tight corner or negotiating steep trail sections, we need it to be reliable and develop its braking power quickly and efficiently. That’s where an organic pad makes more sense, ensuring good bite even at lower operating temperatures. At the rear, however, we tend to drag the brake over long trail sections, which is where the higher temperature fade resistance of metallic pads comes in handy. That being said, the type of brake pads is largely down to personal preference, with both types delivering excellent performance.
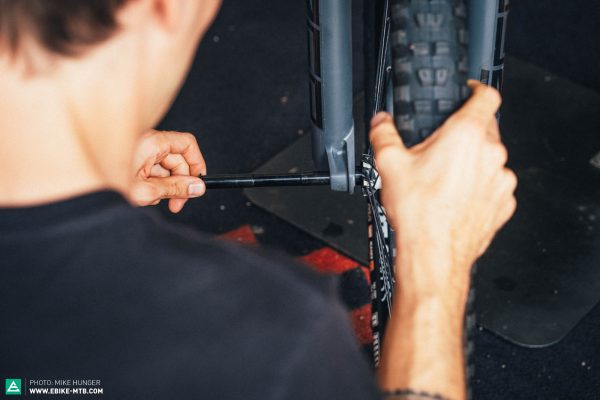
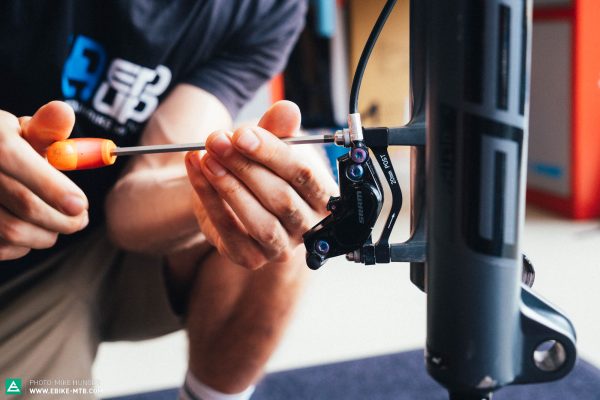
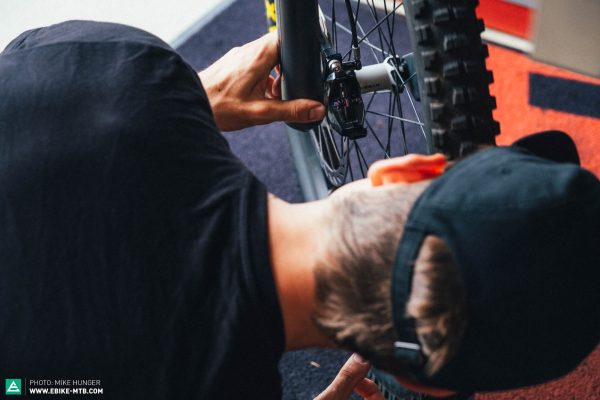
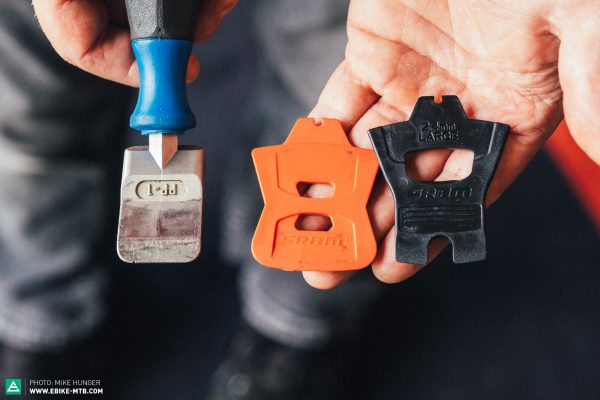
But how do you go about changing your brake pads? First you have to remove the wheel. To do this, you have to undo the thru-axle, which employs either a quick release lever or a 6mm Allen key depending on the system. Once that’s done, just remove the thru axle from the side. When taking off the rear wheel, we recommend shifting into the smallest sprocket to make removal easier. Once the wheel is off, unbolt the pad retaining screw. Depending on the manufacturer, you may have to remove a safety clip too. At this point, you’ll be able to pull out the pads, either from the top or the bottom of the calliper depending on the manufacturer and brake model.
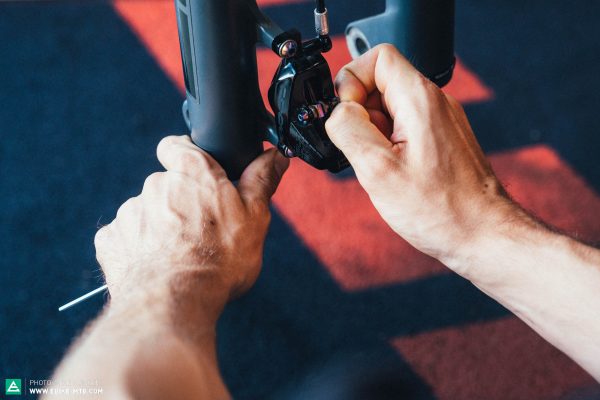

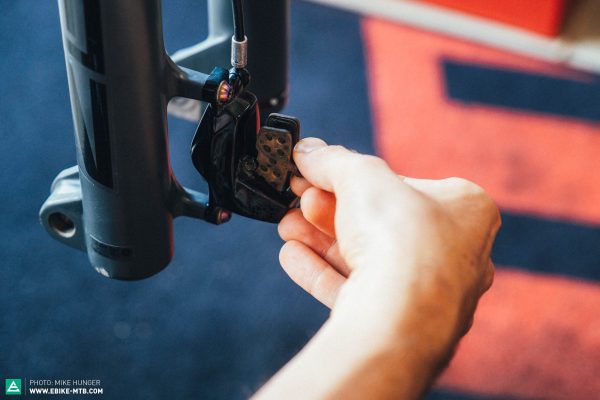
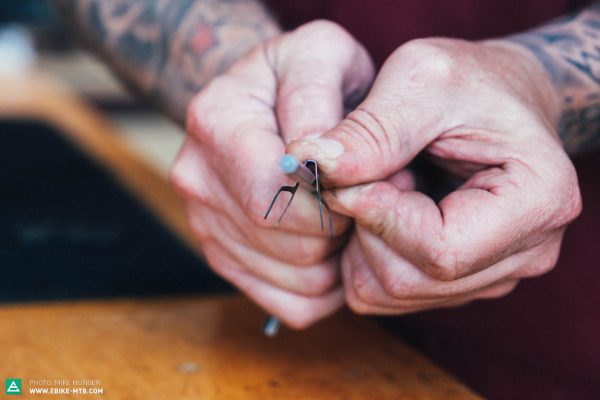
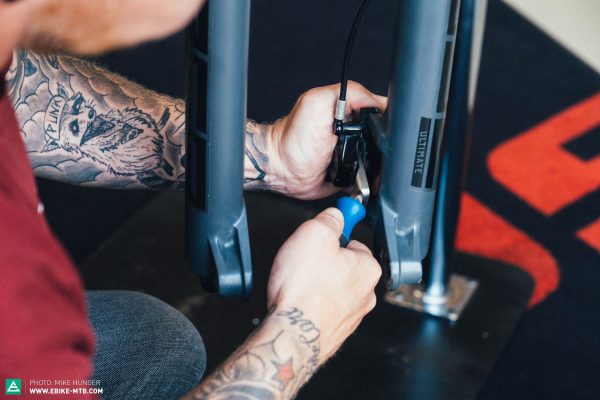
Now install your fresh pads and secure them with the retaining screw and safety clip if there is one. Each time you change your pads, you should open the reservoir bolt and push back the pistons into the calliper housing with a piston press or similar tool. This allows you to eliminate excess brake fluid from the system. In addition, when changing from organic to metallic pads, we recommend changing the rotors too. The residual particles deposited by softer organic pads create a different microstructure on the rotor, which results in less braking power in conjunction with metallic pads. Another pro tip from Carsten: with SRAM brakes, use a 6 mm Allen key to spread the pad’s spring clamp open if this has closed up over time.
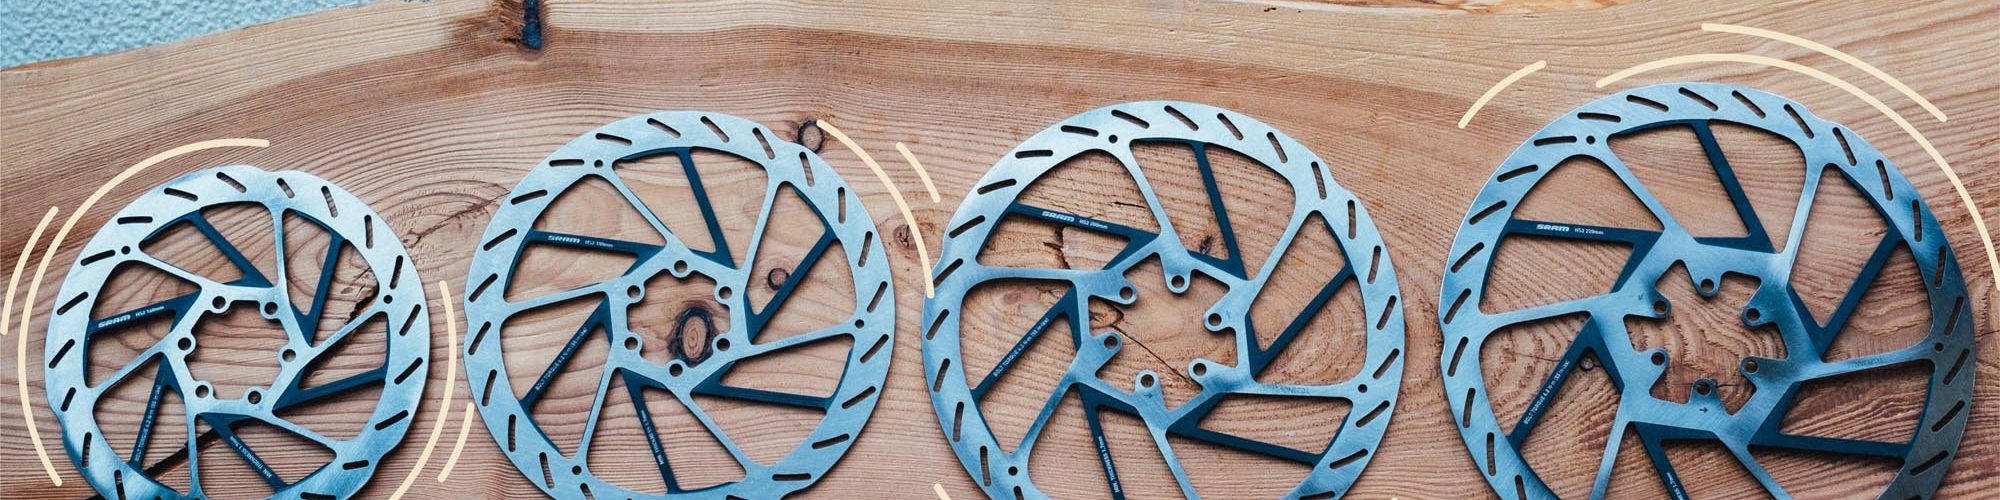
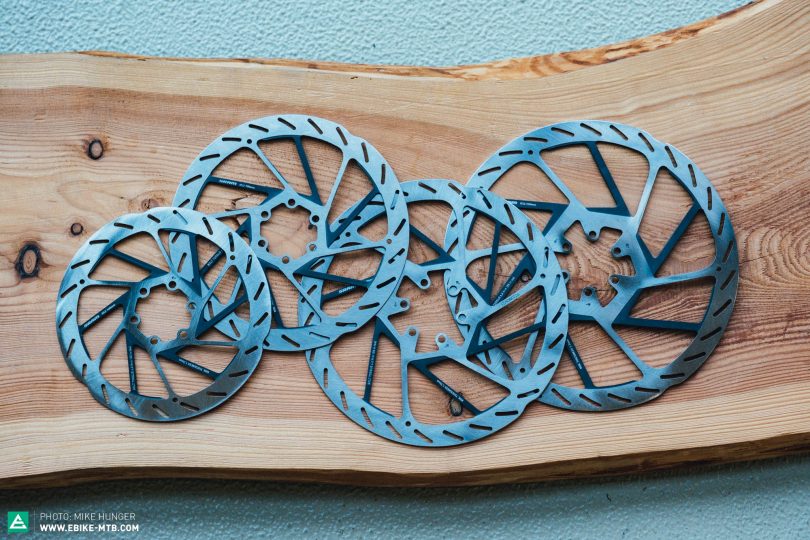
Brake rotors: size matters
If you’re familiar with our bike reviews, you might have noticed that we’re rather picky about rotor size. And there’s a good reason for this: a bigger rotor results in a longer lever arm and thus in higher braking torque, while the greater mass ensures better heat dissipation. All in all, a bigger rotor is a simple and cost-effective upgrade that allows you to improve braking performance. That being said, lighter riders might struggle to bring a bigger rotor to its optimal operating temperature and could miss out on its advantages. Simply put, that’s because the optimal friction coefficient requires a very specific temperature.
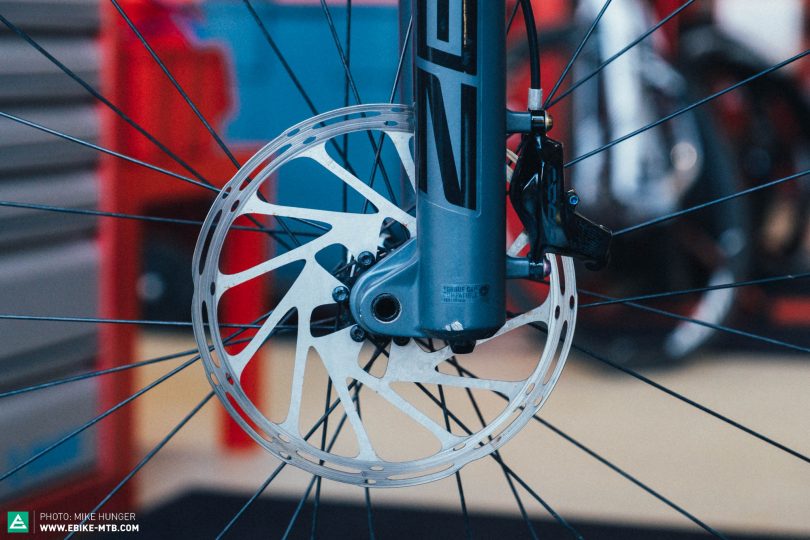
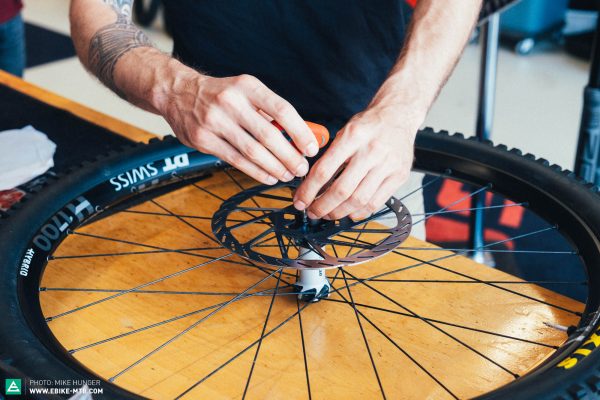
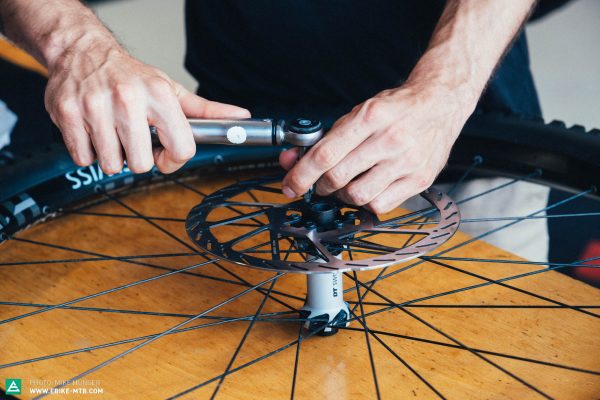
To change a rotor, first remove the wheel following our instructions in the above “brake pad” section. Once the wheel’s off, you can proceed with removing the rotor from the wheel. Depending on your hub, the disc will be attached to the wheel with either six small T-25 screws or a special CenterLock ring. When installing the new rotor, make sure you follow the rotation direction. That being said, most manufacturers etch the lettering and logo on the outer face of the rotor and usually include an arrow indicating the direction of use.

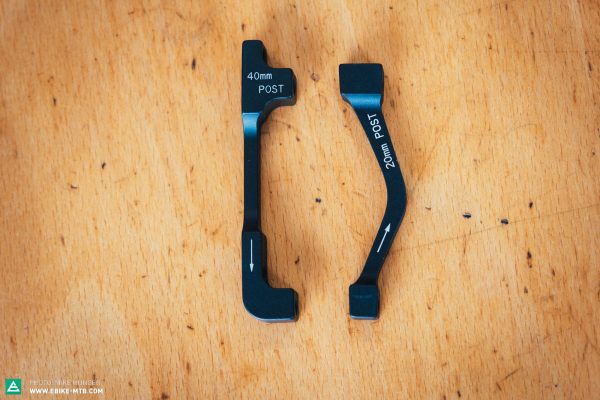
When installing a bigger rotor, you’ll have to increase the distance between the calliper and wheel axle in order for the calliper to fit on the new disc. To do this, you’ll have to use a calliper adapter or replace the existing adapter with a bigger one. Simply loosen the two calliper bolts on the fork or chainstay and install the new adapter using the same bolts, or longer ones if the adapter requires you to do so. Once again, make sure you’re installing the adapter in the right direction with the arrow pointing upwards! Tighten the bolts lightly at first, because you will still have to align the calliper with the rotor.
Now you can install the wheel with the new rotor and secure it with the thru axle. Once that’s done, align the calliper with the rotor by turning the wheel and gently pulling the brake lever. At this point, tighten the calliper bolts without releasing the brake lever. If the rotor still grinds against the rotor, you can correct the position of the calliper by eye.
Tips and tricks from SRAM’s pro-wrencher Carsten
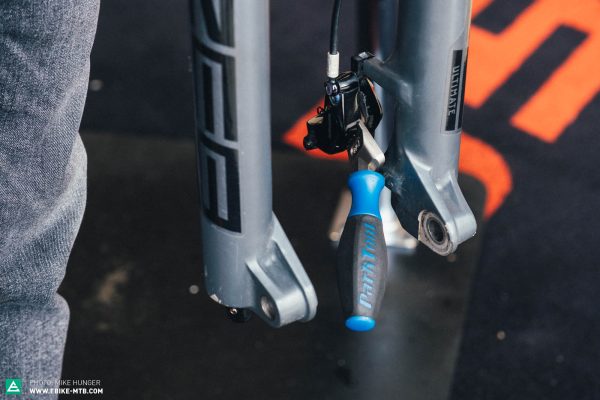
If your brakes feel spongy or have an undefined bite point, you want to mobilise the pistons. To do this, remove the wheel following the above instructions – but this time leave the brake pads in! Now pull the brake lever several times, allowing the pads to move closer together until they touch. With this procedure, you’re moving the pistons further out of the calliper housing than with a conventional braking manoeuvre, which can help fix a sticky piston. As long as the pads are still in (and new!), you don’t have to worry about the pistons dislodging from the housing or falling out. Once you’re done, push the pistons back into the housing using a piston tool or transport lock pad spacer.
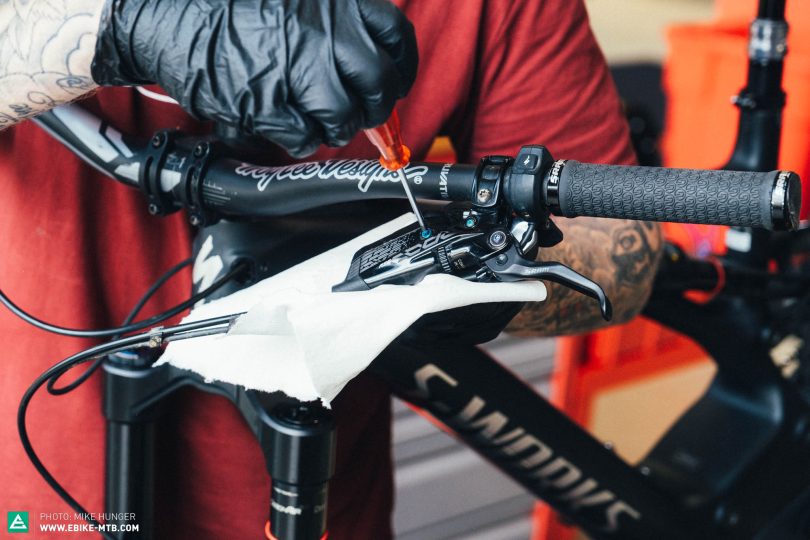
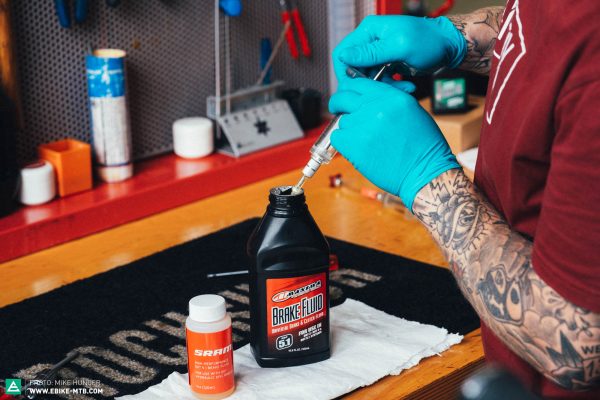
If this doesn’t do the trick and you’re still unhappy with the feel of your brakes, you can try bleeding the brake lines. Since air bubbles tend to work their way up to the highest point in the system, most of the time you’ll get away with a quick bleed from the reservoir on the brake lever. To do this, loosen the bleed screw, fill a syringe with brake fluid and attach it to the reservoir. Make sure the syringe has a threaded head that fits your brakes and always use the correct brake fluid. For eMTBs, we use both mineral oil-based and glycol-based (DOT) brake fluids, which have different properties and aren’t therefore compatible with each other.
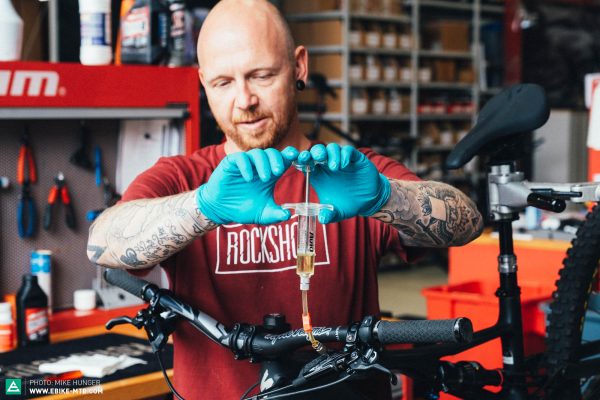
Hold the syringe vertically above the brake and gently pull the plunger to create a vacuum and pull air bubbles out of the system. However, don’t pull too hard or you’ll draw air from outside into the system. Now gently push the plunger and inject the fluid back into the reservoir. Repeat the process several times until all air bubbles disappear, release the plunger to equalise the pressure and detach the syringe from the reservoir. We recommend holding some paper or a cloth under the brake lever, as some brake fluid may leak in the process. At this point, simply re-fit the bleed screw and your bite point should be crisper than ever. Take care to clean up any spilled fluid quickly.
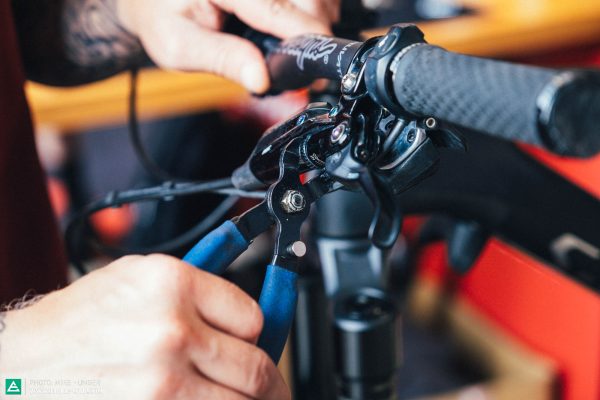
If you’re using SRAM brakes and your bite point adjuster is sticky, try using chain lock pliers, which fit perfectly onto the adjuster-dial and lower the risk of damage to the lever. Your SRAM brakes don’t feature a bite point adjustment? In that case, you can just swap the brake lever instead of buying a complete brake. For example, you can upgrade your CODE R brake to a CODE RSC just by changing the lever. Alongside the feature that allows you to change the amount of lever movement required to start the braking action, the RSC model employs SRAM’s proprietary Swinglink technology, which is supposed to improve braking torque and modulation.
And finally, one more helpful tip: always use a torque wrench to tighten the bolts according to the manufacturer’s recommendations. This will keep your bike running smooth and prevents you from damaging the bolts and parts on your bike.
Upgrading your eMTB can be a cheap and easy task, even if you aren’t too keen on wrenching. While it’s true that brakes are a complex system, even simple changes to the pads and rotors can have a huge effect on braking performance, allowing even inexperienced home mechanics to improve their riding experience with relatively little effort and basic tools – and without spending a fortune! After all, good braking performance translates into a safer ride and plenty more fun on the trails.
Did you enjoy this article? If so, we would be stoked if you decide to support us with a monthly contribution. By becoming a supporter of E-MOUNTAINBIKE, you will help secure a sustainable future for high-quality cycling journalism. Click here to learn more.
Words: Simon Kohler Photos: Mike Hunger