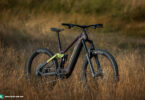
How to set up the cockpit on your eMTB
Is your eMTB cockpit dialled in, just for you? Optimising your handlebar configuration to be as ergonomic as possible is one of the easiest and most effective ways to get your eMTB feeling like an extension of your body. Once properly set up, it will require no conscious thought to operate and give you the highest levels of comfort and control possible.
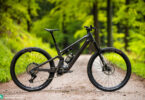
eMTB Operations Management
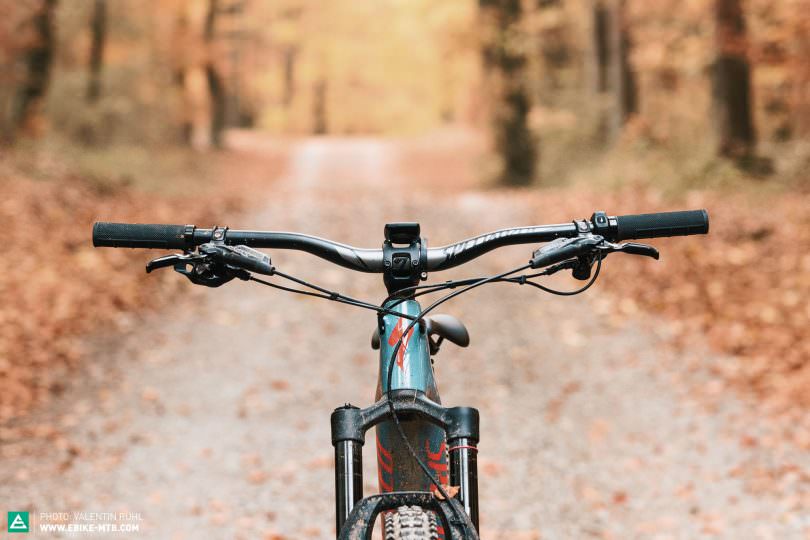
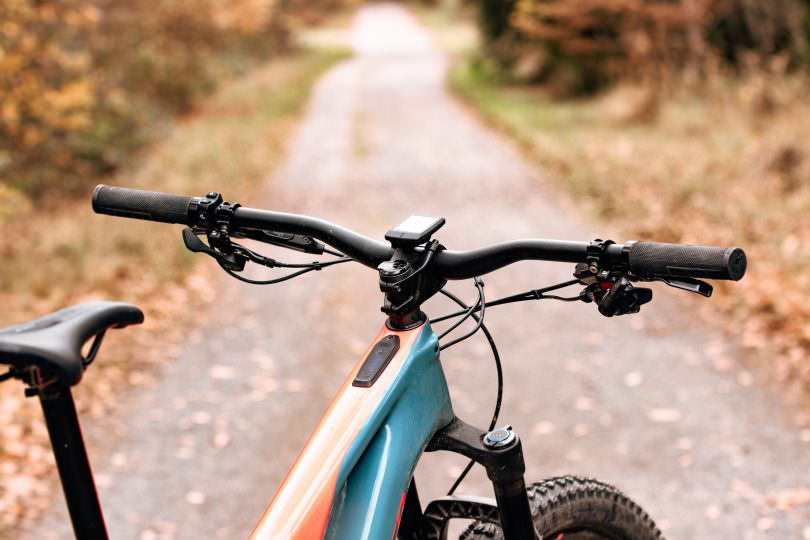
Gear shifters, brake levers, ride mode controllers, data displays, dropper widgets and suspension lockout doohickies, lights and Go-Pro mounts all compete for room on an eMTB’s crowded cockpit. So how do you install some order?
Position your Shifters
You use the gear and dropper shifters constantly, so they need to be as ergonomic as possible. Give each one prime real estate and put your dropper lever on the opposite side to the rear shifter. On some eMTBs, you will be restricted by the type of system controls that you have. The Shimano and Yamaha PW-X systems monopolise the left thumb position but by moving them inboard and up or down slightly, you should still be able to find a hot spot for your dropper lever.
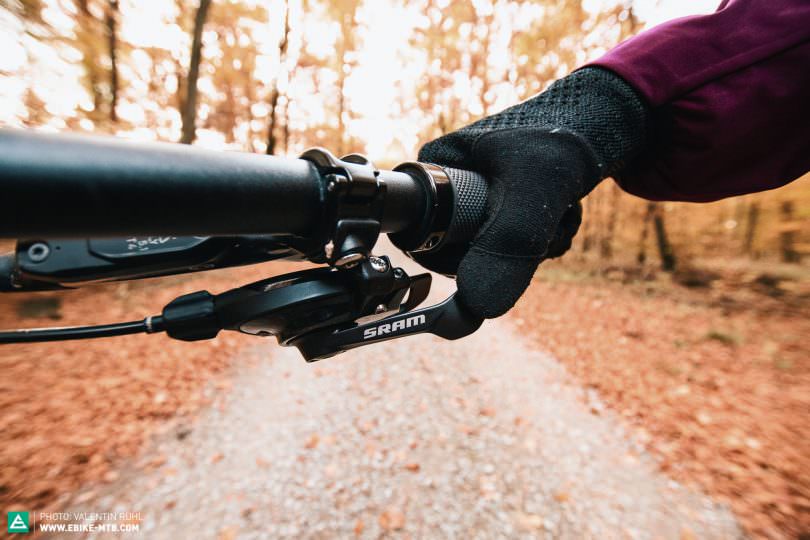
Now move your shifters inboard, away from grip flange, until your thumb is in a relaxed shifting position and you don’t have the metal rubbing against your hands. If you can hardly see your bars for clamps and brackets, it’s well worth investing in, ‘Matchmaker’, type clamps, which combine the brackets of your brakes and shifters in order to simplify your cockpit. The same can be done for your camera, lights, GPS, phone; etc…
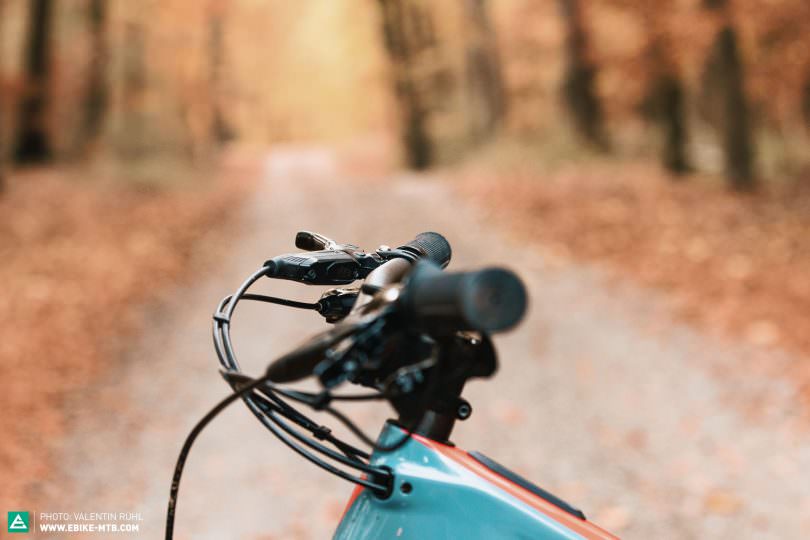
Organise your eMTBs cables
Once all the controls are where you want them, organise your cables so that they run untwisted and then use zip ties or cable tidies to stop them from rattling when you ride. With the cable routing sorted, it’s time to trim off any excess cable outer. Cut them as short as possible without interfering with the bars turning: this may require bleeding brakes or changing gear cables, so if you are unsure, ask your LBS to do it when your eMTB next gets serviced. Short cables will work better, be less likely to catch and look pro!

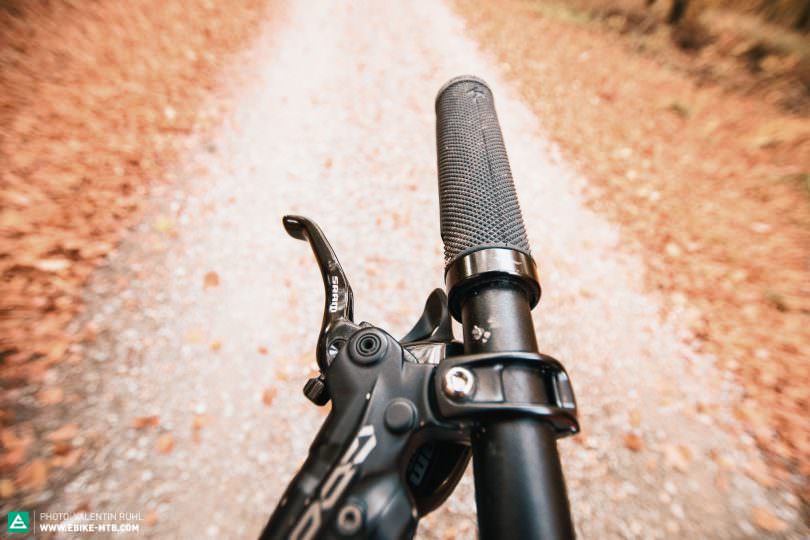
Brake Lever Fundamentals
Hydraulic disc brakes suitable for eMTBs are seriously powerful stoppers, so you will only need to use your index finger.
Adjust the reach
Slide your brake levers inboard until you can comfortably rest your index finger alone before the hook at the end of the lever: If your levers have reach adjustment, wind them so that your finger is slightly bent, with the crease of your first knuckle resting on the lever. This position means that you do not have to stretch or tighten your grip to cover the brakes. It gives you great braking control and feel and leaves the rest of your fingers free to grip the bars reducing arm pump and fatigue.
Setting brake lever angle on an eMTB
Setting you brake lever angle to the correct position will make your braking more efficient. Set your brake lever angle so that when your elbows are slightly bent and bum just off the saddle, in your ‘attack’ position, your outstretched fingers rest at the same angle as your forearms. For riders who ride long and steep descents regularly, flatten out your levers by a few more degrees this puts your wrists in a stronger position.
eMTBs bar height
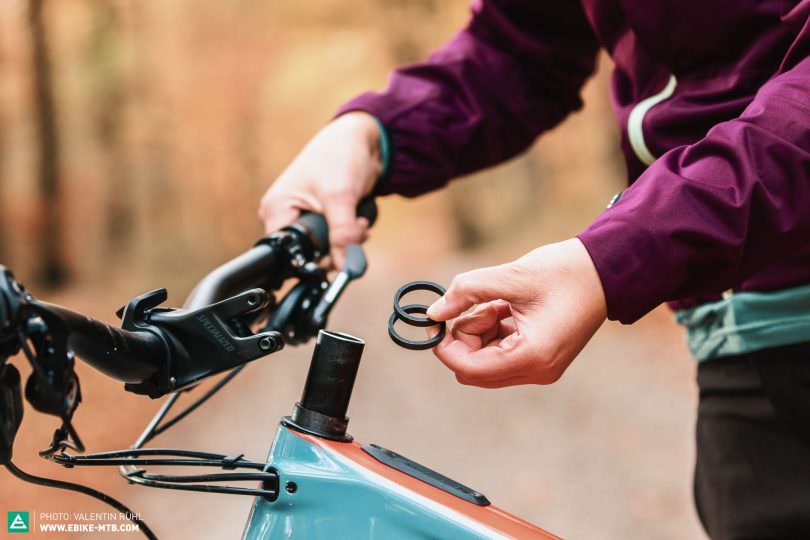
Setting your handlebar height is a simple job but getting it right will make significant improvements to how your E-MTB handles and your comfort when you ride. This can be done by simply using headset spacers. Lowering the bar height will drop your centre of gravity, place more of your weight on the front wheel and put you in a more stretched pedalling position; giving you greater control when climbing and more traction when cornering. Go too low and you may find that it becomes difficult to lift your front wheel and that your back, shoulders and wrists start to complain. A high rise and short reach will put you in a more relaxed position and reduce pressure on your hands and wrists plus it makes your bike easier to wheelie!
Too high and the front wheel will feel to light; wandering on climbs and losing grip on corners. To find the balance that works for you, add or remove a headset spacer at a time until it feels right. Bear in mind that raising your stem by 10 mm will shorten your reach by 4.2 mm (based on a 65° head angle) or vice versa if you lower it.
Life Behind Bars
eMTBs are about pushing technical riding and fun, so bar widths and stems need to give a rider more leverage and control to make the bike more playful and confidence inspiring. A good starting point for finding your bar width should be the distance between the outside of your hands when you are in a comfortable push-up or pull-up position. If you widen your grip on a pull-up, it becomes easier and the same rule applies with handlebar width. As eMTBs are heavy beasts, the more leverage you have, the easier it is to control the bike: we would recommend 740-760 mm for general trail duties and 760-800 mm for more aggressive riders looking for greater control. Try riding your bars at full width, then trim by 10 mm until your happy, if in doubt, keep ‘em wide!
When fitting your bars, it’s worth paying some attention to the sweep of the bars. The sweep is the angle that the bars bend back from the stem and is designed to match the natural angle of your wrists and keep your hands and forearms happy. This is purely down to what feels comfortable for each rider so, with the bars slightly loose in the stem and holding on to the grips, rotate your bars backwards and forwards until you settle upon the most comfortable position.
Stem Education
Now you’ve got the bars dialled it’s time to sort your stem out. Wide bars will bring your shoulders and weight forward: a shorter stem brings your weight back into the middle of the bike, putting you in a more centred and balanced position. Shortening your stem also improves the bike’s handling, increasing confidence at speed and makes the front end easier to pop over trail features.
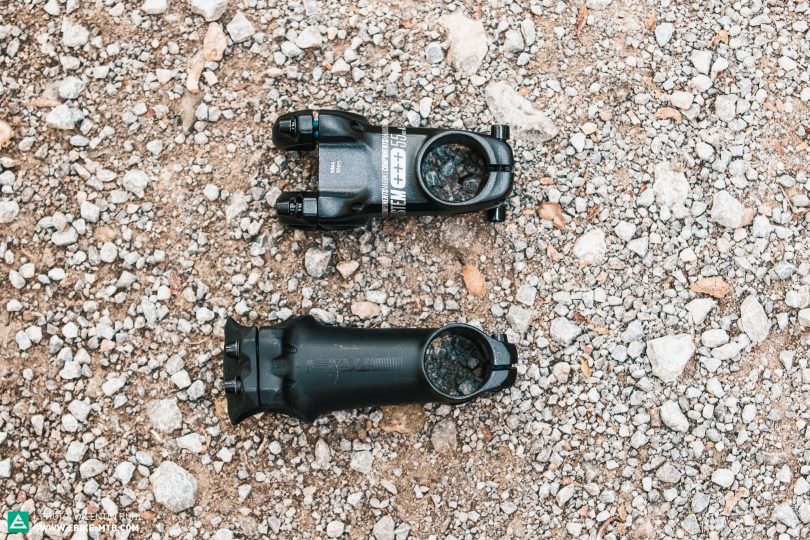
If your original ride position was the perfect reach for you, you should follow the 2:1 rule for decreasing stem length in relation to increasing bar width: for every 20 mm of bar width you add you should decrease your stem length by 10mm. For all-around riding a 50-60 mm stem is a good starting point: for technical riding and bikes with a long reach you can go even shorter but if your front wheel becomes too light when climbing, go back up a size.
Objective Complete
Setting your cockpit up properly has to be one of the most cost-effective and ride enhancing, ‘upgrades’, that you can do to your E-MTB. Each tip or tweak increases your comfort and control which makes each ride more fun! So customise your E-MTB’s cockpit and get rider and machine working in perfect harmony.
Did you enjoy this article? If so, we would be stoked if you decide to support us with a monthly contribution. By becoming a supporter of E-MOUNTAINBIKE, you will help secure a sustainable future for high-quality cycling journalism. Click here to learn more.
Words: Thomas Corfield Photos: Valentin Rühl