Foot shackles, or the decisive click to reach the next level? For some, clipless pedals are a nightmare, for others they are the key to performing at their highest level. The discussion about flat versus clipless pedals is marked by fear, but also the desire to evolve. When can you and when should you switch?
Entering the community of clipless riders seems like getting a knighthood: you suddenly join an exclusive circle of kick-ass pilots who – firmly attached to their bike – seem to master the most difficult trails effortlessly. If only there wasn’t this latent fear … The fear of falling with the bike, even rolling over – and not getting out of the pedals in time. Anyone who, despite these concerns for their safety, bravely considers converting their mountain bike to clipless pedals will get plenty of well-intentioned advice. The spectrum of statements ranges from “you should only ride clipless pedals if you are perfect on flats” to “you are much safer going clipless”. So what is the truth? Are clipless pedals really so difficult to ride and dangerous for newbies or do they provide greater safety due to the firm connection?

How do clipless pedals work? The basics at a glance
-
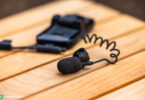
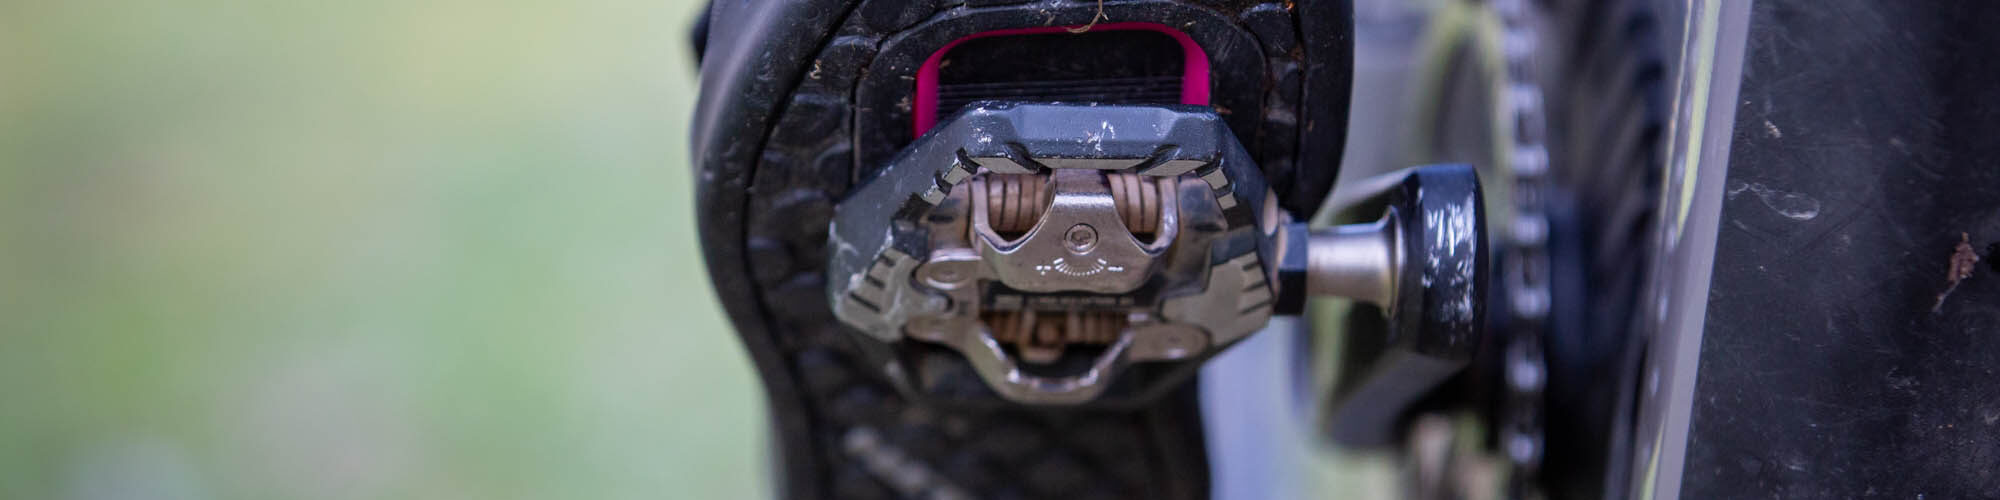
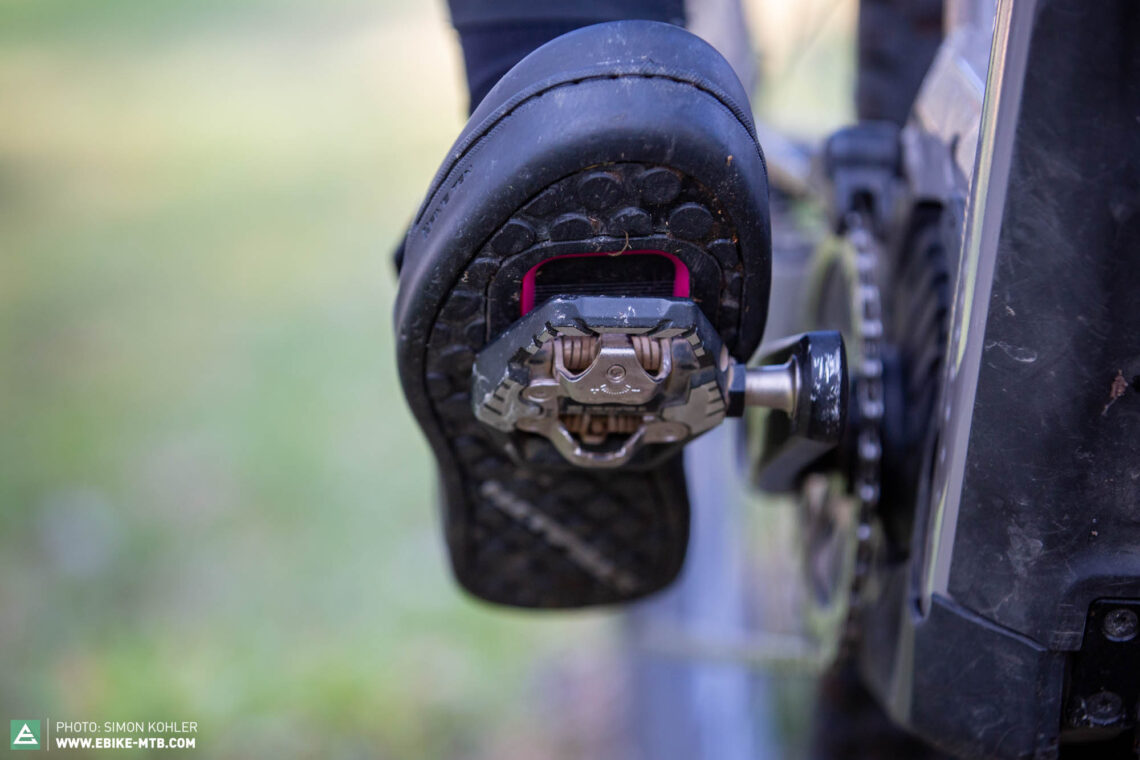
- The clipless pedal is part of a binding system similar to that of ski boots, but it only clips in at the front of the foot. The cleats, which are screwed to the bottom of the bike shoe, serve as a binding element.
-
- The cleats connect the shoe to the pedal and can be made of either metal or plastic.
-
- Two-bolt and three-bolt cleats: MTB shoes use a two-bolt cleat fitting, which recesses a metal cleat into a channel in the tread of the shoe. Road shoes use a three-bolt system with big plastic cleats that stick out from the sole.
-
- The float angle indicates the freedom of movement when the shoe is clipped in. Beginners are advised to ride with as wide a float angle as possible so that the foot can still move a little. The extended freedom of movement can also prevent knee problems.
-
- The release angle is determined by the clipless mechanism and the cleats, some manufacturers offer cleats with different release angles. For beginners, a small release angle is recommended as it requires less movement to unclip from the pedal.
-
- The spring preload or release tension is very important. It should not be set too high at the beginning, because it determines how difficult it is to clip out of the pedals. Inexperienced riders should choose a system with a low spring preload in order to get out easily. Clipless pedals which allow the spring preload to be adjusted are an advantage here.
- While some clipless pedals are very compact, others have a cage or frame around the clipless mechanism. This offers more support, particularly for soft-soled trail shoes, and gives you a bigger platform to rest on if you can’t get clipped in straight away. Some pedals also allow you to install pins, which hold your foot more securely, but limit your freedom of movement.
What are the main binding systems,and which one is right for you?
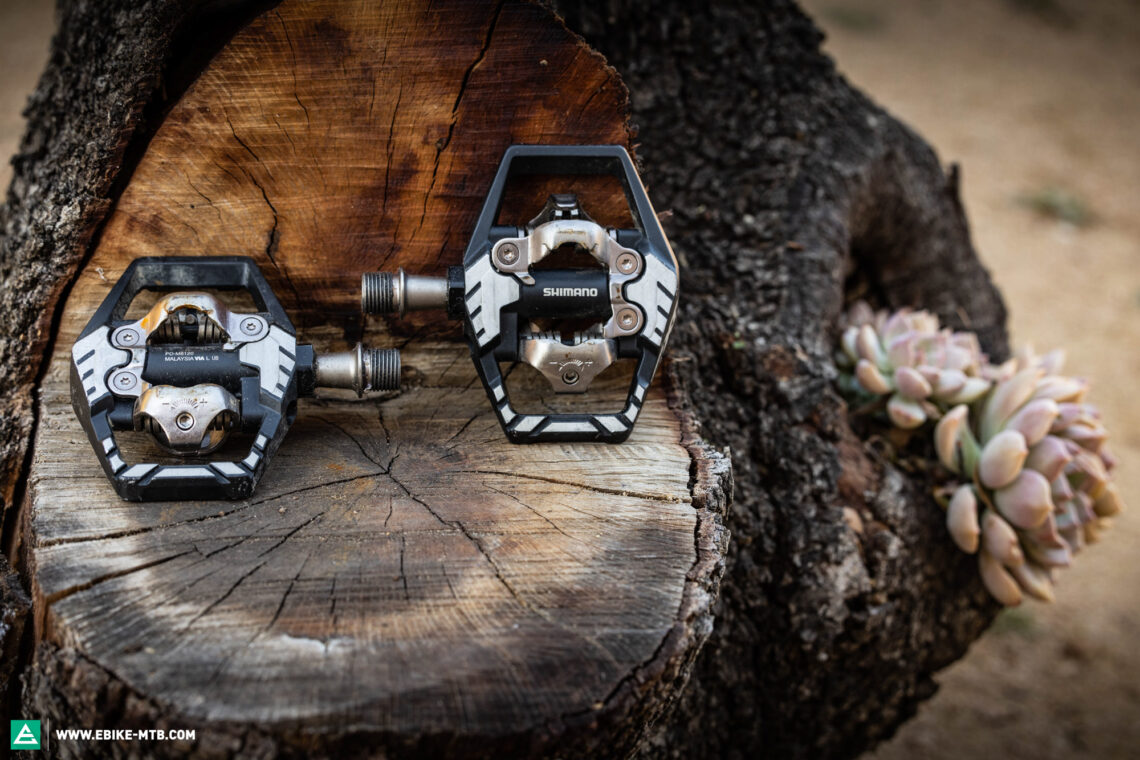
SPD:
Shimano Pedaling Dynamics (SPD) is one of the most commonly used clipless mechanisms and is considered a robust and durable classic. The spring preload is adjustable, the feeling they provide when clicked in is a bit more on/off than free. Many other manufacturers also use Shimano’s SPD system on their pedals, such as Nukeproof, Acros and TATZE. Many riders swear by the original from Shimano, which is also no more expensive than the competition.
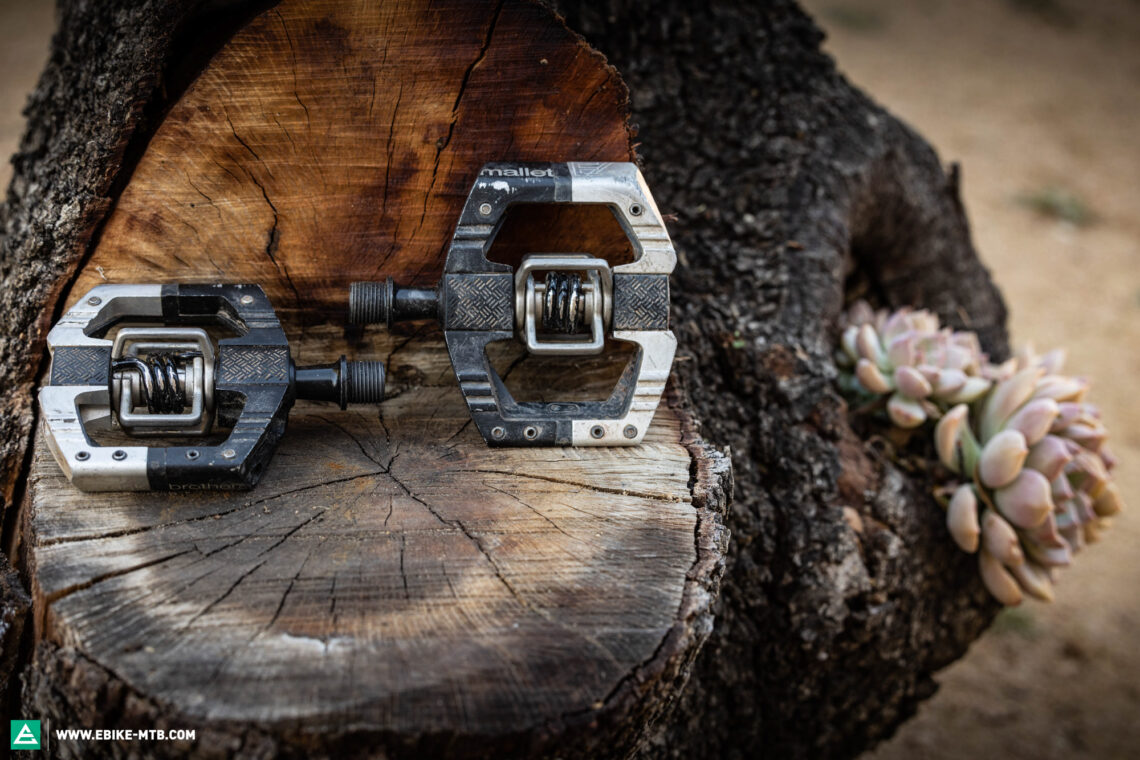
Crankbrothers:
Crankbrothers are a US brand known for mountain bike components. The advantage of the Crankbrothers pedal system is that you can adjust both the release and float angles via the use of different cleats. It is one of the most popular binding systems, especially with enduro and downhill aficionados, because of its free feeling when clicked in. Even when muddy it is still very easy to clip in, but the spring preload is not adjustable and the brass cleats wear out quickly.
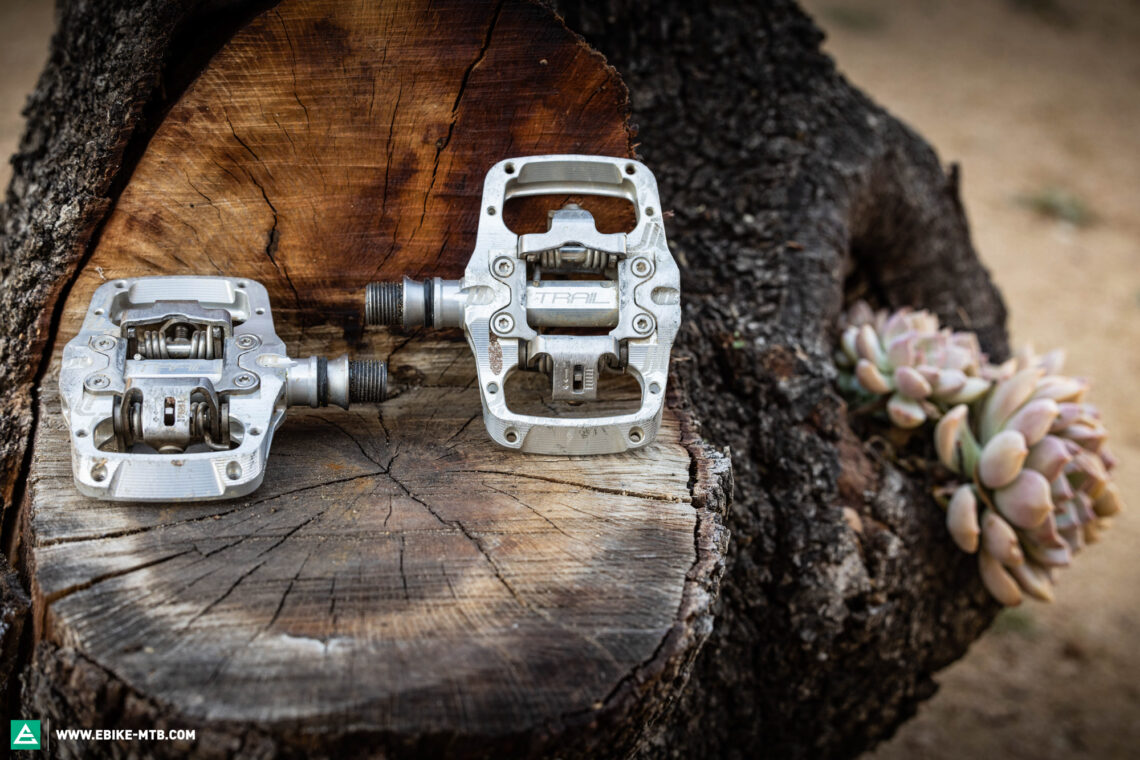
Hope:
As a relative newcomer, Hope pedal systems are rarely seen on the trails, but they have performed well in our tests. The spring preload is adjustable, the system is robust and durable, and they provide a free feeling when clicked in. You could say that it combines the advantages of the Shimano and the Crankbrothers system.
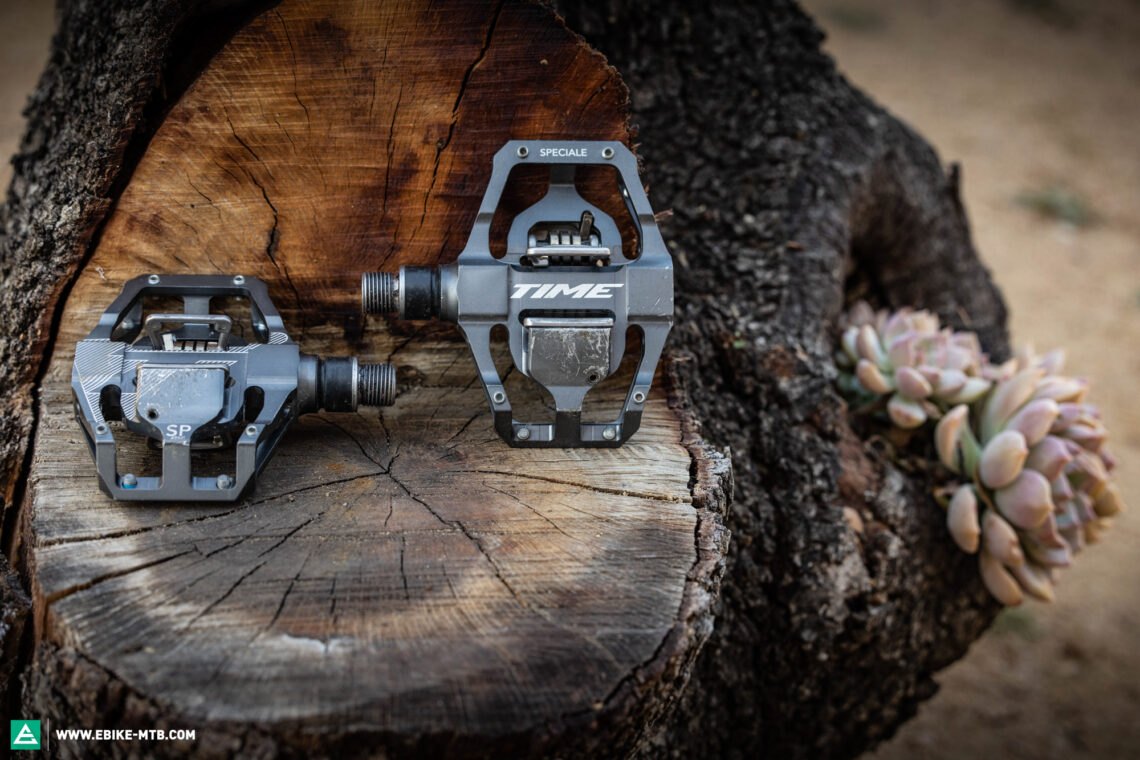
Time:
Time’s clipless mechanism is also rather seldom seen. It is robust and can still be comfortably clipped into place even in muddy conditions, but clipping in is a little more awkward. The spring preload adjustment does not make a noticeable difference when on the trail.
HT:
HT’s delicate and lightweight Taiwanese-made pedals are also still a rare find. They provide a good feeling when clicked in, similar to the Hope system, and the spring preload is also adjustable. However, you have to make concessions when it comes to durability, as the bearings and springs wear out quickly.

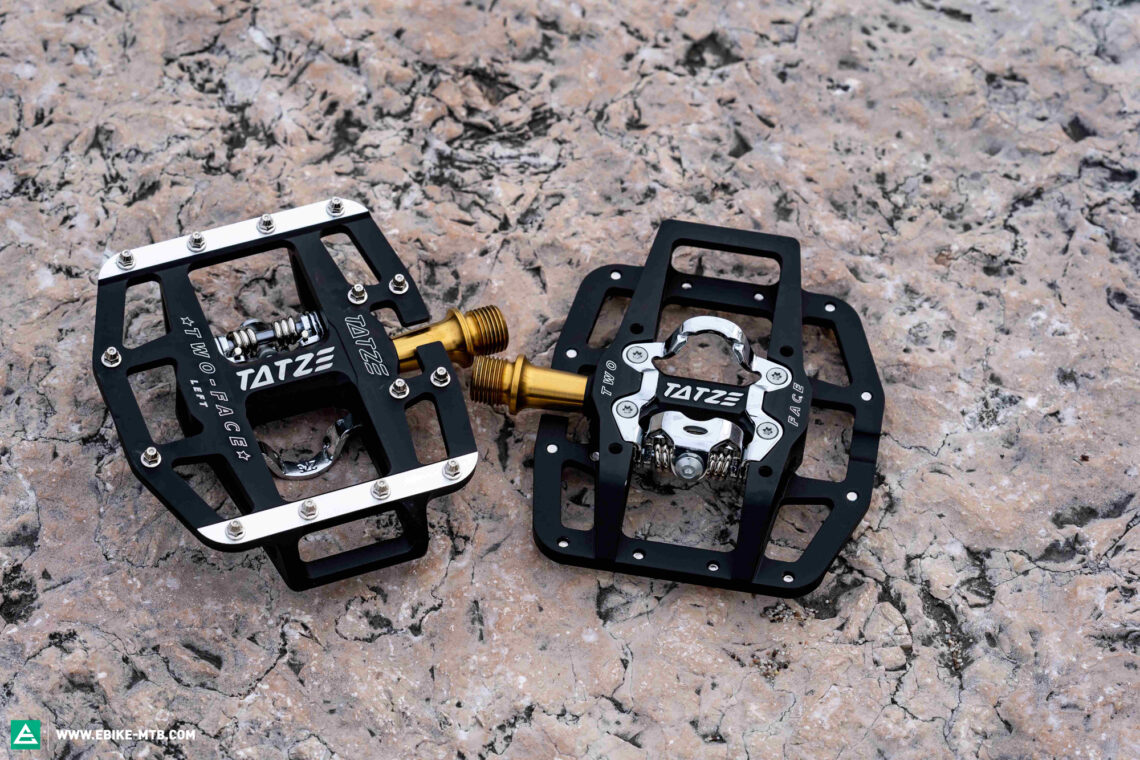
TATZE:
The TATZE TWO-FACE combination pedal is a flat pedal on one side and has an SPD system on the other. It is an in-between solution for bikers who want more efficiency uphill or on easy trails, but (still) feel insecure with clipped-in shoes when riding downhill.
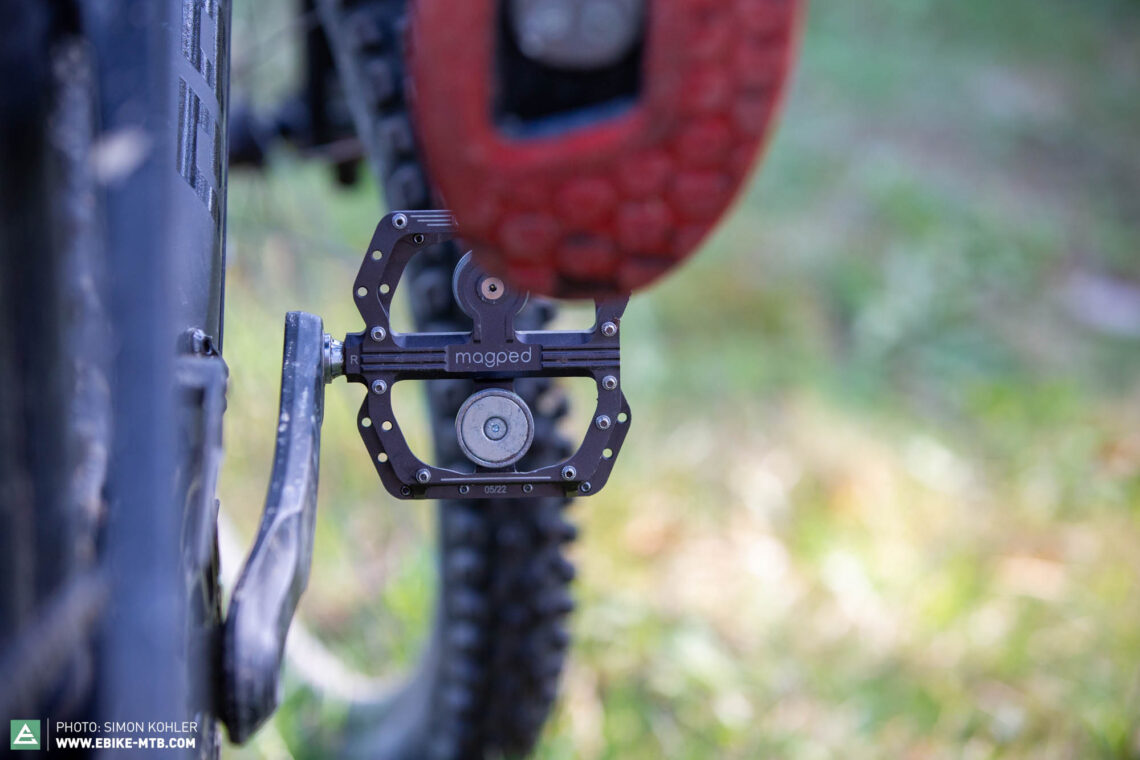
Magped:
Magped offer a special solution: A patented magnetic mechanism allows the shoe to be released from the pedal safely, quickly and easily. This is a new type of pedal that has emerged alongside the flat and the clipless pedal. The shoe feels firmly connected to the pedal by the magnet, but releases quickly in an emergency. An interesting alternative for beginners.
Flats vs. clipless – pros and cons
Unlike the bulky, awkward cleats for road pedals, the small cleats that fit MTB pedals often are embedded in the sole of the shoe and hardly interfere with walking. Since in mountain biking you will frequently come across passages where you have to push or carry your bike, this is an important aspect. However, if you often spend time on muddy paths or in the snow, the cleats may become clogged when walking, making it difficult to clip them in. In this case, systems with good self-cleaning properties, such as those from Crankbrothers, come in particularly handy. Overall, the suitability of clipless pedals for novices also depends on individual factors such as riding ability, confidence and personal preferences. It can be helpful to get advice from an experienced rider and try out different pedal options to find out which is the most suitable for you. In our big pedal comparison test, we reviewed the best pedals for mountain bikers.
Tops
- Better power transmission
- More control on technical singletrack
- Your feet can’t slip off the pedals, or lift off during jumps
- Correct and consistent foot position, and therefore fewer knee problems
- More focus on the rest of the body
- Fewer injuries from sharp pins on flat pedals, thus less scarred shins
Flops
- Higher risk of accidents for inexperienced and novice bikers
- The clipless mechanism can get clogged up with mud
- Requires specific shoes
When should I switch to clipless?
Sooner or later, the question of when is the right time arises for every ambitious mountain biker. The basic requirement for the rider is to be in control of their bike – even on rough trails. Still, there comes a point when you realise that you lose your grip on the bike every now and then on trails. If you want to move forward, now may be the right time to make the switch – or at least, when you’re tired of stabbing yourself in the shins with the sharp pins.
What to consider when switching to clipless?
First of all, you have to choose a system. Ideally, you have friends and acquaintances who – assuming they have the same shoe size – will let you test their system. After all, not only new pedals, but also the matching shoes are a cost factor to consider when switching to clipless. Each two-bolt shoe is compatible with 95% of two-bolt systems. The fit of the shoes is also important, they should be tight enough to not lose the connection to the bike.
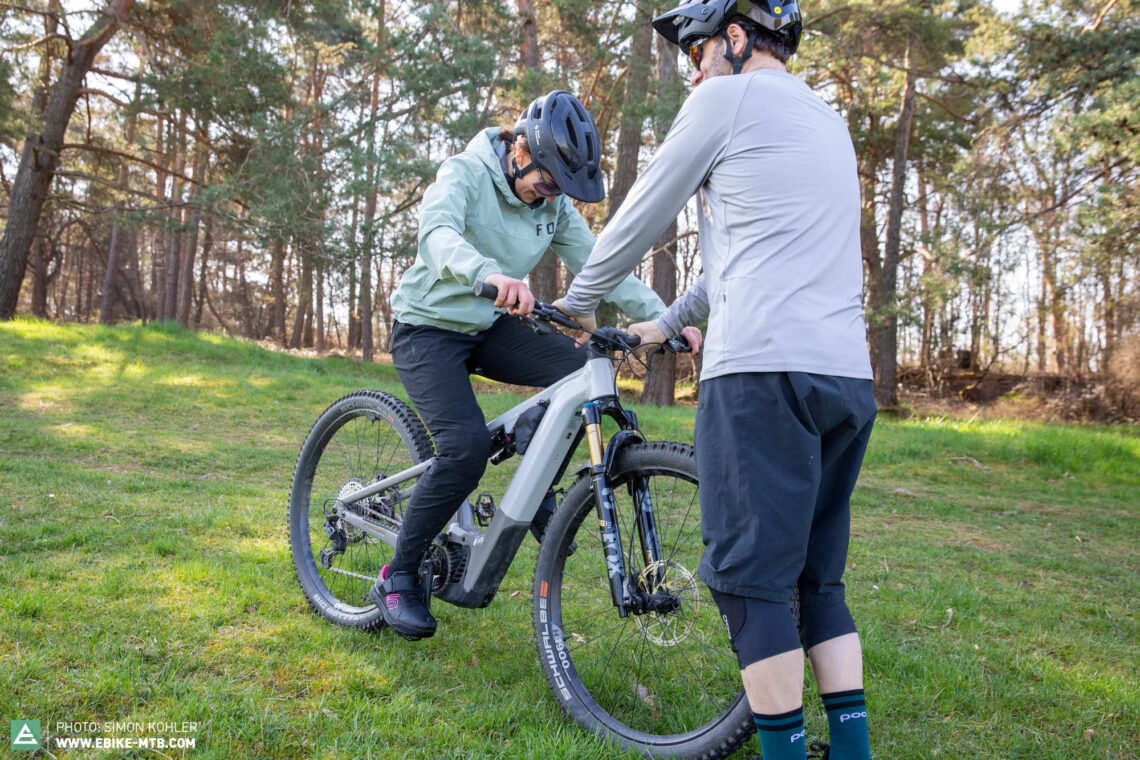
Training, training, training: While mountain biking, you will always find yourself in situations where you have to get off the bike quickly, which is why it is so important to practice clipping out in a safe environment. Once you’ve developed some muscle memory, and can unclip without thinking, then it’s time to hit the trails. Dry runs with the help of friends are ideal.
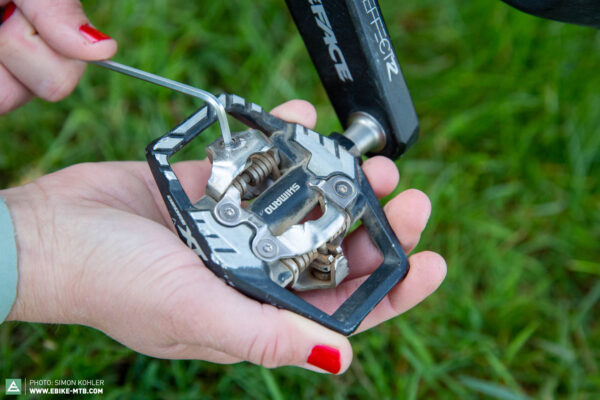
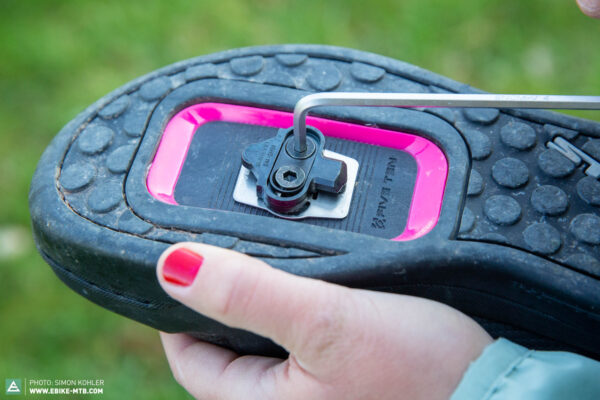
Adjusting the release tension: The release tension of many clipless pedals is adjustable. For beginners, it is advisable to set them a little looser to enable quick unclipping in emergency situations.The cleats must be properly fitted and tightened so that you don’t get trapped in the pedals. The correct alignment of the cleats is also an important factor, everyone has to figure out individually which angle feels more intuitive or is the best position for their knees. For many, it is more comfortable if the toes point slightly outwards.
Our testers and their experiences
The convinced: Rob Wormer
“Once I got used to the clipless pedals – that took maybe 3 to 4 rides – I was really sold on them. I don’t do any special tricks where you have to take your foot off the pedal, so for me it really only has advantages. The biggest plus for me is that you are always immediately in the right position, whereas with flat pedals I often didn’t find the right footing or even slipped while riding. They provide a lot of security not to lose the pedal when riding rougher terrain, and especially when jumping. Since I’ve been riding clipless, I hardly ever scratch my shins anymore – that’s perhaps even the biggest advantage for me personally. I’ve also had the odd crash with clipless pedals and it was never a problem. I ride the Nukeproof Horizon pedals, which use the Shimano SPD system, now even with the widest release angle. Because I know I will still get out fast enough, and safety is most important to me, but also for staying on the pedals during jumps. The release angle could be even wider for my taste, but it works as it is. Only when you get mud in the cleats or on the pedals does it sometimes become difficult to get in and out. I regularly treat the pedals with Brunox Turbo Spray to keep everything running smoothly. And occasionally after stepping in mud, you have to clean the cleat on the shoe so that no dirt is in the way. My first experience with the Nukeproof clipless pedals was definitely not the best, as it was during the deepest winter. There was snow and I didn’t feel comfortable at all, making me briefly go back to riding on flats until the conditions improved. But after I got used to it, I almost wouldn’t dare to ride flats again, for fear of losing the pedal and scratching my shins. They are finally looking reasonably injury-free now.”
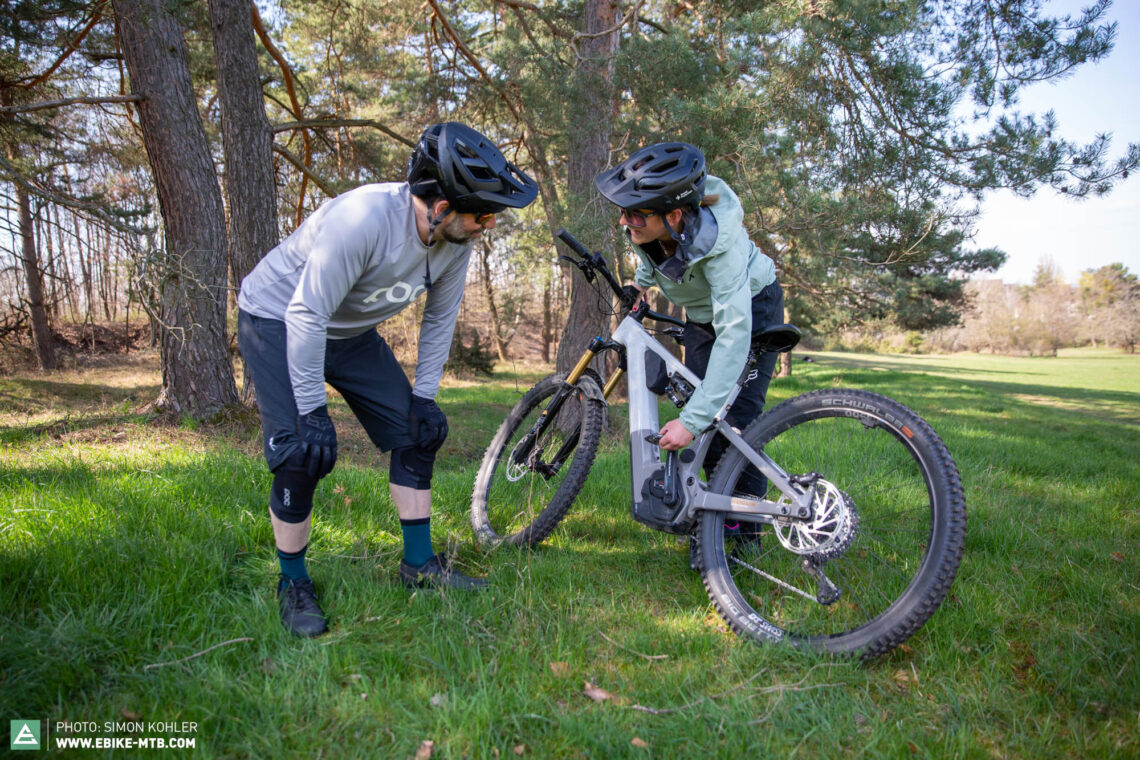
The sceptic: Paulina Sauter
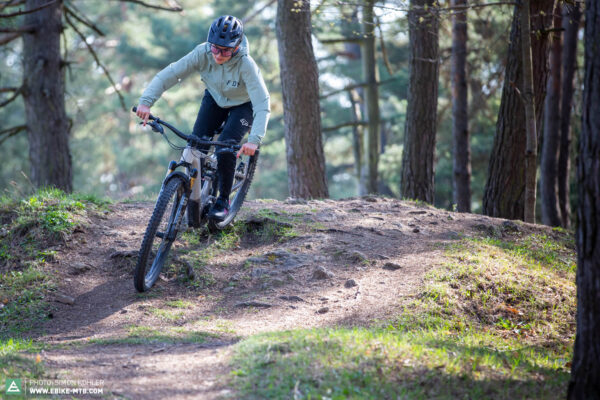
Paulina rides with flat pedals and is trying out riding with clipless pedals for the first time for us. For the first exercise, it helps to repeatedly clip in and out while stationary with somebody holding the wheel. We set the tension very loose to be able to practice the movement. After that, she trains clipping in and out without support. Generally, you have to ride with more foresight, says Paulina – you don’t act as instinctively anymore. First experiences on the easy trail: Paulina immediately finds a safe position on the bike, but she prefers to play around a bit, and finds that you can control the jumps better when clipped in. It also improves the posture because you don’t have to concentrate on your feet at the same time. Paulina’s posture becomes more active, no longer so upright.
Flats or clipless? Ultimately, it’s a matter of personal preference: Paulina prefers to be independent as a rider, as she is used to from her motocross experience, and doesn’t like to be firmly connected to the bike. But she can imagine switching later on when she has more experience on e-mountainbikes. Until then, she wants to continue learning using flat pedals. Since she likes to ride above her own ability, she would have to concentrate a lot harder riding clipless pedals, and that doesn’t suit her playful riding style at the moment.
The pragmatic: Erik Bötzle
Eric doesn’t really want to do the experiment with the clipless pedals. His comment: “I can try it, but only with full protective gear.” In other words, Eric feels safer on the flats and doesn’t want to take any risks. He therefore tested the Magpeds for us, a kind of intermediate solution in which the pedal is attached to the shoe by magnets. The advantage: you have a firm connection, but you can also pull out of the pedal at any time should something go wrong. Since the magnets are installed on both sides of the pedal, it doesn’t matter which side is up: you can always “clip in” without having to give it a second thought, especially since it would be possible to use the pedal without the magnet connection if things get hectic. In contrast to conventional clipless pedals, the pedal can also be used with normal shoes if, for example, you want to nip into town quickly.
This innovative solution gives Eric the best of both: stability on the pedal, and the security of being able to detach himself from the pedal at any time. Eric is so convinced by this solution that he is now only to be found using the Magpeds.
Anyone who has been pondering clipless pedals for a while should definitely not be discouraged from trying them out to form their own opinion. Once you get the hang of them, you can usually ride more safely and improve your performance. So, don’t be afraid to get too attached, it can be the gateway to a better relationship with your bike. And for those who are still hesitant, intermediate solutions like Magpeds or TATZE can be your first step into the world of clipless pedals.
Did you enjoy this article? If so, we would be stoked if you decide to support us with a monthly contribution. By becoming a supporter of E-MOUNTAINBIKE, you will help secure a sustainable future for high-quality cycling journalism. Click here to learn more.
Words: Susanne Feddersen Photos: Simon Kohler