What tire pressure should I run in my eMTB?
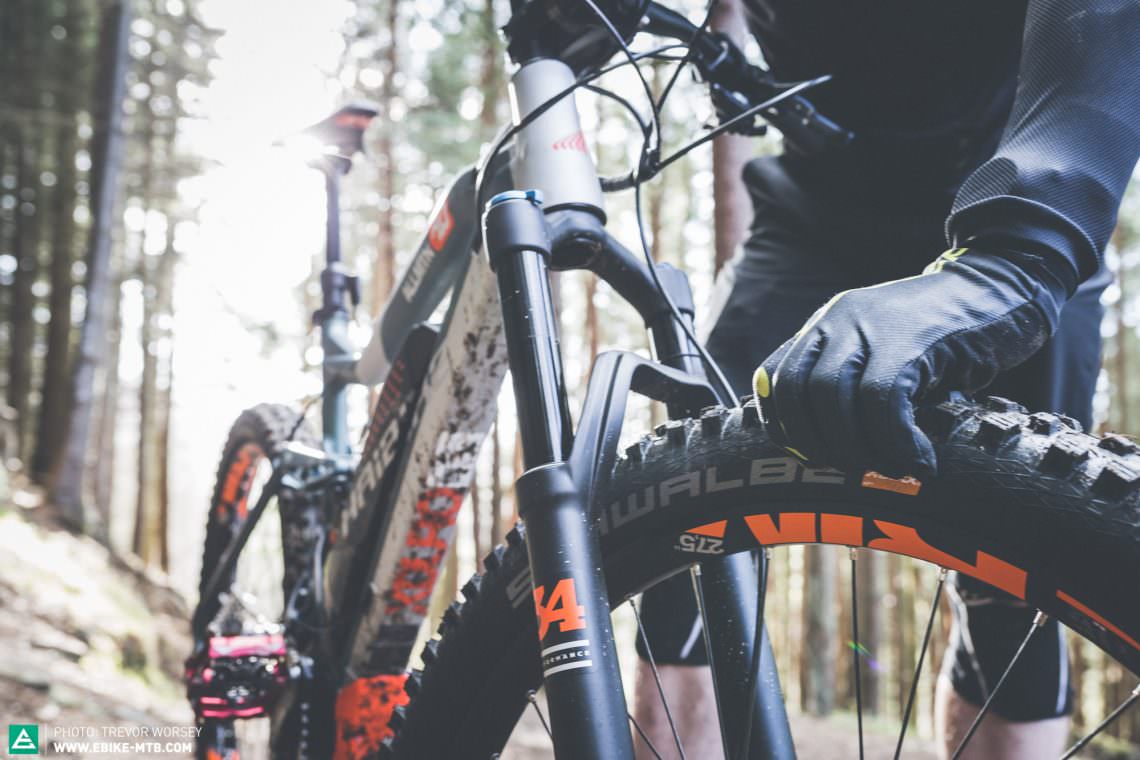
When riding the only contact point (hopefully) between our E-MTBs and the ground is our tires – influencing how our E-MTB feels more than any other expensive ‘must have’ accessory we could hope to buy! But how many of us know how to find our perfect tire pressure? It’s time to find out!
The problem
What pressures do you run in your tires? When did you last check? When asked that question on the trail most of us reach down and give the tire a gentle squeeze, “hmmm, I run about that much”. If you want to get the best out of your E-MTB, the first and cheapest place to start is the tire pressures, get those right and you are off to a great start. Here are two methods, one fast and dirty to get you near enough and the other to get your setup dialled.
Is there a magic bullet pressure?
So what is the magic bullet pressure? We’ve all used the recommended pressures in our car tires right, so there must be one for our bikes? Well, here’s the bad news, there isn’t one! Tire pressure is as personal as the fit of our saddles or what beer we choose at the bar, and depends on weight, riding style, tire choice and the trails we ride! There’s no magic number, but if you’re running very low or very high pressures (think 0.5 or 3 Bar) you are probably not getting the best from your bike.
Better rubber = more fun
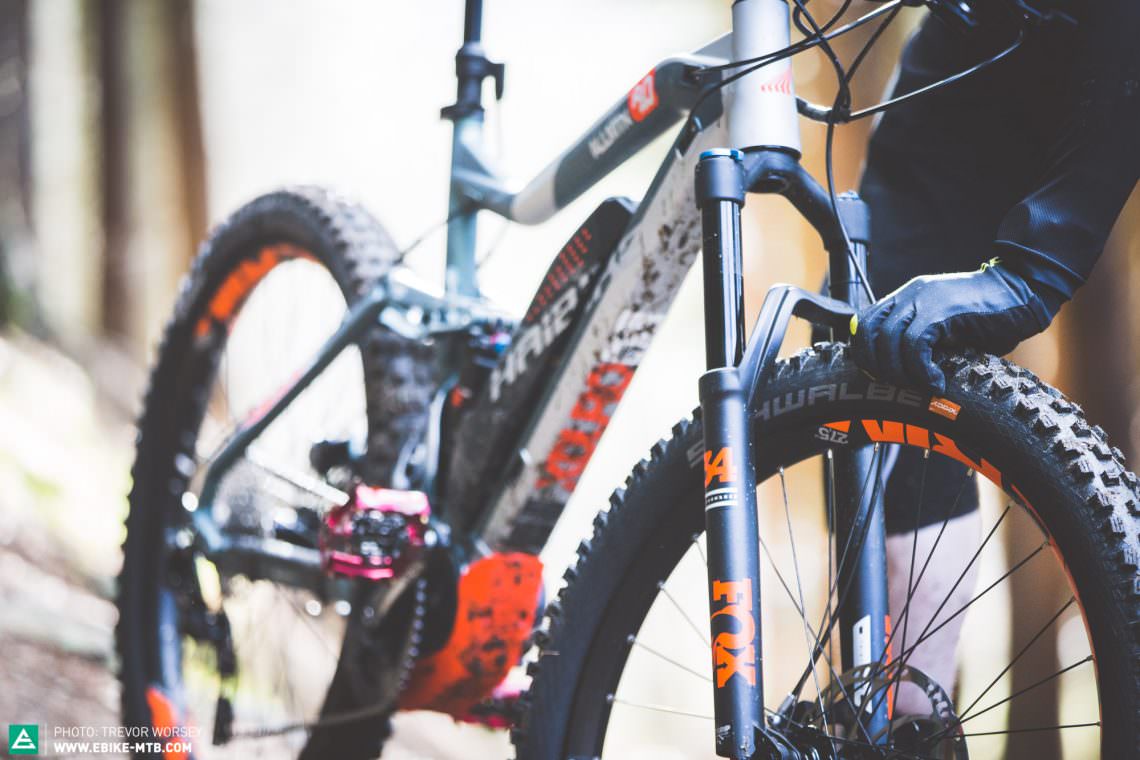
We are all aware of the benefits that E-MTB can bring, more range, more discovery and more fun. Having motor support unlocks another benefit too, the ability to fit more durable tires. Until now, mountain bike tires have had to strike a firm compromise between performance and weight, sacrificing sidewall durability in the pursuit of weight saving. The motor support of an E-MTB makes this is less of an issue, and if you plan to take your bike onto more technical trails, we highly recommend fitting the latest generation of tires with tougher sidewalls for increased puncture protection and stability in the corners.
Should you be tubeless?
The short answer is yes! If your current tires are not set up tubeless (without inner tubes) you are riding with an increased risk of a pinch puncture (when the inner tube is pinched and torn between the rim wall and the tire). Not only is a tubeless tire less prone to punctures, it also conforms to the ground more effectively and provides more traction and performance. Adding liquid sealant into a tubeless tire will stop most small punctures almost instantly and allow you to continue your ride. Converting your E-MTB to tubeless is one of the most cost effective upgrades for your bike.
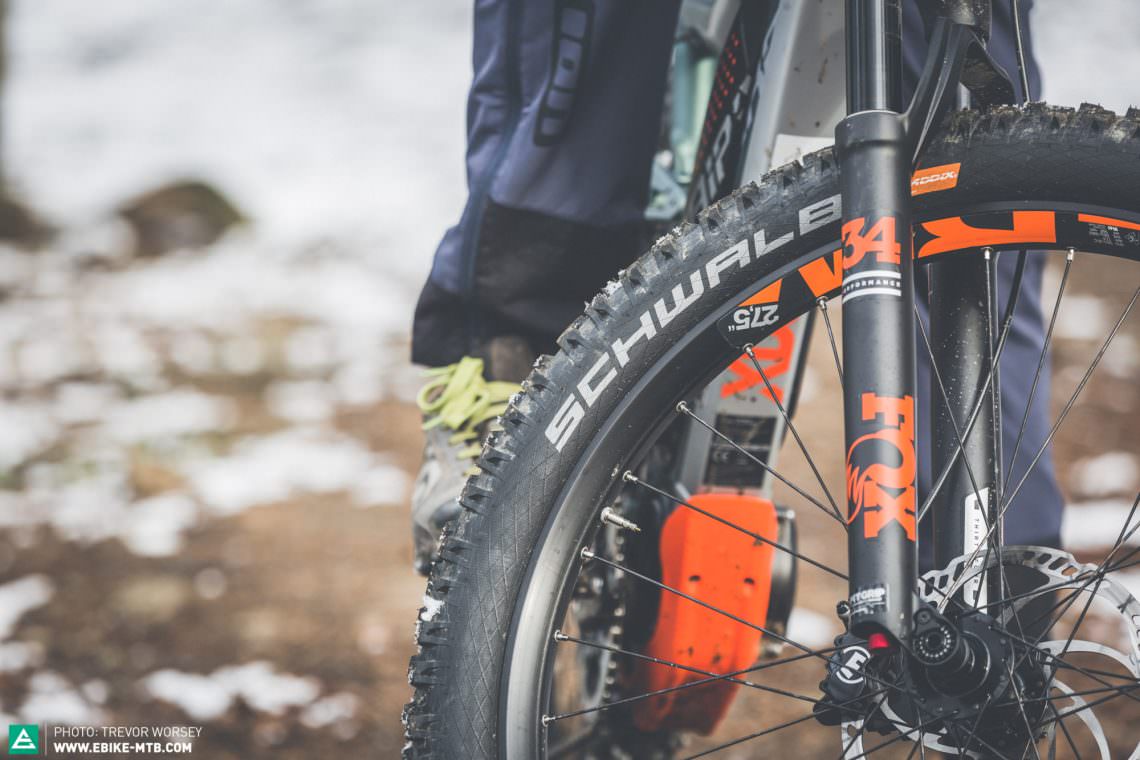
What about tire width?
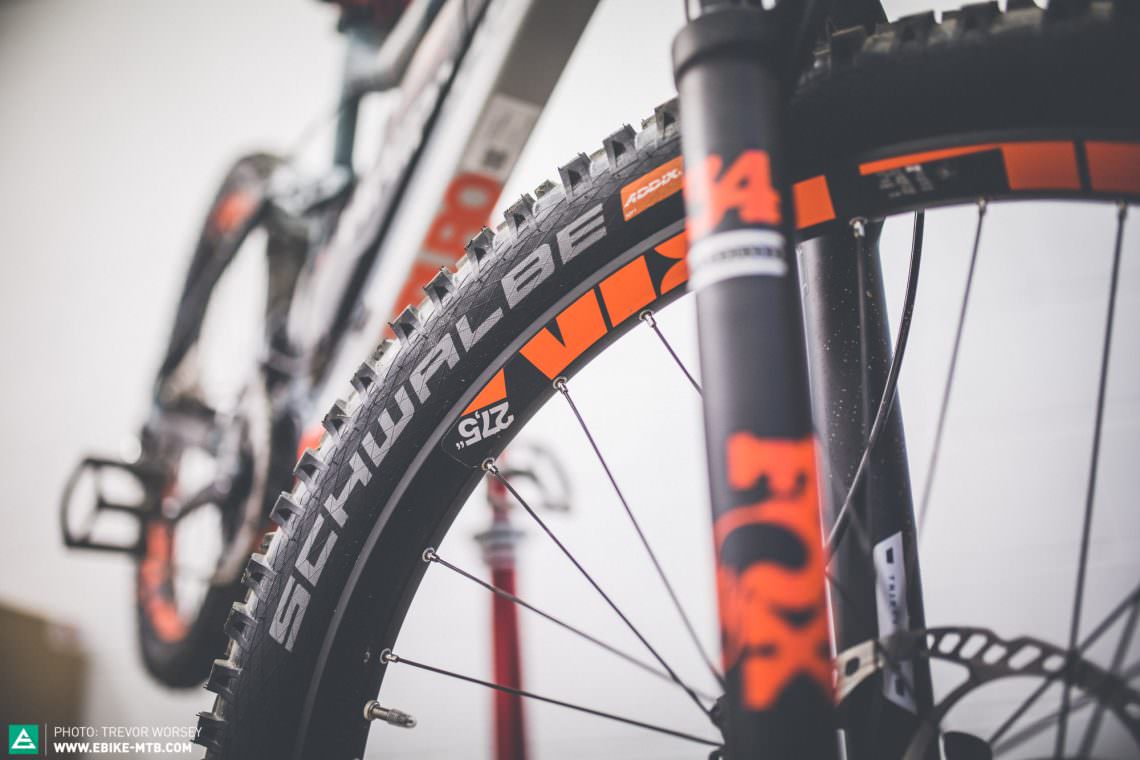
Many modern E-MTB’s now come fitted with substantially wide tires, upto 3.0 inches wide. Are wider tires better? Well, that depends on where you ride. Generally, the wider a tire becomes the more grip the tire provides as pressures inside can be lower. However, tire width is always a compromise between performance, handling and support, and if you go too wide you can start to lose cornering feel. Riders who enjoy riding in snow and on sand, or like a very comfortable and relaxed ride will enjoy the latest 3.0 inch models. However, for most riders a 2.6 – 2.8 inch tire is the perfect E-MTB compromise of comfort, massive grip and handling precision. If you want to experiment with wider tires on your bike you first need to check that your rims are wide enough to support a bigger tire.
Our recommendations
So, what tire pressure should you use? If you’re simply after a setting that will work well in most cases, or a great starting point then our experienced testers recommend a base setting of:
– 1.8 Bar (26 Psi) front and back in a standard 2.35 -2.5 inch tubeless tire
– 1.4 Bar (20 Psi) front and back in a standard 2.6 – 3.0 inch tubeless tire
Wenn du noch mit Schlauch fährst (siehe oben), empfehlen wir einen höheren Druck:
– 2.0 Bar (29 Psi) front and back in a standard 2.35 -2.5 inch tubed tire
– 1.6 Bar (24 Psi) front and back in a standard 2.6 – 3.0 inch tubed tire
<strongHOWEVER. While these pressures will work well in most cases, if you want to maximise your riding enjoyment and unlock extra grip there is a better way to find your optimum setup that works for you.
How to find your perfect E-MTB tire pressure
When it comes to finding the perfect pressure, it’s all about finding that balance between grip and stability. There are so many variables that there is no perfect solution for everyone, but there is a perfect solution for you!
Too high: Higher tire pressures will help support the sidewall of the tire offering increased stability and increased protection for the rim, but go too far and traction will be drastically reduced as the contact patch shrinks and the ride will feel harsh and skittish.
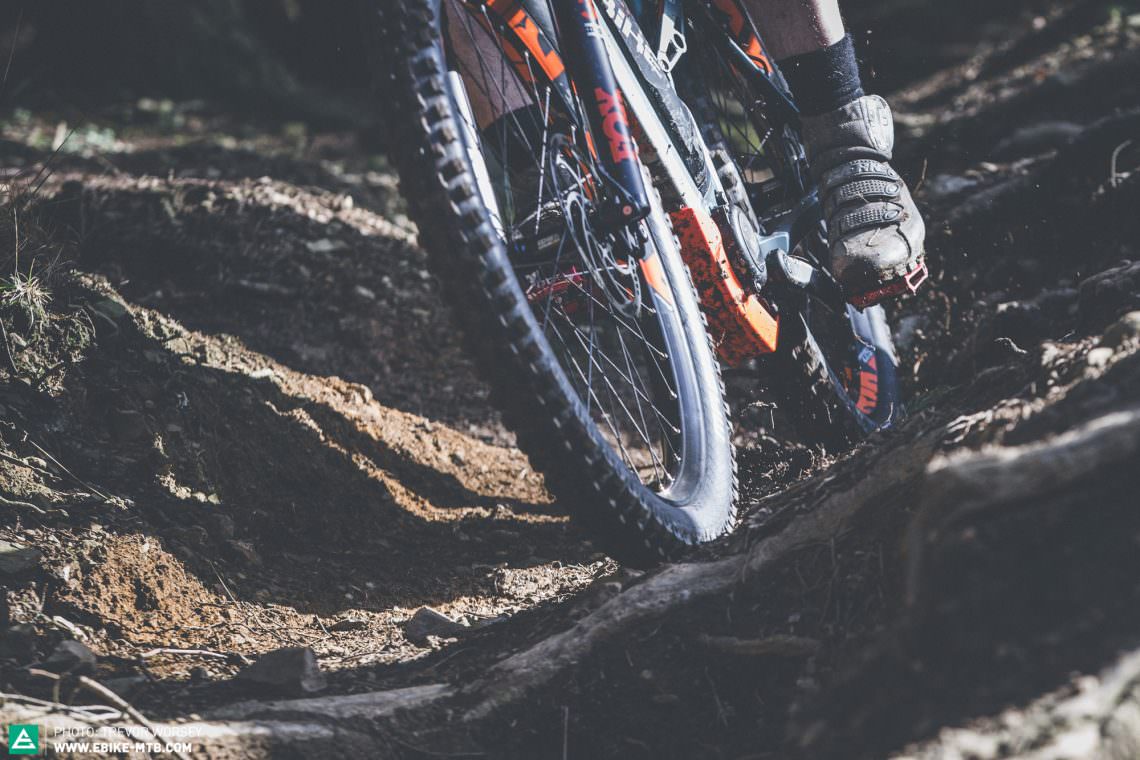
Too low: Low pressures increase grip from the larger contact patch and give huge climbing traction and improve cornering as the softer tire can wrap around trail imperfections. However run the tires too low and you drastically increase the risk of rim damage from square edged hits, and the softer air pressure reduces the natural spring of the tire which can create a wallowy and unstable ride at speed. In hard turns the tire tends to lack stability in the sidewall and can feel vague.
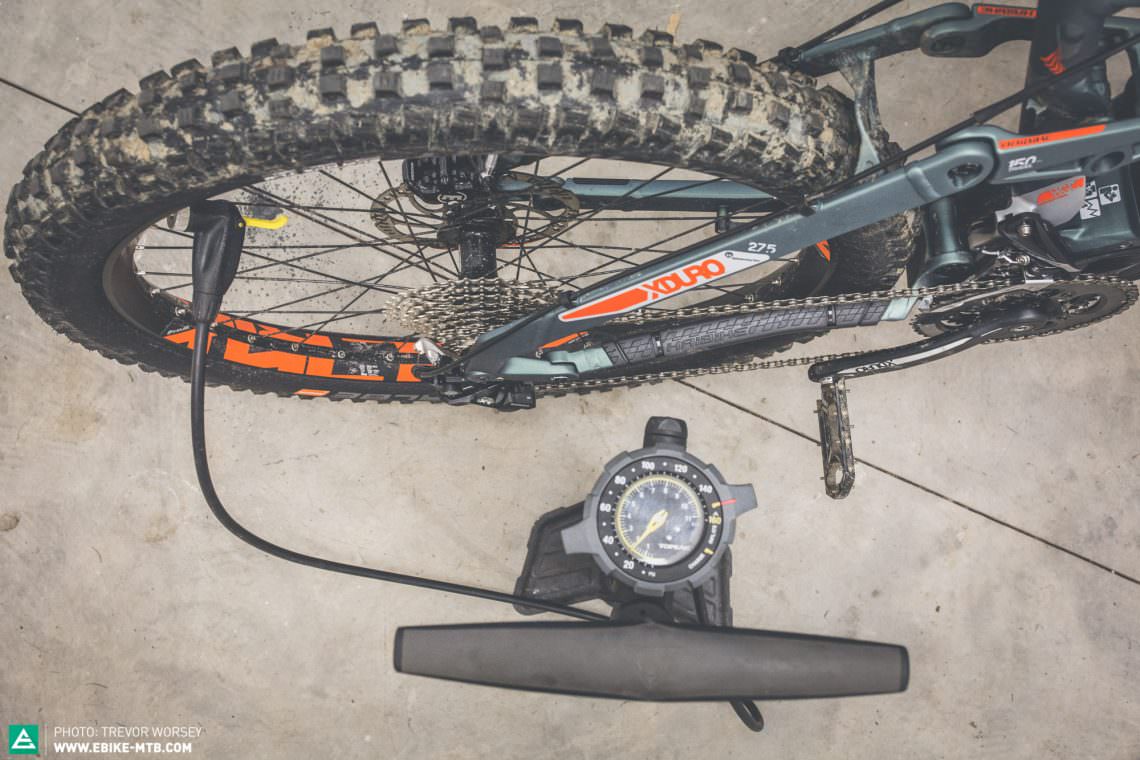
To find your optimum tire pressureit’s important to find a balance that is as low as possible to provide traction, but high enough to provide support and puncture protection. NOTE: to be a proper tire pressure Jedi you need to know that not all tire pressure gauges are created equally and you are likely to see some variation with different gauges. The best thing to do is always use the same pump gauge for your own tires. Invest in a good quality floor pump and look after it.
How to find your perfect tire pressure
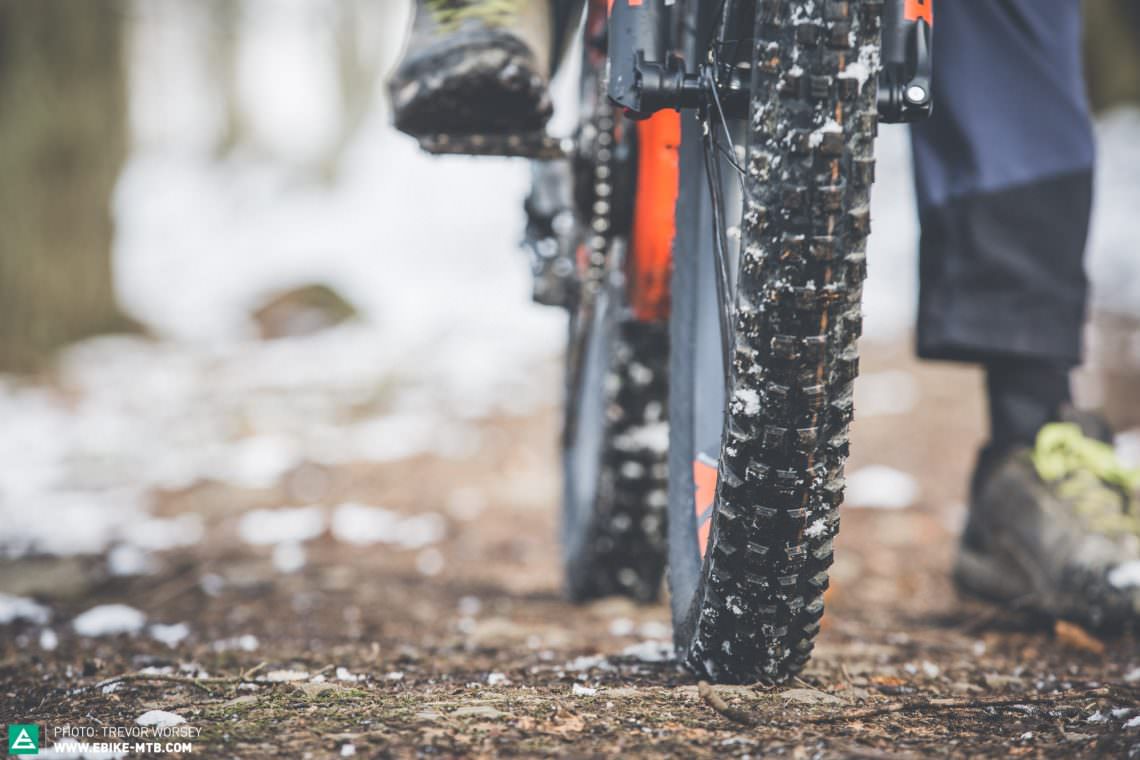
It’s time to hit the trails! Arm yourself with a pump and gauge and find a short one – two minute test loop with some nice flat corners, berms, compressions and rocks or roots, representative of the terrain you ride normally – but not too gnarly – you want to be able to concentrate on feel while you ride, not trying to stay out of the bushes! To begin with start with a higher pressure in your tires, so you can feel what a very high pressure feels like, if you run tubeless and are not really heavy try 2.2 Bar (35 Psi) front and back, (1.8 Bar / 26 Psi for 2.6” or wider tires) if you are heavier than 80 kg or run tubes try 2.4 Bar (40 Psi).
Ride the trail (take it easy as the bike will feel different) and concentrate on:
– How much grip you have in turns?
– How does the bike feel over bumps and rocks?
– How harsh is the ride?
– Is the rim being hit?
Did you get all that? OK now head back to the start and drop the tire pressure 0.2 Bar (3 Psi) front and back and repeat the trail, once again observing how the tires feel and how much grip you are finding. Repeat, again and again, dropping the pressure each time, try and get a feel for what’s going on. Try not to go to low as to allow bumps to impact the rim, as soon as the tire feels squirmy and vague you have gone far enough so don’t go any lower.
As the tire pressures drops you will start to encounter increased grip and traction, but as the pressure becomes too low, you will feel the tires start to feel vague and wallowy in turns and unstable at higher speeds.
Try to find that point where you have good grip but also stability and confidence in the corners. This is getting near to your optimum setting. Now try experimenting with the balance between front and rear, you can normally run a little less pressure in the front as the bottom bracket distributes around 40% to the front and 60% weight to the rear. Try 0.2 Bar (3 Psi) less in the front and see how that affects grip, play around a little and get a feel for how it changes the ride.
You have a BASE setting, well done! What’s next?
Now you have your BASE setting and know how pressure impacts the ride – you can now optimize your pressures with ease. Are you carrying more weight (heavy pack) or looking for more traction on muddy trails or long climbs? Simply add or remove pressure as needed! Don’t forget to always use the same gauge.
Conclusion
Whether you want to perfect your setup or just use our recommended pressures, you will quickly learn that tire pressure is the easiest and cheapest tune-up for your bike. Once you understand how different tire pressures influence performance you’re well on your way to enjoying more grip, control and fun from your bike.
Did you enjoy this article? If so, we would be stoked if you decide to support us with a monthly contribution. By becoming a supporter of E-MOUNTAINBIKE, you will help secure a sustainable future for high-quality cycling journalism. Click here to learn more.
Words & Photos: