What’s great about biking is that it’s one of those skills you learn once and know how to do for your entire life. With this mindset, a lot of eMTB newbies set off to explore their local trails thinking that anyone who can ride a bike can also shred the trails. However, we found out why it’s so important and useful to attend a course and master the correct techniques. Can professional help make riding safer and more fun? We’re here to tell you whom an eMTB course is for and what you can learn.
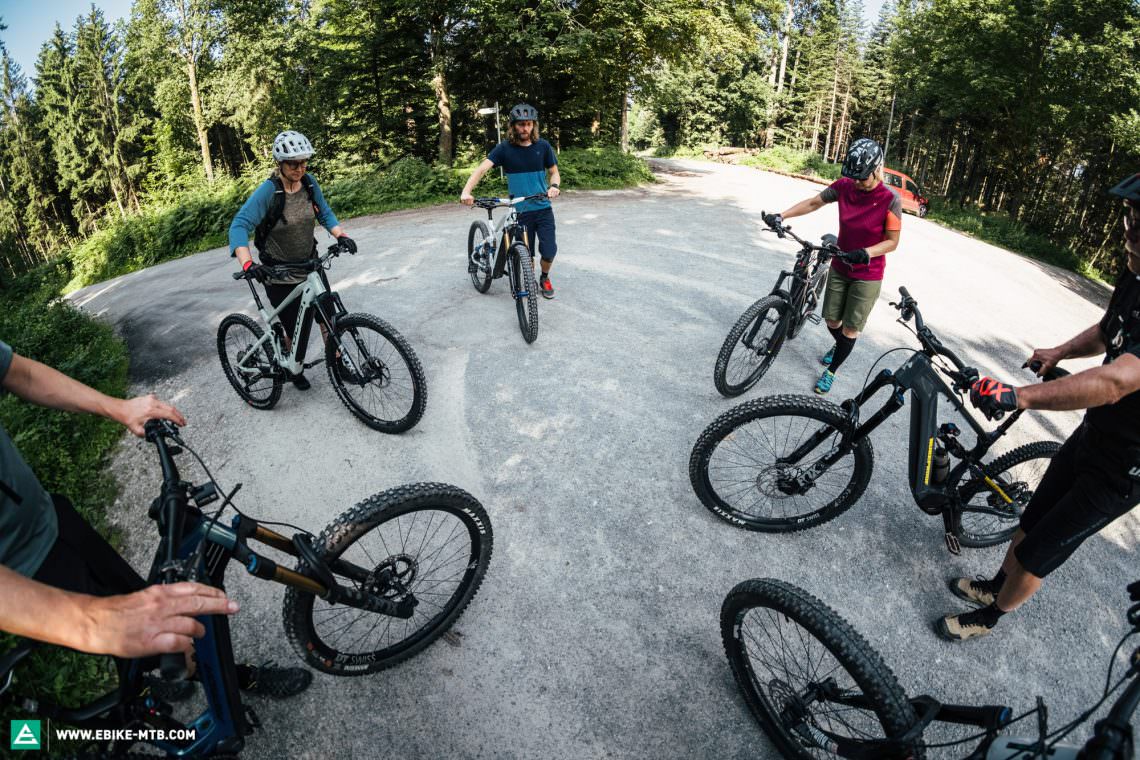
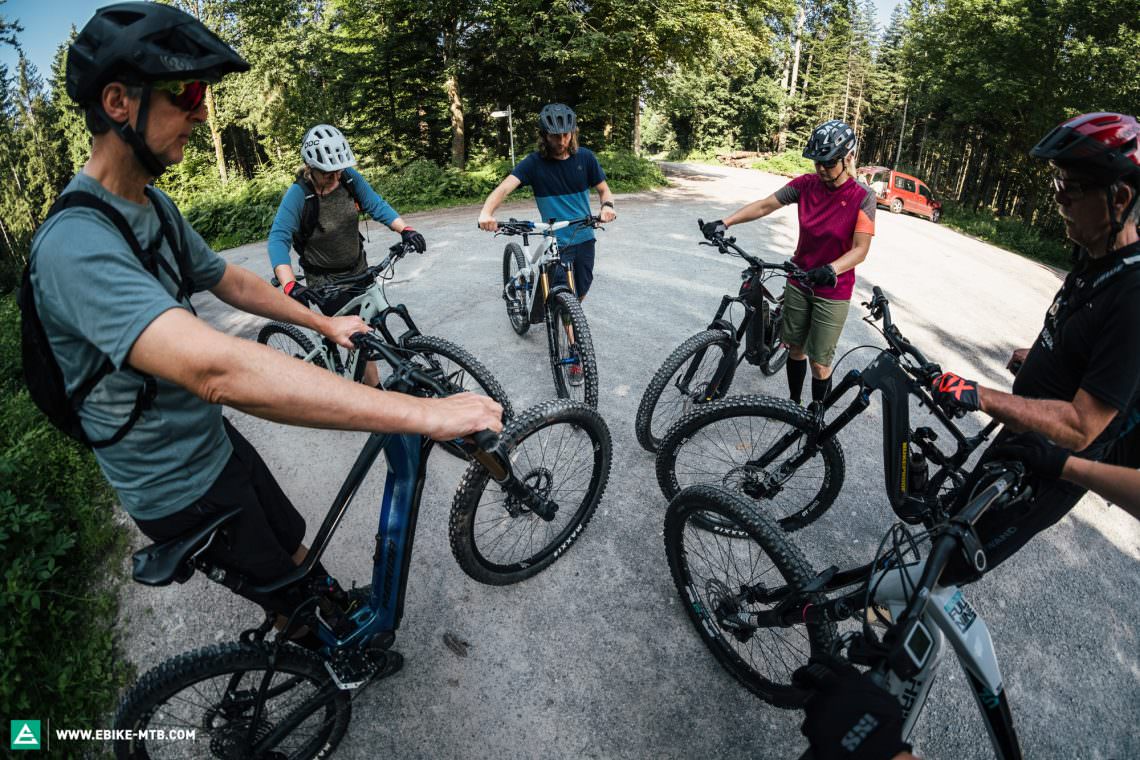
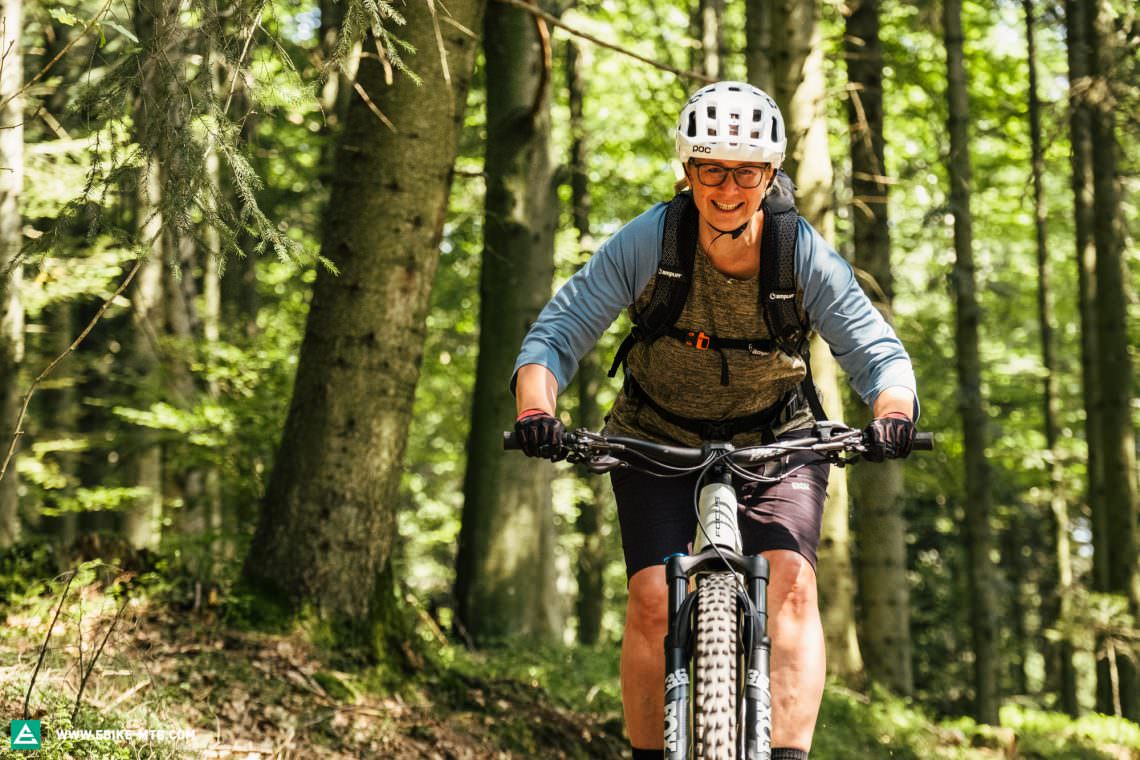
Friday morning, 9:00 AM – We’re a little sleepy but excited as we meet Marcus Euerle from Trail Skills in a wooded car park in Murrhardt, he’ll be our course instructor for the next seven hours. Marcus founded Trail Skills in 2016 with the mission to get newcomers and those returning to the sport onto the trails as safely as possible while having a lot of fun. Our group is a diverse team of friends and family members from our editorial team, including everything from advanced mountain bikers to newcomers, from 21 years young to those with 64 years of life experience and a wide variety of expectations and previous riding experience.
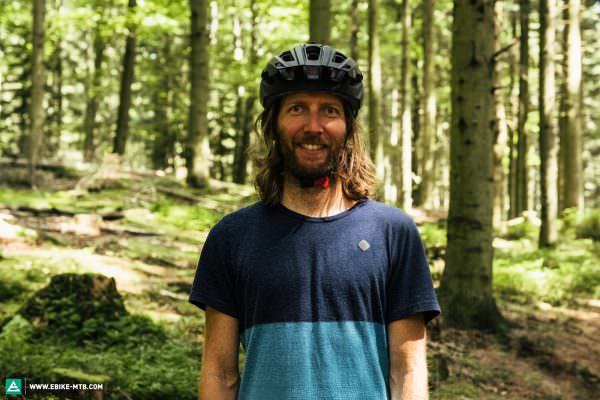
The course attendees, their expectations and previous experience
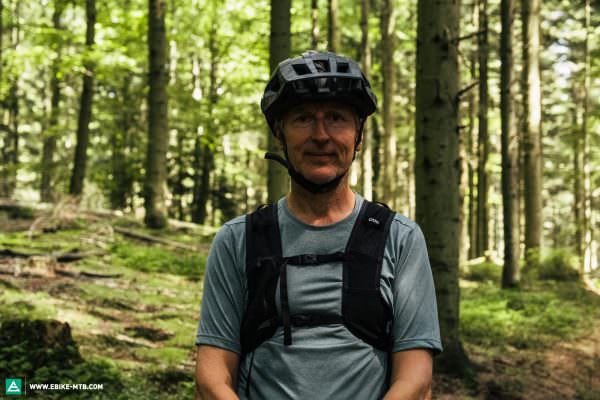
“I’ve been riding mountain bikes for many years and want to improve my riding confidence in demanding terrain, especially when things get fast.”
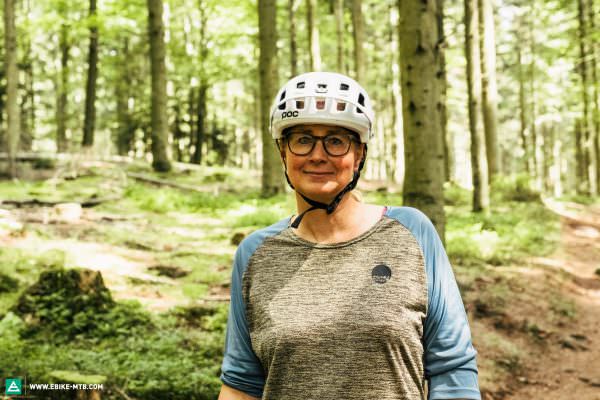
“After a few minor crashes, I’ve lost confidence in myself and my bike, and just want to learn the basics”
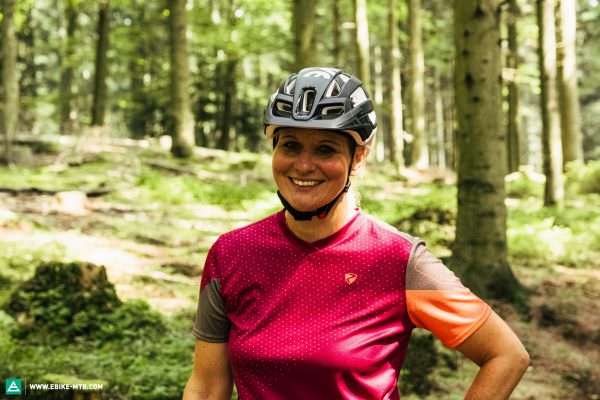
„The switch to an electric motor and the higher speeds associated with it have made me lose some of my confidence. I have a lot of respect for trails with chunk, roots and ruts, which is where I would like to feel more at home.”
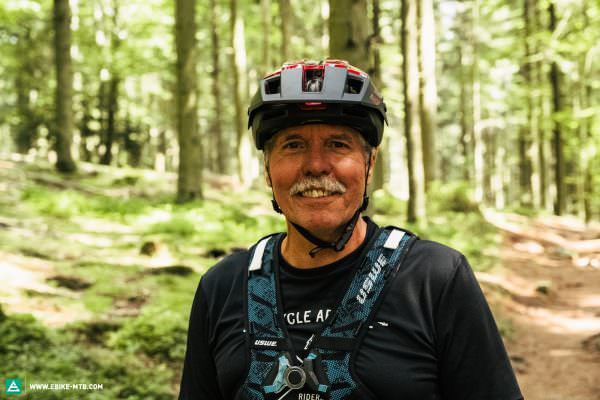
“I already feel very sure of myself on an (e-)mountain bike, but I would like to receive some feedback on my riding style and, if necessary, correct my technique.”
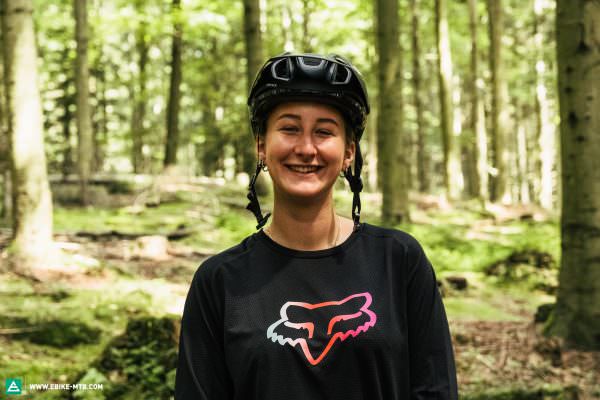
„I occasionally lose control of the bike in slippery and rocky terrain, and I also want to learn how to brake in an emergency without getting thrown off off the bike.”
With these very diverse expectations, we agreed to do a basic eMTB course for beginners combined with a basic eMTB course for more experienced riders. However, even the experienced participants found the basics, such as finding the default position and the perfect centre of gravity on the bike, to be useful. Especially when you’ve been riding for a long time, bad habits and positions can slowly form that you’d do well to correct.
How does an eMTB skills course work?
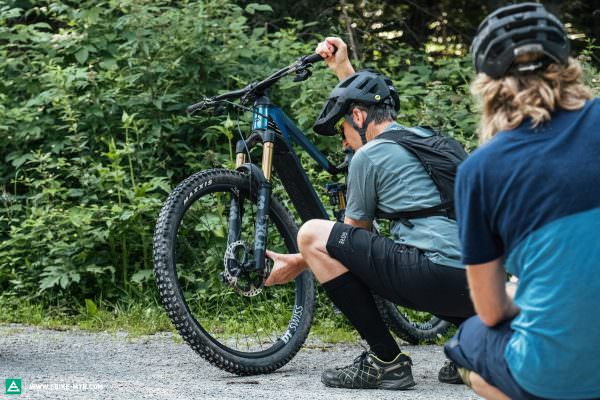
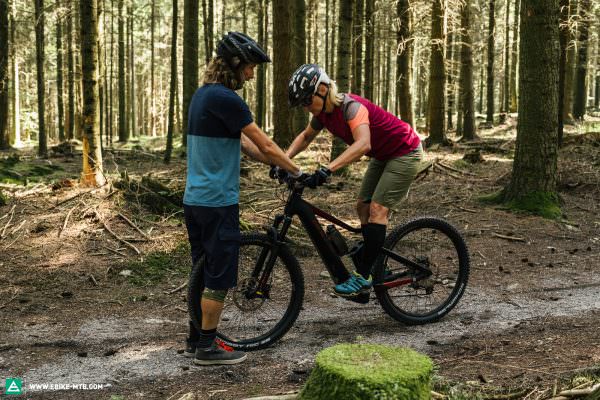
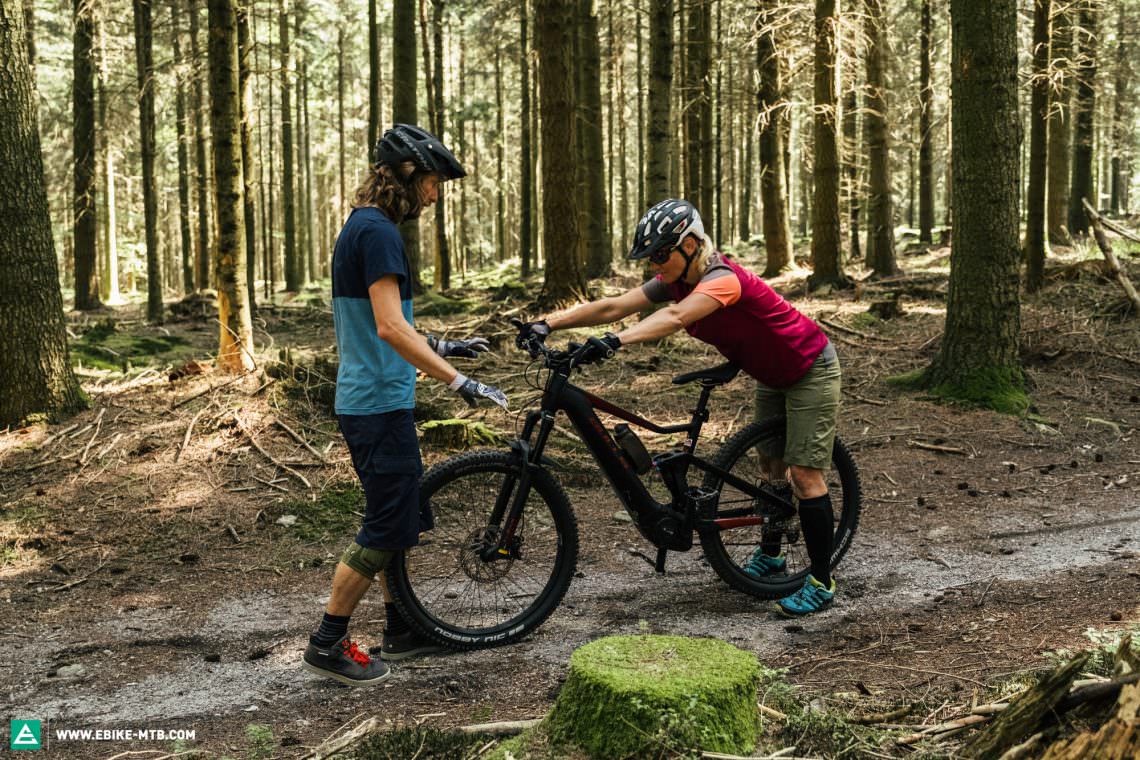
First off, the bike and the rider’s equipment must be checked. This is a routine you should go through regularly before riding. At some point it will become a thing of habit and won’t take long to do. After that, it’s time to practice various positions on the bike and the correct braking technique. Climbing off the back of the bike in the event of an emergency stop or on steep gradients also needs to be repeated until it comes naturally. In the afternoon, you’re ready to hit the trails and try out what you’ve learned on more difficult terrain. Overall, a course is usually divided into 4 parts:
1
Bike and rider check
2
Morning: all the basics on easy terrain
3
Afternoon: using the newly learned skills on the trail
4
Feedback
Bike and rider check
Bike checklist by Marcus Euerle:
Cockpit:
- grips tight?
- handlebar straight?
- both brake levers work?
- shifter tight?
- other components on the handlebar, such as a light or GPS, tight? Can they twist?
- headset tight?
Wheels:
- air pressure (suitable for the conditions)?
- can they spin freely?
- is the lever of the axle positioned so that it can’t get caught on things?
Brakes:
- do they work?
- calipers aligned and the bolts tight?
- brake pads worn? Will they last?
Suspension:
- fork and shock adjusted to the rider’s weight and do they work?
Frame:
- any damage? cracks?
- dropper post works?
- saddle tight?
- check all other components (bottle cage, etc.)
Drivetrain:
- derailleur works?
- chain runs smoothly and lubed?
- no play on the crank and pedals?
Tips for the rider check:
- helmet fits correctly?
- sunglasses/goggles?
- gloves?
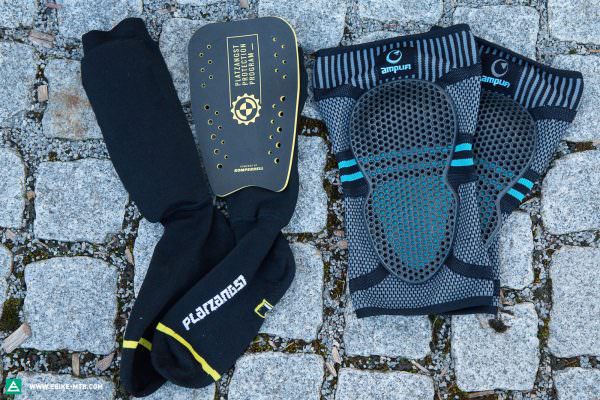
- adequate protectors for the type of trail?
- shoelaces tied and tucked away so that they don’t get caught in the chain?
- backpack properly adjusted, clipped in and all compartments closed?
*It makes sense to do this big check before long rides i.e. before you depart on a multi-day adventure. A smaller check will usually suffice on the days that follow. It’s also worthwhile to do this check at regular intervals during the season. How often you do it depends on how how often and hard you ride.
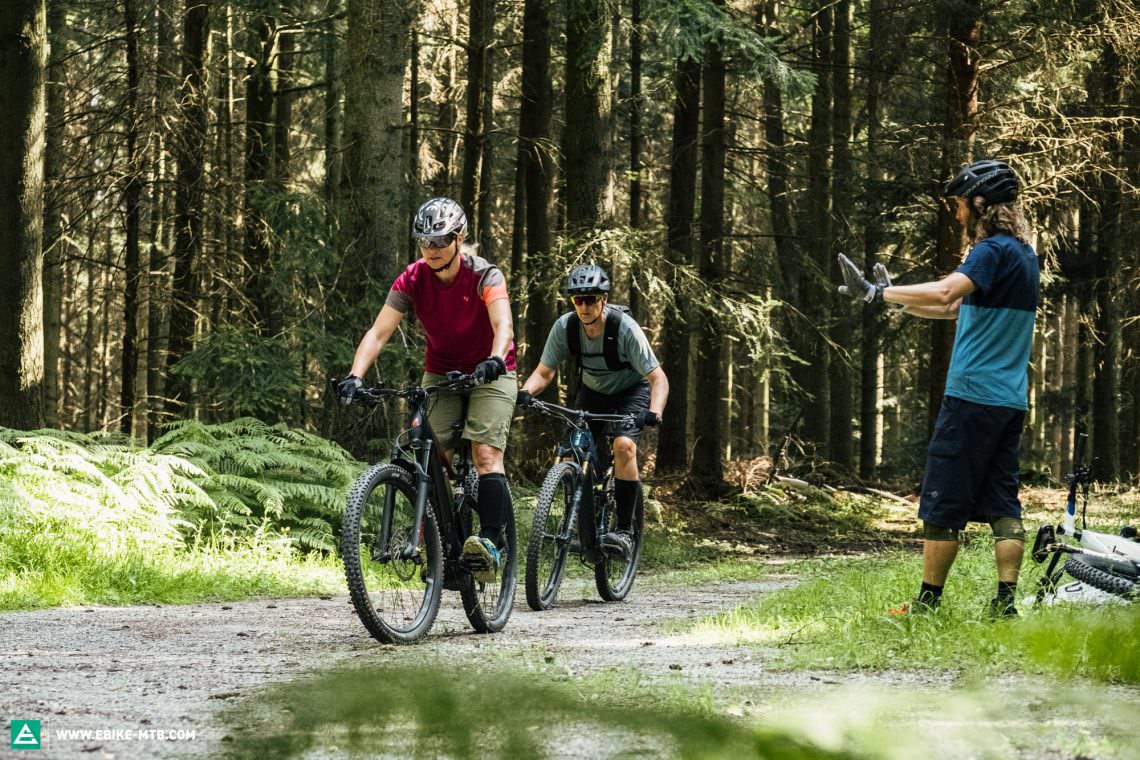
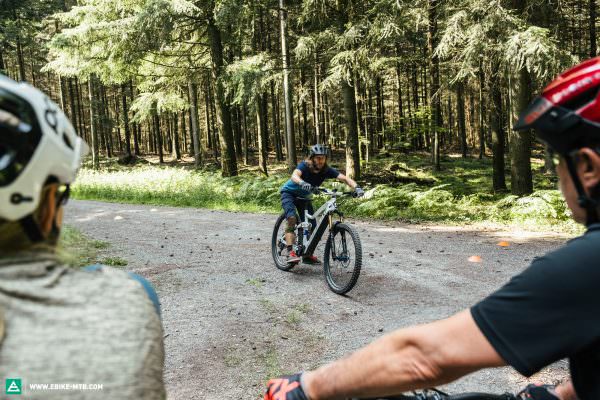
Morning – Practicing the basics on easy terrain
After checking everything, we start off with some balancing exercises on a wide forest path. Our default riding posture gets corrected over and over again until it’s perfect because it forms the basis for everything else you do on the bike. Bad posture can make you even more uneasy. If you’re doing quick steering manoeuvres, braking or tackling technical obstacles on the trails, it becomes difficult to stay in control if you don’t have the correct position on the bike.
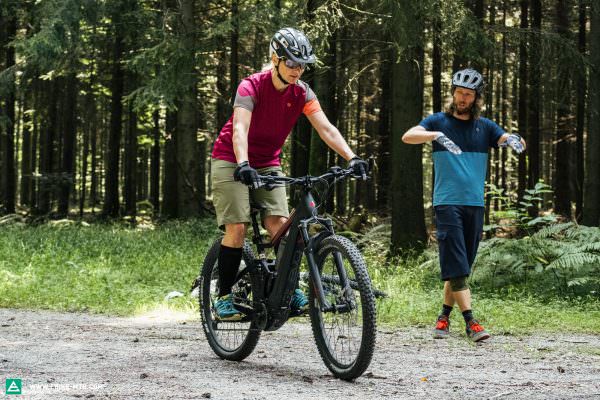
You should always start with the correct default position, even on steeper trails. Your feet should be level with each other, so that the cranks are horizontal, and your body weight should be evenly distributed on both legs. Your arms and legs are your body’s suspension and help absorb obstacles. Keep your arms very slightly bent with your elbows pointing outwards. Your legs should be stretched out. From this position, you go into the active position, that is, with your elbows bent even more and your upper body lower to the ground. This way, you’re able to stay balanced and centred, allowing your arms and legs to absorb any impacts or bumps. Marcus explains, “Let the bike do the work while you remain calm and centred.” A key takeaway from the day.
Let the bike do the work while you remain calm and centred.
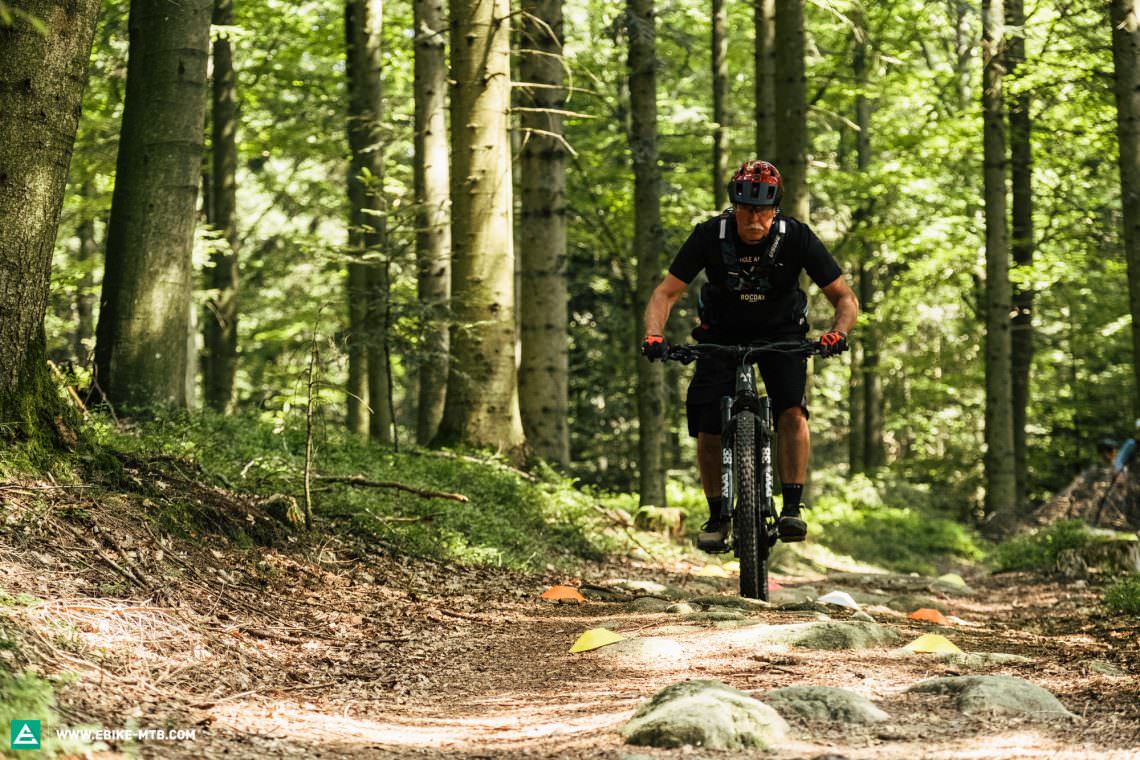
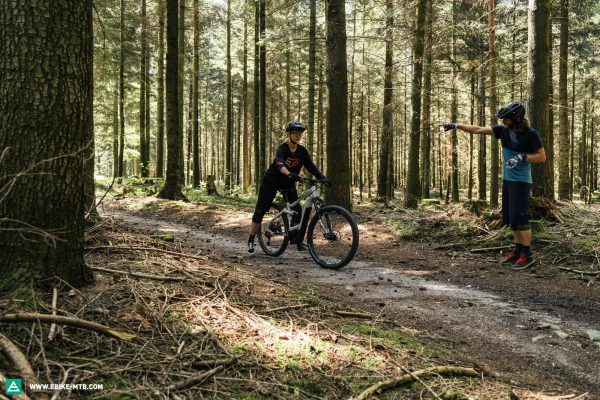
Afternoon – Off to the trail
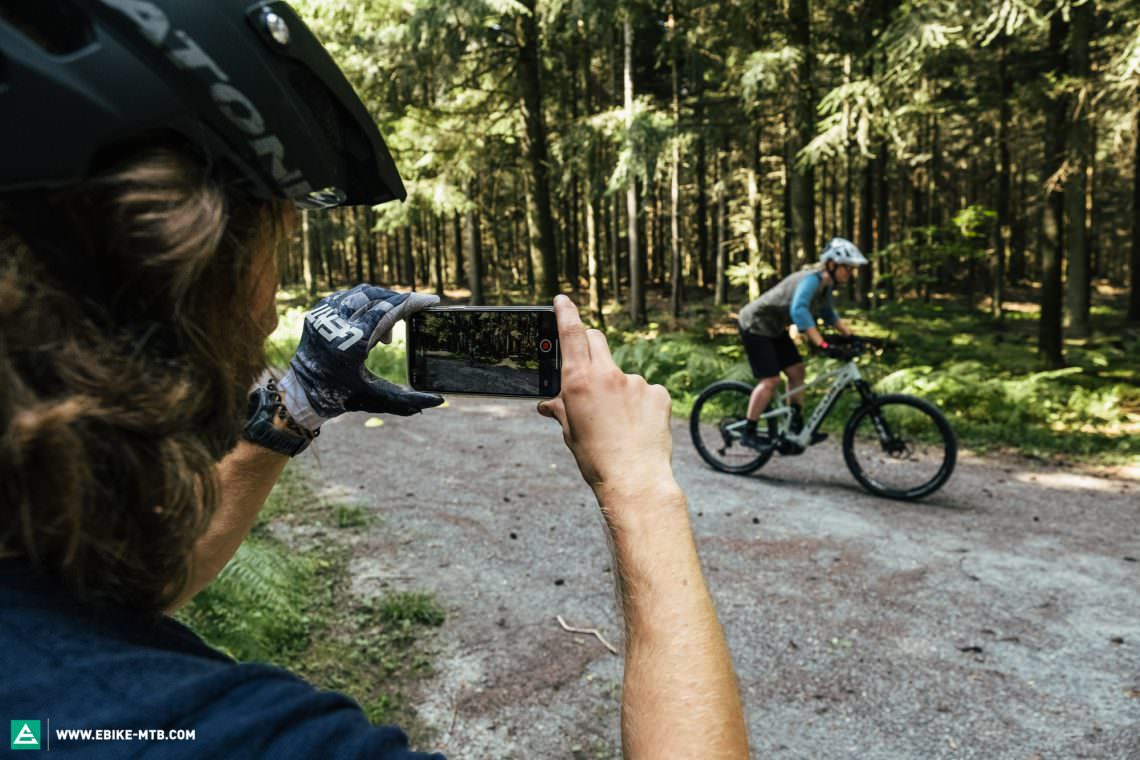
Later that afternoon, we put our newly acquired skills to use and noticed just how much of a difference the right posture can make. We were able to stay calm and just let the bike do its thing without making any hectic movements or tensing up. As the trail got steeper and steeper, the old, bad habits crept back in. Marcus remained patient as he had to correct our postures again and again. He also recorded us with his smartphone so that we could analyse the footage together. This allowed us to see very clearly the areas we needed to improve.
Another important point in Marcus’s course is learning the correct braking technique and dismounting on the trail. It might seem obvious at first but you’ll quickly realise how much you can do wrong. To dismount the bike towards the back, the back foot must be brought down by pedalling backwards – never pedal forwards, otherwise you will be thrust forward, which you don’t want. Then, apply the brakes, take the opposite foot off the pedal and place it next to the rear wheel. Finally, slide off the back of the saddle as you take your other foot off the pedal and safely come to a stop with both feet behind the bike. Cool! It sounds way more complicated than it is, but it works great. It’s the best exit strategy when things get hairy or you want to stop on a steep trail. Another, more advanced point that we didn’t cover that day is how to crash. Fortunately, we’ve written an article on the subject that you can read in our sister magazine ENDURO here.
Finally, we practiced the correct braking technique. For this, you first have to understand and experience how the front and rear brakes work individually. The front brake offers far more stopping power, with the rear brake functioning as a backup. We roll downhill repeatedly, carefully trying to stop with just the front brake. It’s advisable to feather the brakes, which means keeping the brake lever pulled ever so slightly with your index finger, without dragging the brakes, or pulling it too little and for too long, as this allows you to brake quickly and sensitively. If you then add the rear brake, the whole process feels really smooth and you can bring the bike to a halt without the tyres locking up and sliding out.
Feedback
Seven hours later, we all rode down a steep and rooty trail several times, which, before the course, would have had us break out a sweat and feel uncomfortable. The feedback at the end of the day is clear: in addition to a few tricks and basics, all participants gained a lot of confidence from this course. We’re able to stay relaxed as we tackle the trails, even if they’re challenging. We left the course feeling highly motivated, planning to repeat the drills on our own over the next few days and build on them. The course was just the beginning. As Marcus puts it,
This is where you start mountain biking, everything else is cycling.

Who is a skills course for?
What surprised us all is that even the more experienced riders in the team were able to learn from the tips and exercises of the beginners course. A bad posture or bad habits can be limiting, even if you already feel confident on the trails and know you can ride them safely. It can also help you develop your skills further. Many of the exercises that look rather obvious and simple on the wide forest path are tricky to execute on the trail, especially when you’re trying to do a lot of new things at the same time. All course participants agreed that their confidence and feeling of safety on the trail improved significantly. Our verdict: a skills course is just as worthwhile for those who’ve recently made the switch to an eMTB as it is for experienced riders. The best thing about it is that we had a lot of fun together and improved our skills. What it ultimately all comes down to is riding safer and having more fun!
A skills course can be worthwhile for everyone, regardless of whether you’re a newbie or a seasoned rider.

What has long been taken for granted amongst skiers should also become standard in the eMTB scene. A beginners course isn’t only fun but also builds confidence in your own abilities. And if you’re the competitive type, you can always take those skills to another level. Unfortunately, it’s often the case with beginners that the eMTB is more capable than the rider and thus ends up overwhelming them. A skills course teaches you how to become one with your bike and make the most of the technology it offers.
Did you enjoy this article? If so, we would be stoked if you decide to support us with a monthly contribution. By becoming a supporter of E-MOUNTAINBIKE, you will help secure a sustainable future for high-quality cycling journalism. Click here to learn more.
Words: Susanne Feddersen Photos: Peter Walker