How to make your eMTB faster – without tuning
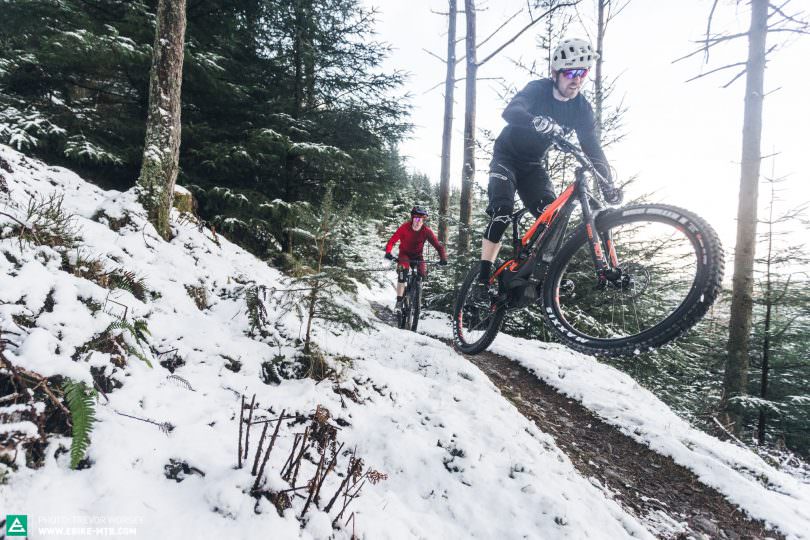
Are you struggling to keep up with your buddies? Do you want to get the most from your eMTB? We show you the best ways to make your eMTB faster – without tuning the motor.
Ever since we first pointed our scoot bikes downhill as toddlers, we’ve always dreamed of going a little bit faster. We buy cars with bigger engines than we need and we save up for yearly ski holidays where we throw ourselves downhill on planks – we love the thrill. It comes as a surprise then, that at a lowly 25 kph our eMTB cuts out. Now, for some, illegal tuning is the answer but this is both unsafe and a terrible idea for the growth and acceptance of eMTBs – don’t do it. There is a better solution to squeeze some more performance out of your eMTB both when heading uphill with the motor support and downhill with the motor off. Follow these tips to get more DH speed, more control and more kilometers from your battery.
What tyre pressure should I run in my eMTB?
When was the last time you checked your eMTB tyre pressures? Nothing impacts the performance of your eMTB more than the pressure in the tires, too low and it will be inefficient and squirm in the corners, too high and your eMTB will be harsh, hard to control and lose traction everywhere. The perfect tyre pressure depends on lots of factors, the trails you ride, your rims and tires and how aggressive you are, so sadly there is no magic number. However there is a good base setting to work from. If you are tubeless (and you should be) and running 2.35 – 2.5 inch tires, start with 1.8 Bar (26 psi) front and 2.0 Bar (29 psi) rear. If you are running bigger 2.6 – 3.0 inch Plus tires we recommend a base setting of 1.4 Bar (20 Psi) front and back in a standard 2.8 – 3.0 inch tubeless tire. If you still run tubes add 0.2 Bar to each setting.
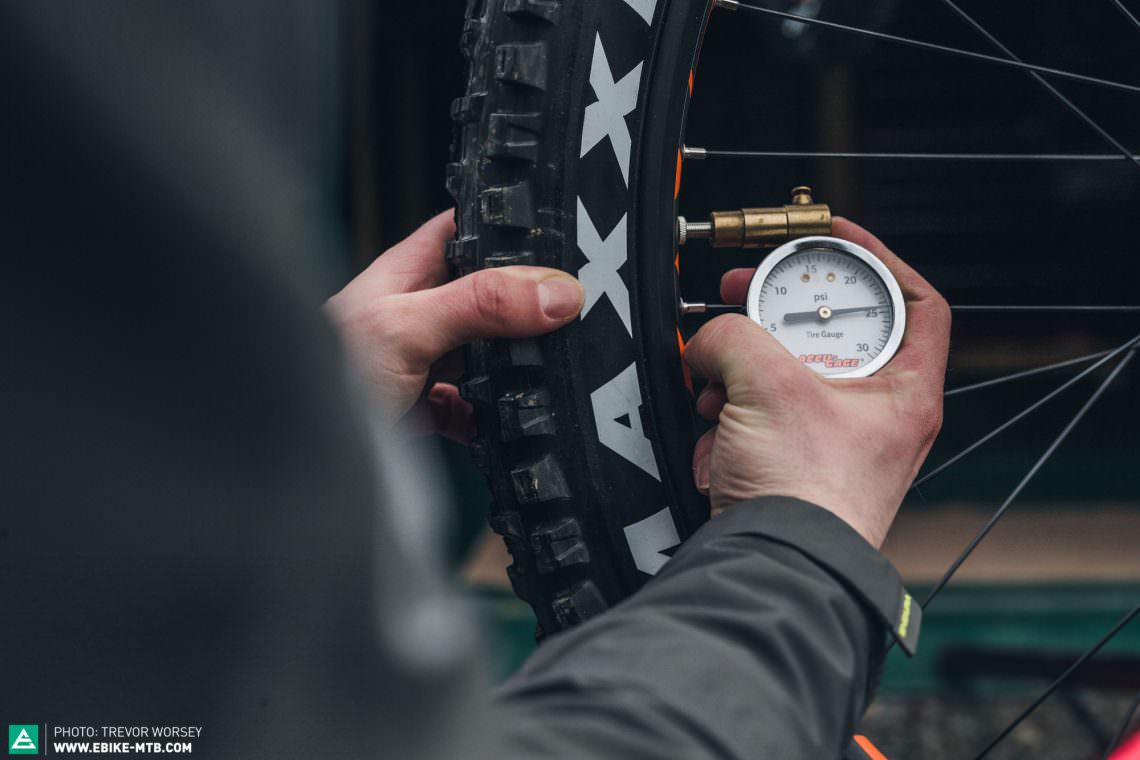
If you want to optimise your tyre pressures, adjust them 0.1 Bar at a time until you find the perfect pressure that gives you massive grip without squirming or burping in the corners. After trying a number of pressures you will start to learn how they affect the feel of the bike and know quickly how to optimise pressures for different trails. Very soon you will have the perfect setup with massive grip and blistering speed.
How should I setup my eMTB suspension?
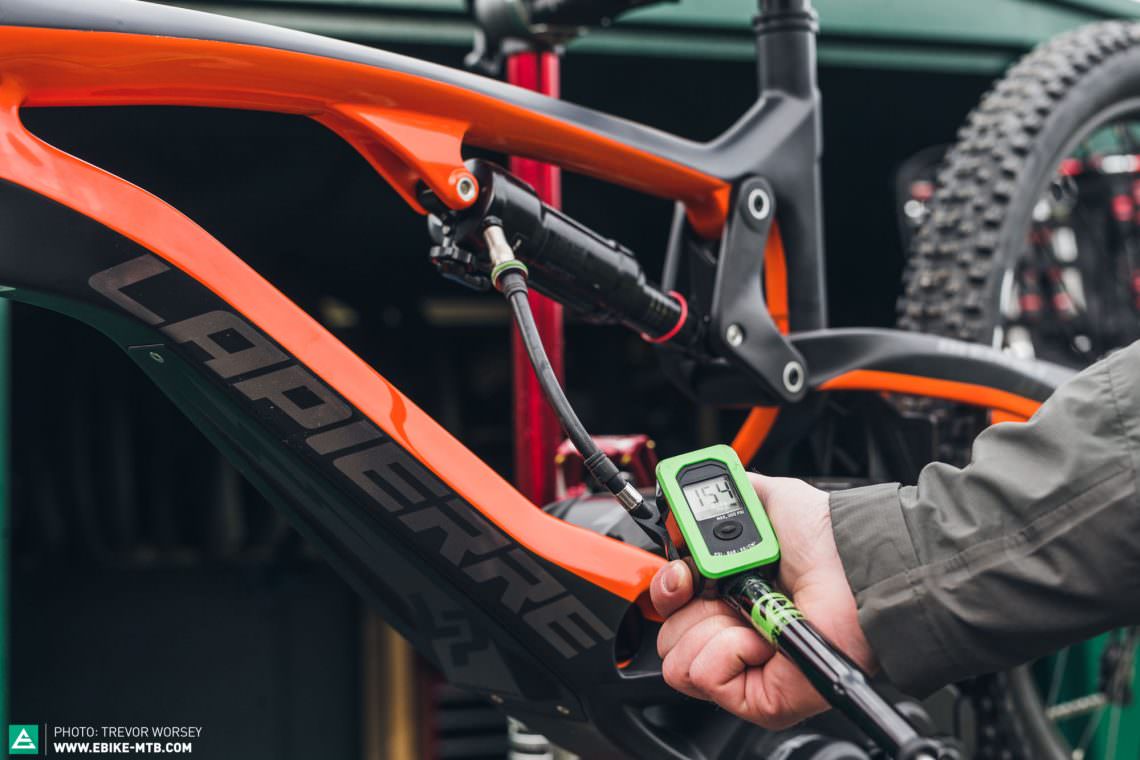
Is your suspension optimised to your weight? If your suspension is poorly setup your bike will lack grip and support, reducing your confidence and fun. In your normal riding clothing, including backpack, stand on your bike in the ‘attack position’ and with the help of a friend measure what percentage your forks and shock sag into their travel under your weight, this is called the SAG. Many shocks have useful % SAG indicators written on the shaft. We recommend a setting of 20% SAG on your fork and 30% SAG on your rear shock for maximum performance. If your measured SAG is very different you are not getting the best from your bike, to increase the SAG reduce the air pressure in your air spring using a shock pump, to reduce the SAG increase the air pressure in the air springs, then retest until the correct SAG is achieved. Follow our step-by-step guide on how to set the SAG on your eMTB suspension in 10 minutes.
How should I set my eMTB rebound?
Does your eMTB feel slow and sluggish, yet harsh over fast hits? Yes? Then it may be worth checking the rebound speed – that red adjuster on your shock. As you start to ride faster you will be hitting rocks and roots faster, making your suspension work harder. If your rebound is set too slow, (more damping) the suspension will not be able to recover fast enough between hits and will start to ‘pack down’ running out of travel and getting rowdy over rock gardens. After checking that you are running the correct SAG, on your next ride find a rocky passage that you can repeat easily and before you start note down your current rebound speed.
Remove 2 clicks of rebound damping (make it faster) and ride the section, and see how the eMTB feels, repeat again and try and get a feel for how the eMTB is responding to the changes. Try the opposite direction too. Look for that point where the eMTB starts to feel like it’s starting to push back at you as it recovers too quickly. When you get to this point add one or two clicks of rebound (make it slower again) and you should have a setup that is fast enough to take the hits, without being too fast to upset the balance of the bike. Repeat for both the fork and rear shock and aim for a balanced setup. Make sure you write it down.
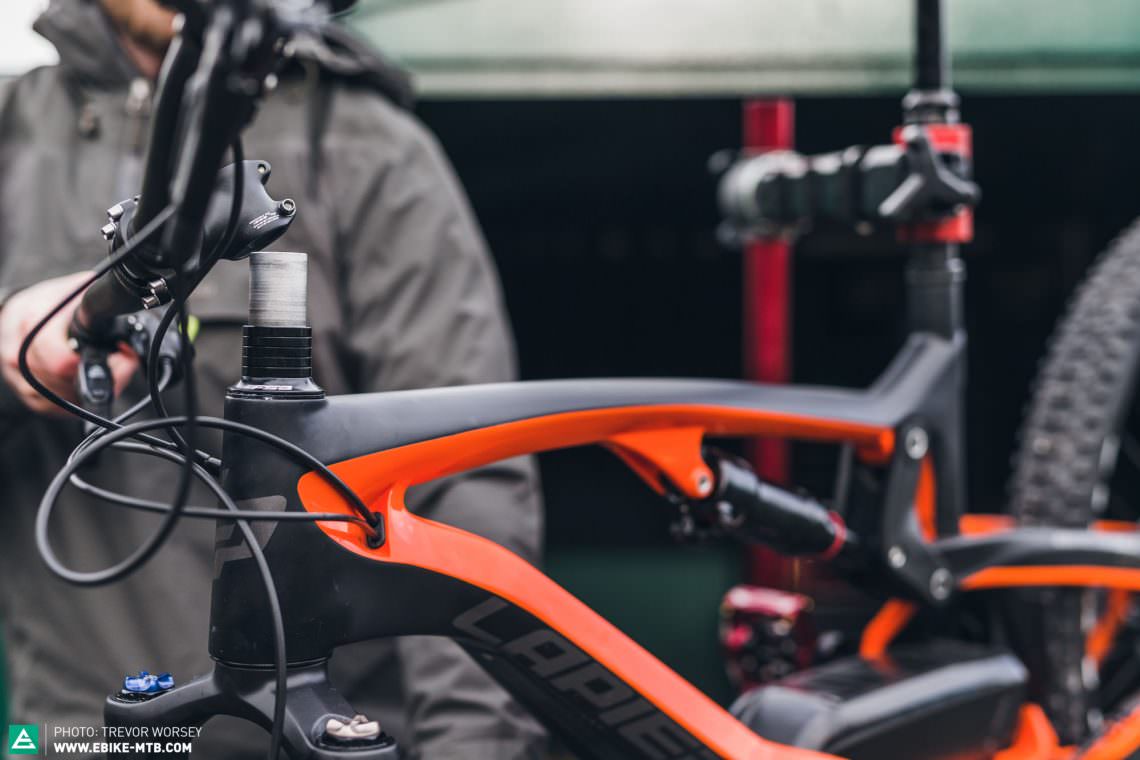
How high should I run the stem on my eMTB?
If you are still running the same stem spacers that the bike shop fitted for you, it may be worth checking if they are properly set for you. Have a good think about your eMTB’s handling, if you struggle for front wheel traction in corners or it feels like it is running away from you – especially if you ride a slack long travel eMTB – try removing some of the spacers below the stem. A lower front end will put more of your weight on the front wheel, helping you maintain control in hard turns and allowing you to really rail through berms. Alternatively if the stem is too low the eMTB can become hard to unweight at the front and uncomfortable on long climbs. Experimentation is key to finding what works for you, so try a few different combinations to see how the handling of the eMTB changes.
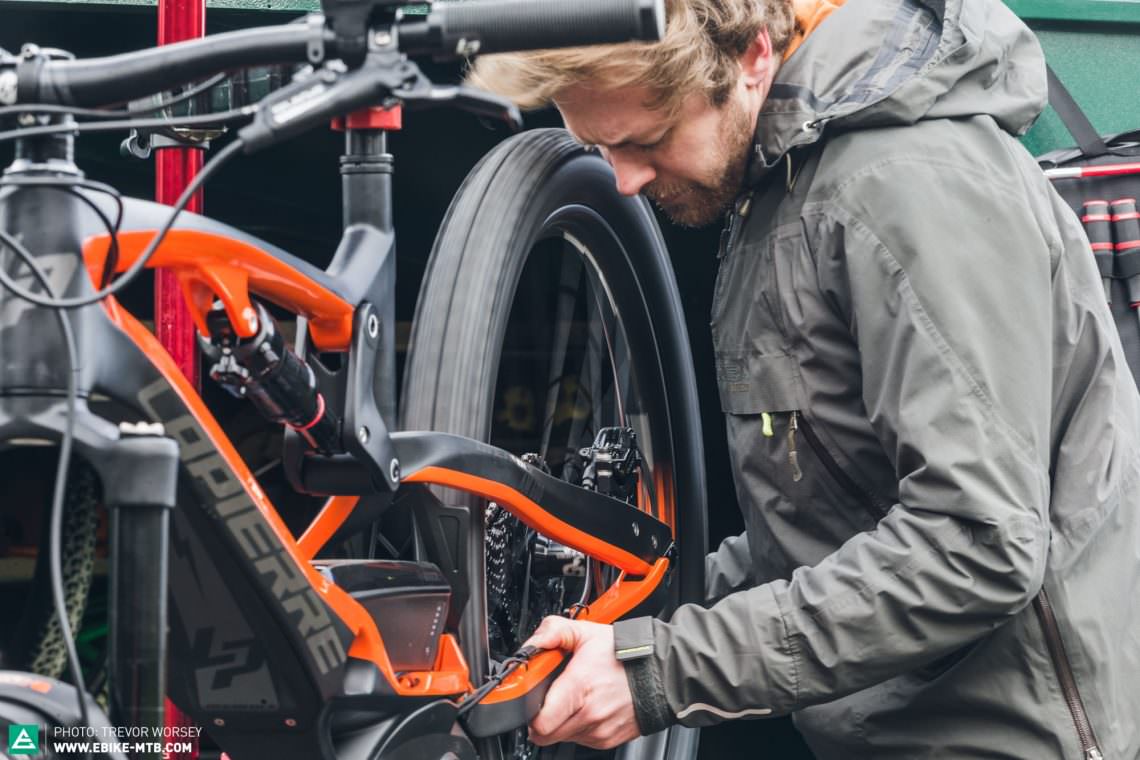
Avoid that brake rub
Lift your eMTB up and spin the wheels, are they silky smooth or do they spin like an arthritic hamster in its wheel. If they only spin for a few revolutions then perhaps your brake pads are rubbing on the disks. If your brakes are not set up correctly you are simply burning energy, motor power and wasting speed. To get the best out of your eMTB, make sure that your wheels spin freely by checking that the brake caliper is aligned properly and that the pads are not dragging on the discs. To align the calipers, simply open the two bolts on the caliper enough to allow the caliper to move, then pull the brake lever a few times and hold it. If you tighten the bolts with the brakes pulled, the caliper should be centered properly.
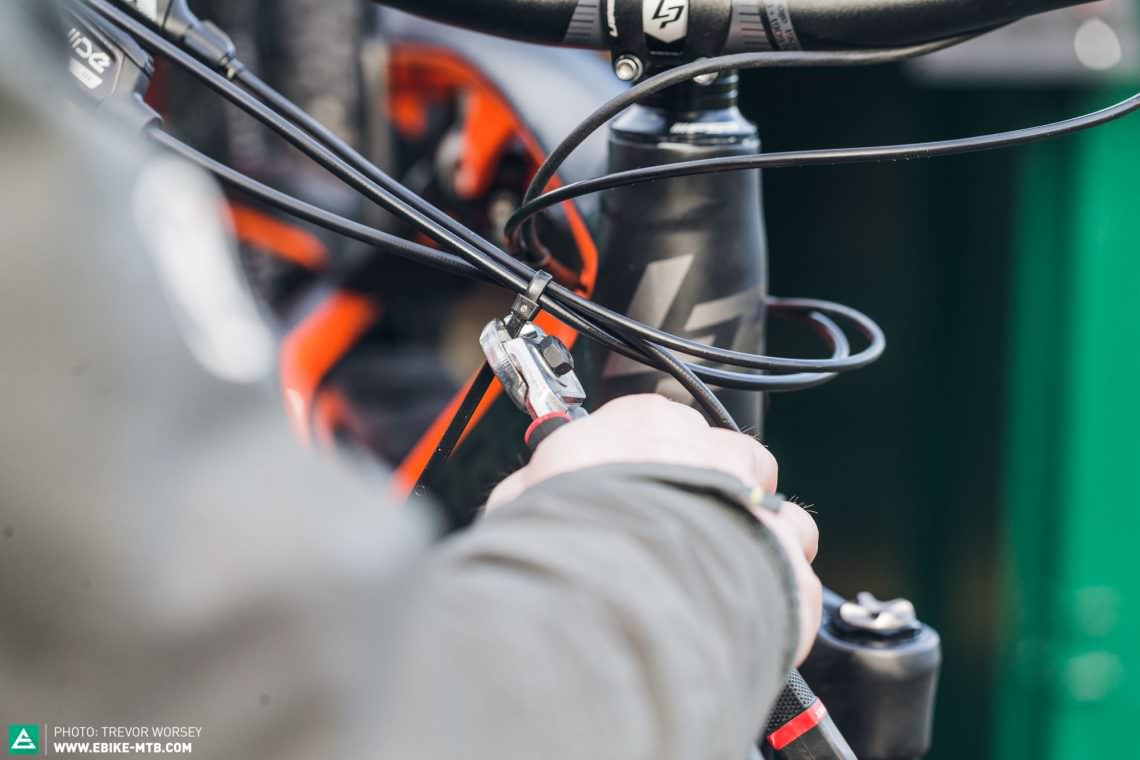
A quiet eMTB is a fast eMTB
Everyone knows that a quiet eMTB is a fast eMTB, treat your bike to half an hour of attention. Check for rattles and ensure all the bolts are tight and that there is no play in the headset, bottom bracket or suspension bushing. If your cables are rattling you can silence them with some cable ties, and if you chain is lashing your frame, you can silence it like a pro with some self adhesive velcro or buy some purpose made frame protection tape. After a quick once over your eMTB will be quieter and you will be inspired to ride it faster.
Organise the cockpit
While it’s nice to have everything to hand, to get the most out of your eMTB, spend some time working on the cockpit to ensure it’s optimised for you. This is where a ‘minimalist’ approach is best, lose all the unnecessary mounts and adapters and keep your cockpit clean and uncluttered. Position your brake levers so they give you maximum comfort and leverage when using single finger braking and position all shifters and motor controls where you feel most comfortable. Optimising your cockpit will give you more confidence and control.

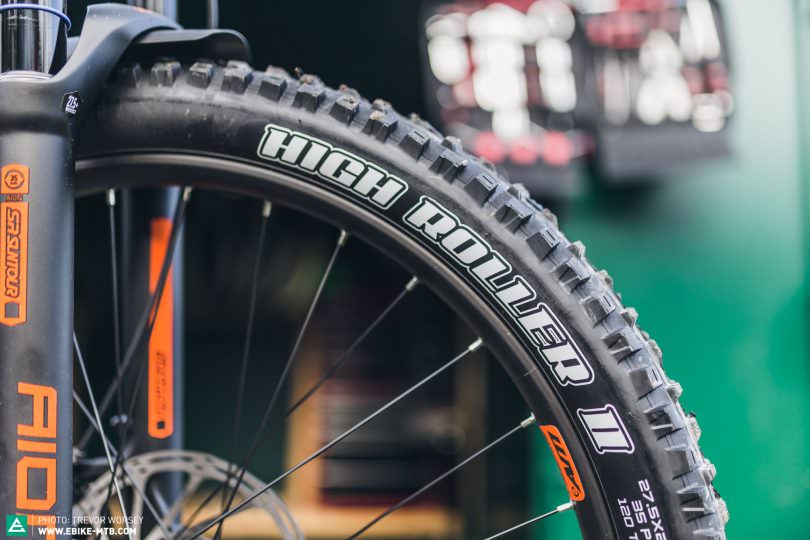
Fit a better tyre for more fun
Often in the pursuit of reaching tough price-points, brands will compromise on tyres to save some money. If you ride predominantly on fire roads and tracks, then most tyres will be adequate for the job. However, if you want to challenge yourself on tougher terrain, poor quality tyres will really hold you back. For maximum fun look for tyres that have a strong sidewall – like the incredible Maxxis’ DoubleDown that minimises punctures and boosts support – and choose a tread pattern aggressive enough for your needs. We highly recommend the Maxxis Minion DHR II or High Roller II for those looking for more confidence on tough terrain.
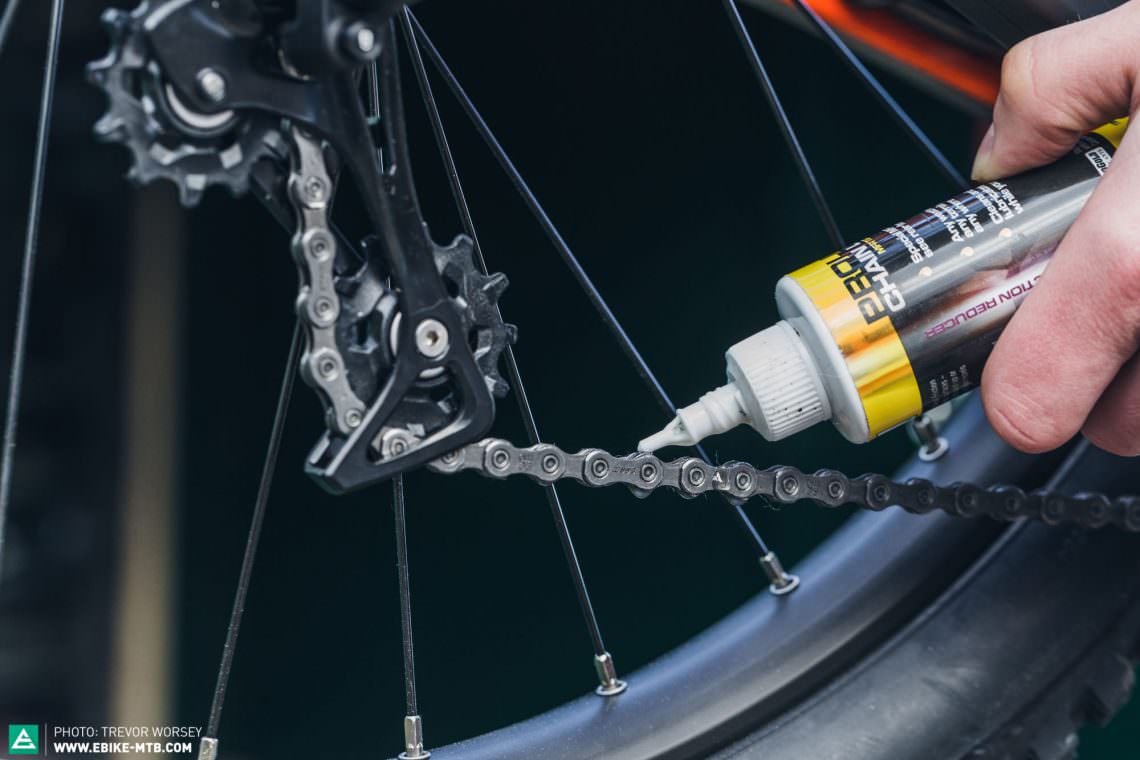
Keep your eMTB lubed up for maximum flow
Your chain is the essential link between your legs, motor and the wheels, when your chain gets dry and rusty you will start to waste energy. Before every ride, give your chain a thin coat of high quality chain lubricant to ensure maximum performance. We do not recommend using aggressive degreasers on your drivetrain as this can strip all the manufacturers grease from the chain, just a gentle wash before application of fresh lubricant and a wipe with a soft cloth will keep your eMTB in tip-top condition.
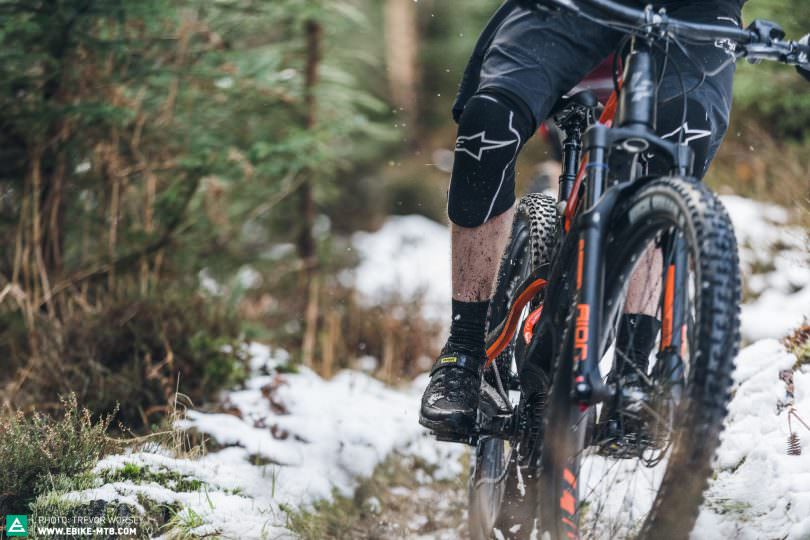
If you follow this guide, your eMTB will be quieter, smoother uphill and faster when descending.
Did you enjoy this article? If so, we would be stoked if you decide to support us with a monthly contribution. By becoming a supporter of E-MOUNTAINBIKE, you will help secure a sustainable future for high-quality cycling journalism. Click here to learn more.
Words & Photos:
You may also like

One ebike, three different motors – Which is the best SIMPLON Rapcon?
The FOX Transfer Factory 2025 seatpost with 240 mm travel in review – Is the new FOX dropper worth its weight in gold?
Fancy an epic road trip? Come with us for our unique roof-top tent comparison test!

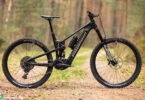
Light eMTB or just a lighter eMTB? The new Mondraker Dune Carbon in review
New Propain Sresh CF 2024 on test – An eMTB for all occasions?