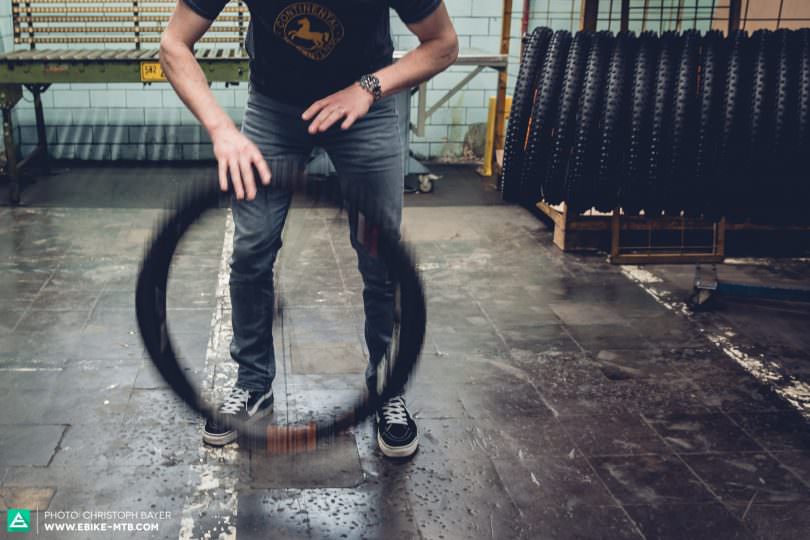
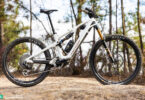
Setting your tires up as tubeless– without the use of an inner tube that is– offers a variety of advantages: lighter weight, more puncture-resistance and better grip. We are going to show you how easy it is to set up, without any of the mess.
There really is no cheaper, easier and more effective upgrade for your bike than setting up your wheels tubeless. However, many riders still prefer relying on inner tubes, often just because they dread the setting-up process. We’ll show you how easy it can be and also prove that you don’t have to cover your living room in tire sealant nor have to buy an air compressor.
It’s not rocket science – we show you how easy it can be to set up a tubeless tire.
Difficulty level
easy
Tools you need
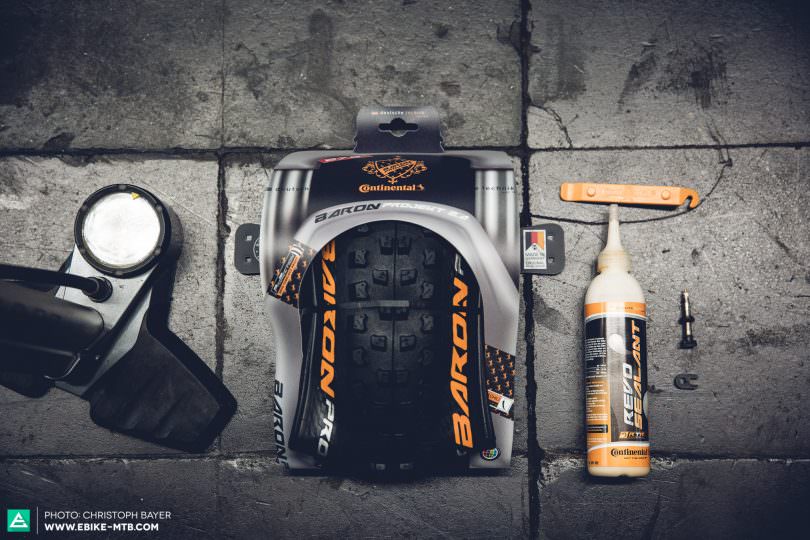
Tires
Pump
Sealant
Valve Cores
Valve core remoter
Tire levers if necessary
Instructions
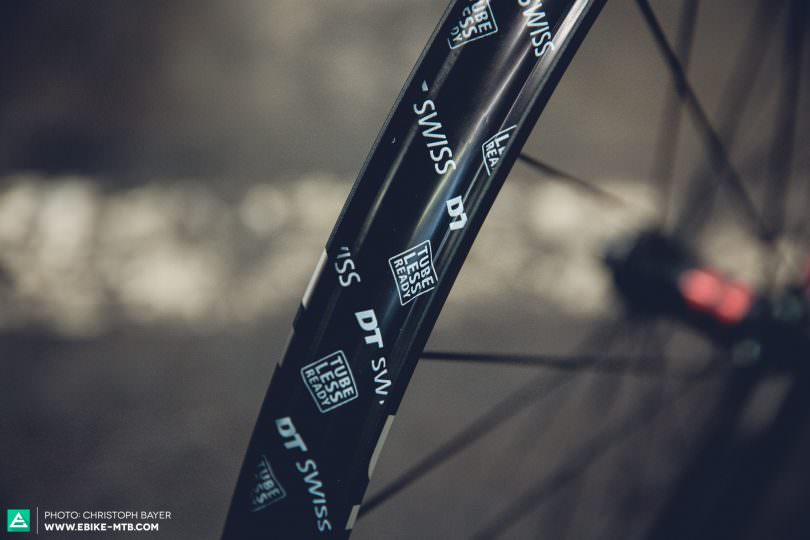
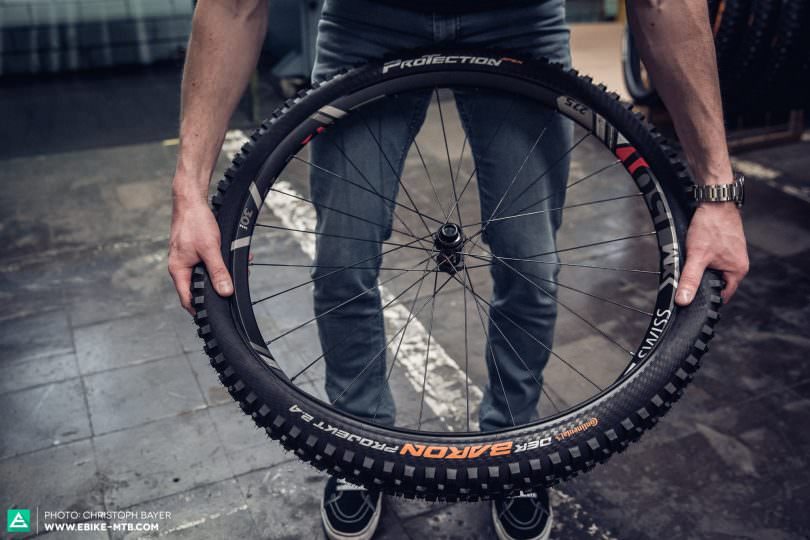
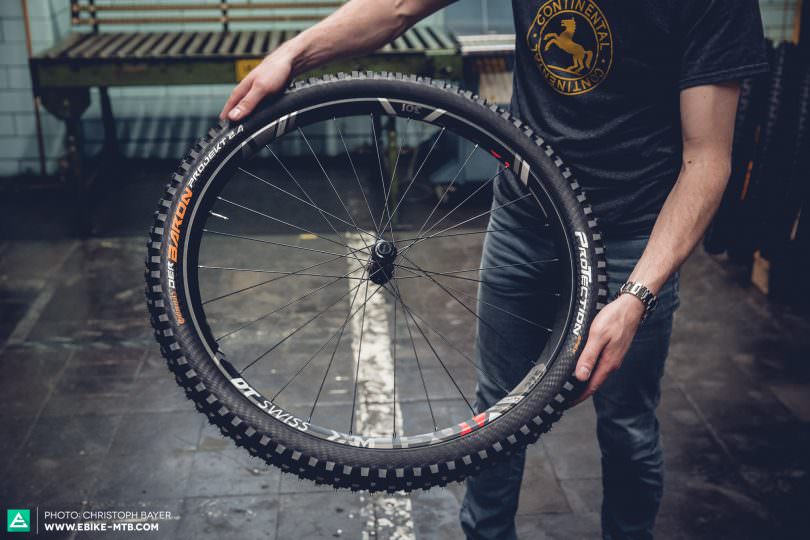
In order to set up your tires as tubeless, it is essential that both the tires and rims are tubeless-ready. With current tires and rims that will be the case most of times. With older rims you’ll need to apply some additional tubeless-tape. In this tutorial we didn’t have to.
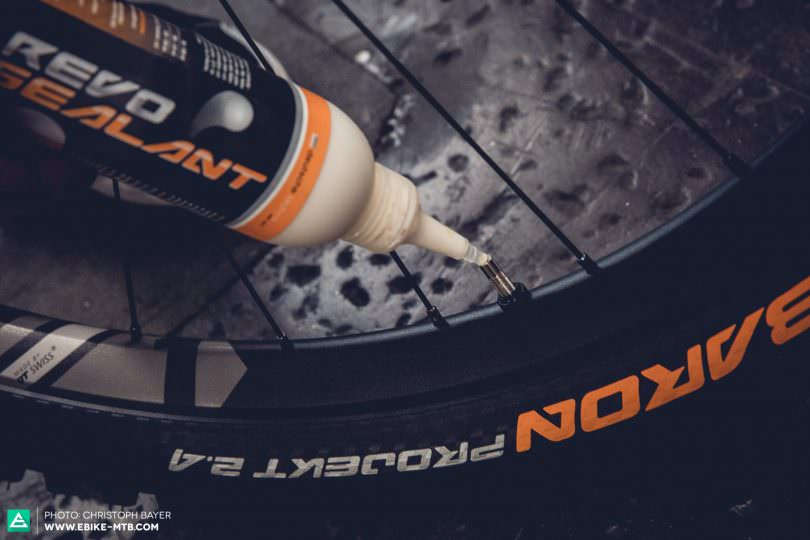
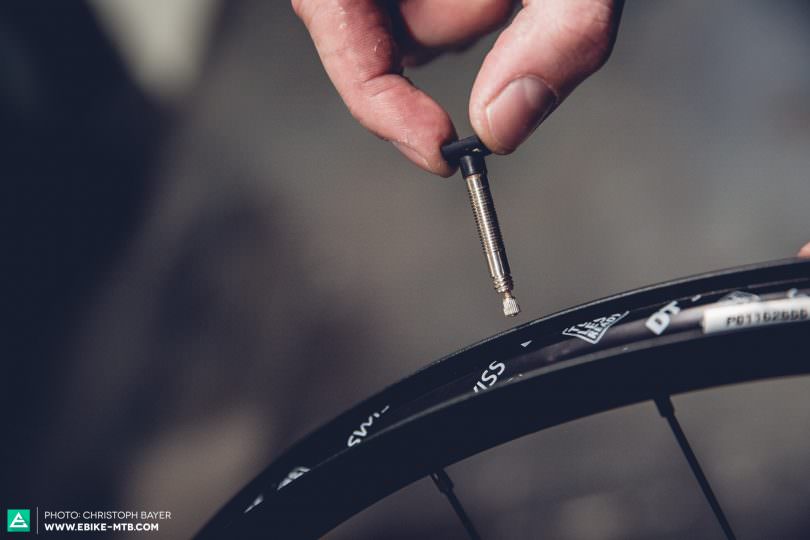
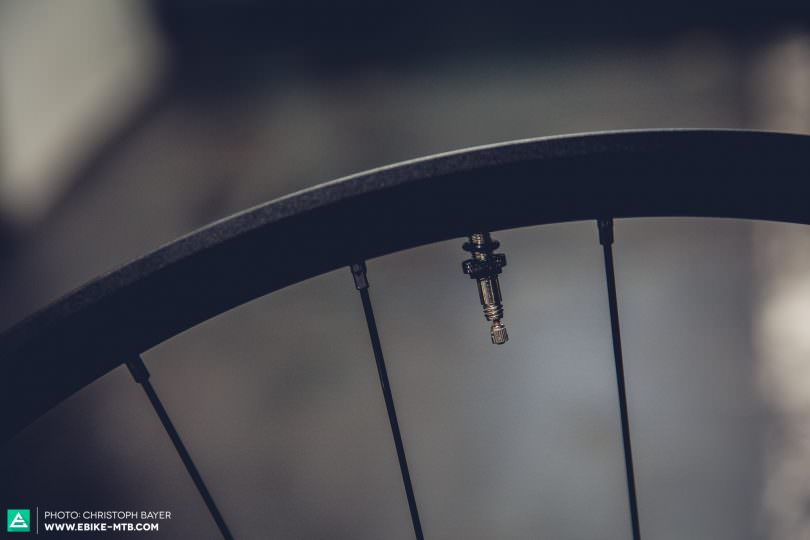
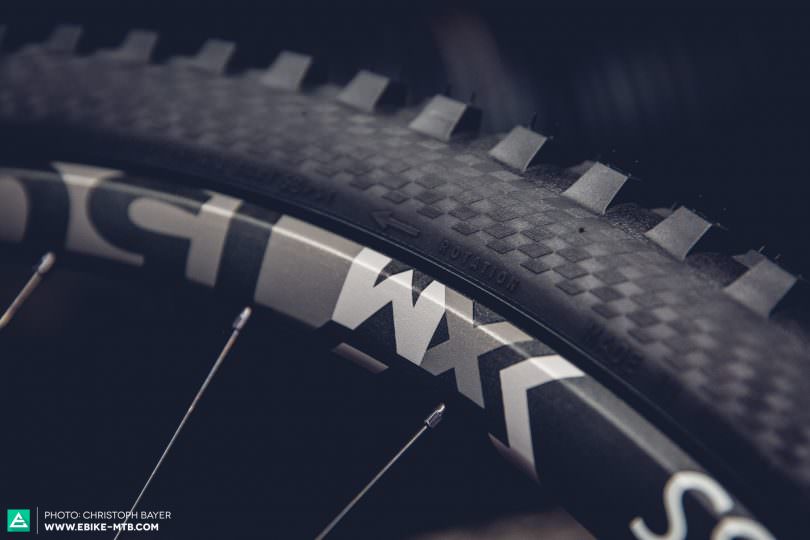
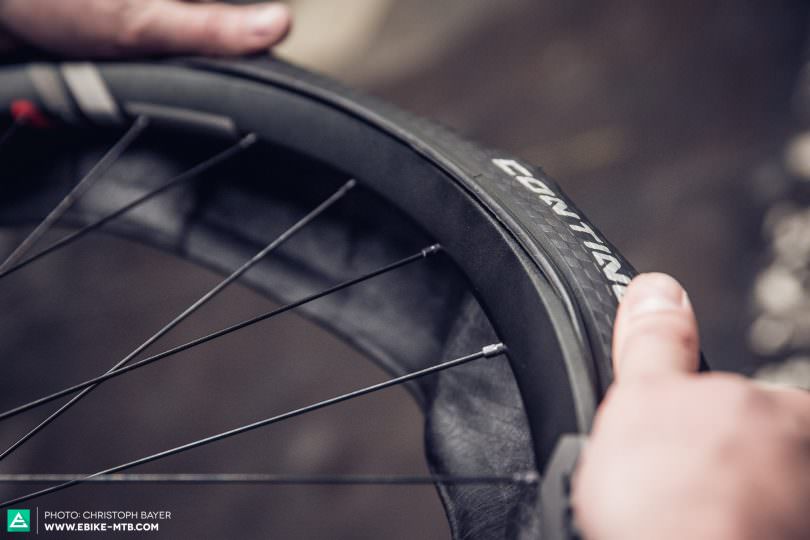
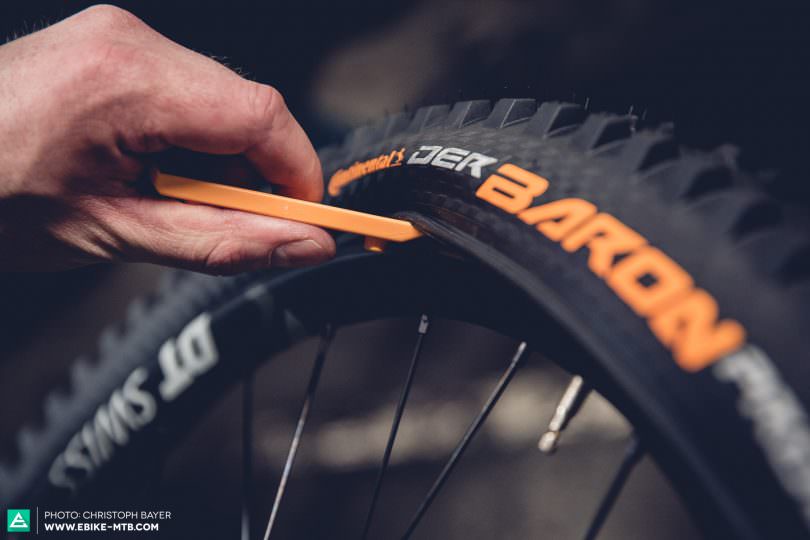
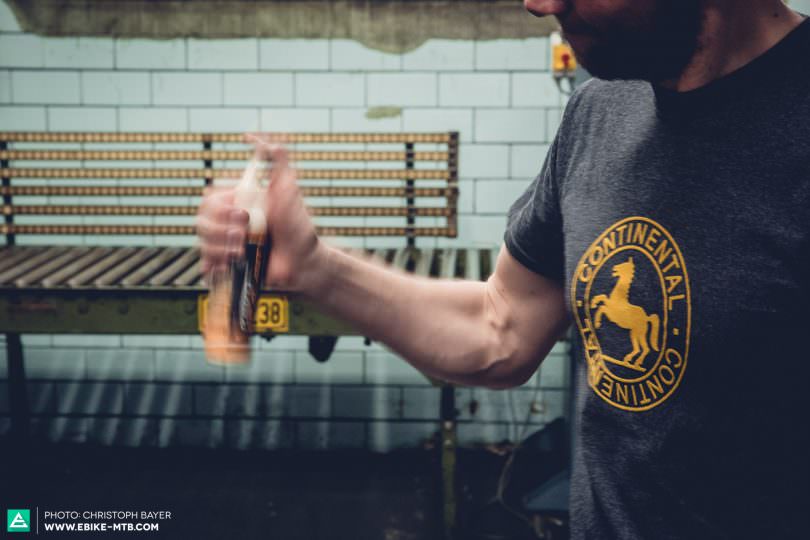
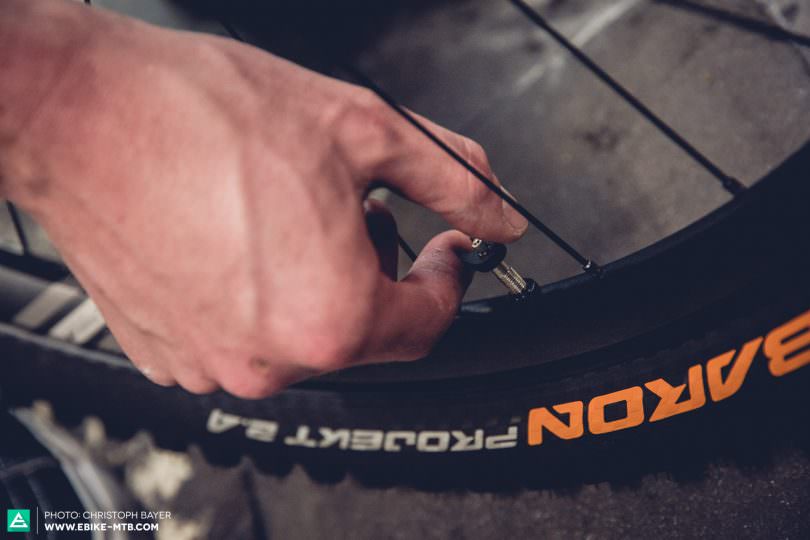
For a successful setup it is crucial to use some rim sealing tape.Insert the valve stem into the rim… … add the valve nut. Depending on the model, make sure you add the required seal ring. Only use the strength of your hands to tighten the valve nut, never use pliers or similar tools. You don’t want to be stuck on the trail with a mechanical issue unable to undo the valve nut.Before mounting the tire onto the rim, check the tire direction is correct. If you get it wrong, you’ll have to start all-over again.Sit the rim into the tire… … and then place the first side of the tire into the rim. TIP: perfectionist like overlapping the logo with the valve hole.Now push the tire beads into the rim using both hands at the same time. By resting the wheel on your legs or on the floor you can push the tire deep into the rim. IMPORTANT! Start pushing the tire into the rim from the side opposite to the valve. This will allow you to push the tire deeper into the rim beads, making the installation process easier.The closer you get to the valve, the harder it will be to push the tire over the rim .It is important that on the opposite side the tire is sitting in the deepest part of the rim.If the last bit of tire feels like a real struggle, a tire lever comes in handy – although real men will manage without one!Now remove the valve core with the core remover.Give the sealant bottle a good shake…… and then squirt the sealant into the valve-core opening on your fully mounted wheel. Rule of thumb: more is more! If you save, your chances of a flat tire increase. We recommend a minimum of 80–120 ml sealant, depending on tire size. Warning: Some tire sealants can’t be poured into the valve core opening, please double-check the manufacturer’s instructions carefully.Now insert and tighten the valve core.
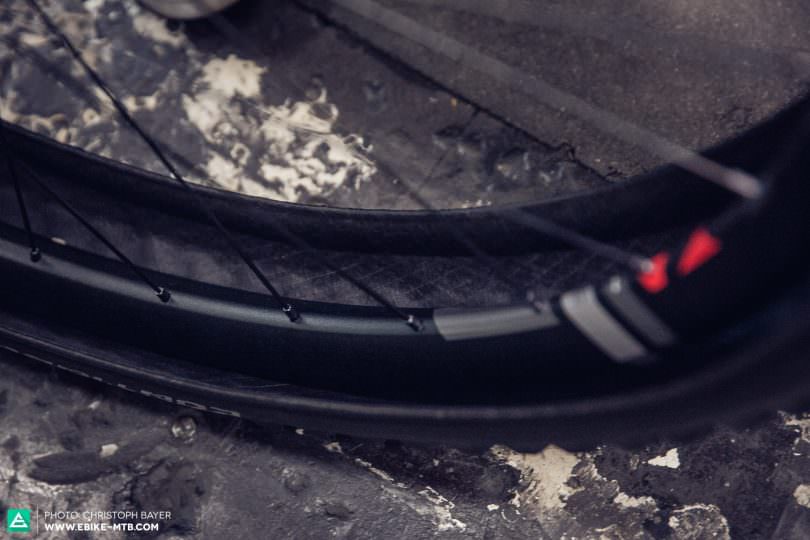
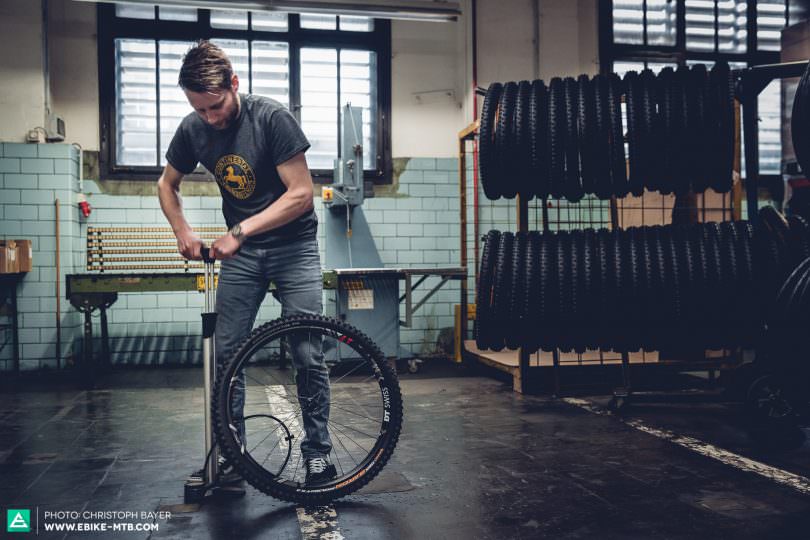
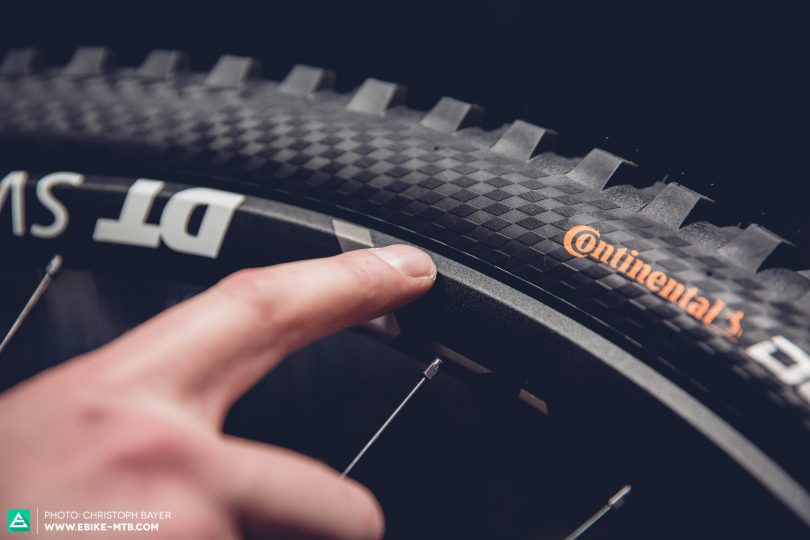
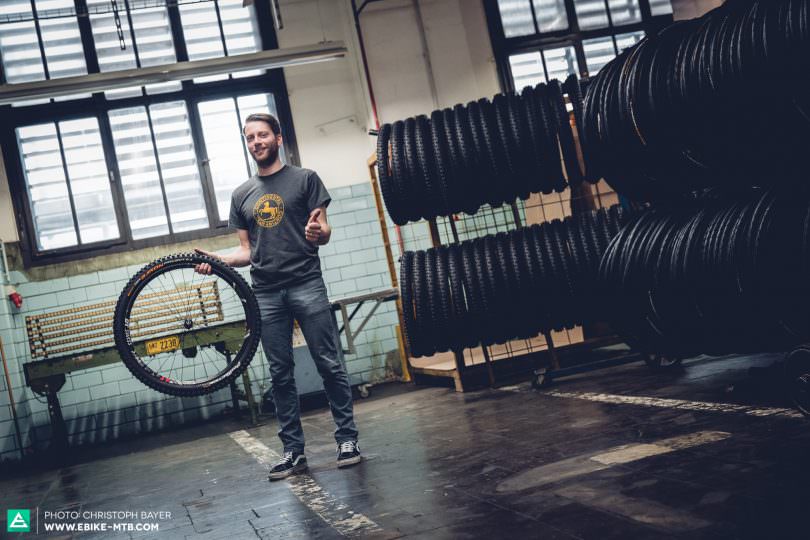
Pump it up! Inflate your tire using firm and powerful pump strokes.Click, clack, click, clack– that’s the noise we all want to hear when mounting a tubeless tire, that’s the tire walls snapping into the rim bead properly. Important: every tire has something called a “witness line”. This line should be sitting on an equal distance to the rim throughout its circumference when the tire is pumped up.Next, you want the tire sealant to spread equally inside the wheel. Bounce the tire on the floor to help this process…… allow the sealant to glide along the sidewalls by tilting the wheel in different directions.Done! If you did everything correctly, your tire should be sitting nicely on the rim– and without any mess! If that’s not the case, here are a few more tips.
3 tips to set up stubborn tires
If the tire doesn’t snap into the bead lock when pumping air in, these three hacks might be helpful:
Pump up the tire WITHOUT valve core: this increases the air flow, this has worked miracles for many of us. When you remove the pump insert the core straight away to avoid air loss.
Rub some Schwalbe Easy-Fit into the tire sidewalls. This helps the tire to slip and snap into the rim bead.
Use a Tire-Booster. There is a wide range of different models available on the market, but the idea is always the same: filling up a high-pressure air reservoir, and then releasing all of the pressure at once to pump up the tire.
With particularly stubborn tires we recommend a combination of all three of the above.
Did you enjoy this article? If so, we would be stoked if you decide to support us with a monthly contribution. By becoming a supporter of E-MOUNTAINBIKE, you will help secure a sustainable future for high-quality cycling journalism. Click here to learn more.